Special modes menu (2nd screen)
Fax/Special Modes |
|
|
|
|
|
| OK | ||
(1) |
|
|
| (2) |
|
|
|
| |
Transaction |
|
|
| Own Name |
|
|
|
| |
| Report |
|
|
| Select |
|
|
|
|
(3) | (4) |
|
|
|
|
|
|
| |
|
|
|
|
| 2 |
| |||
| Memory Box |
| Polling |
| 2 |
| |||
|
|
|
|
|
|
|
|
|
|
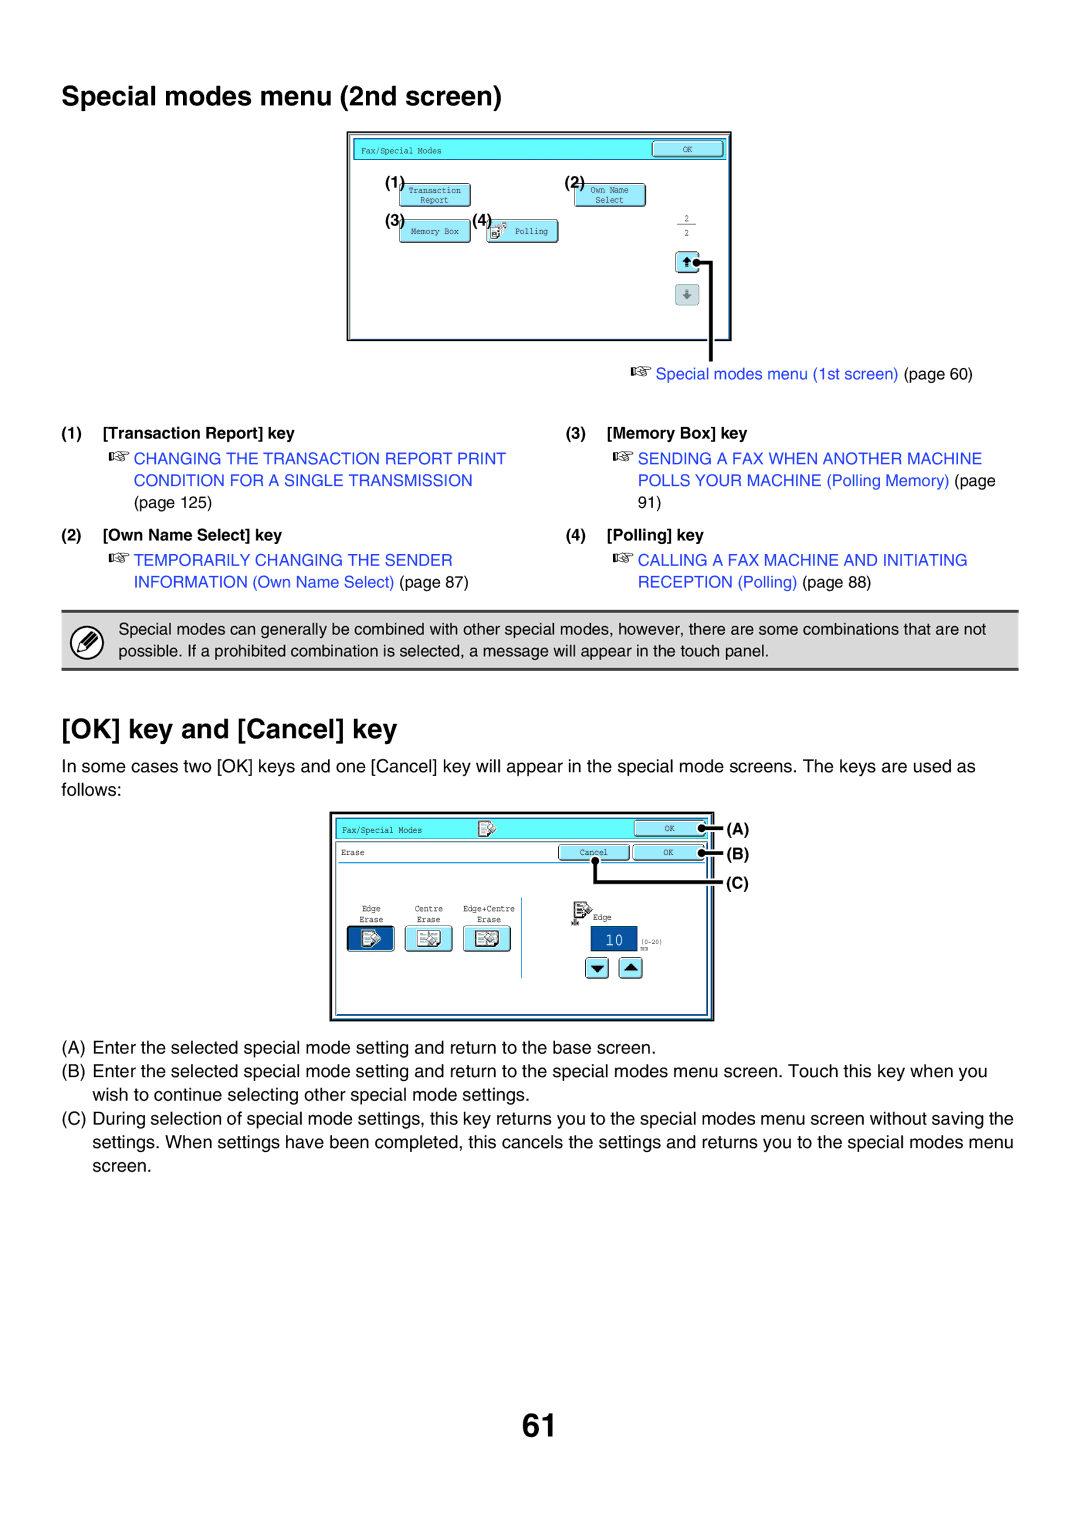
☞Special modes menu (1st screen) (page 60)
(1) [Transaction Report] key | (3) [Memory Box] key |
☞CHANGING THE TRANSACTION REPORT PRINT CONDITION FOR A SINGLE TRANSMISSION (page 125)
☞SENDING A FAX WHEN ANOTHER MACHINE POLLS YOUR MACHINE (Polling Memory) (page 91)
(2) [Own Name Select] key | (4) [Polling] key |
☞TEMPORARILY CHANGING THE SENDER | ☞CALLING A FAX MACHINE AND INITIATING |
INFORMATION (Own Name Select) (page 87) | RECEPTION (Polling) (page 88) |
Special modes can generally be combined with other special modes, however, there are some combinations that are not possible. If a prohibited combination is selected, a message will appear in the touch panel.
[OK] key and [Cancel] key
In some cases two [OK] keys and one [Cancel] key will appear in the special mode screens. The keys are used as follows:
Fax/Special Modes | OK |
| (A) |
|
Erase | Cancel | OK | (B) |
(C)
Edge | Centre | Edge+Centre | Edge | |
Erase | Erase | Erase | ||
|
10 (0~20) mm
(A)Enter the selected special mode setting and return to the base screen.
(B)Enter the selected special mode setting and return to the special modes menu screen. Touch this key when you wish to continue selecting other special mode settings.
(C)During selection of special mode settings, this key returns you to the special modes menu screen without saving the settings. When settings have been completed, this cancels the settings and returns you to the special modes menu screen.
61