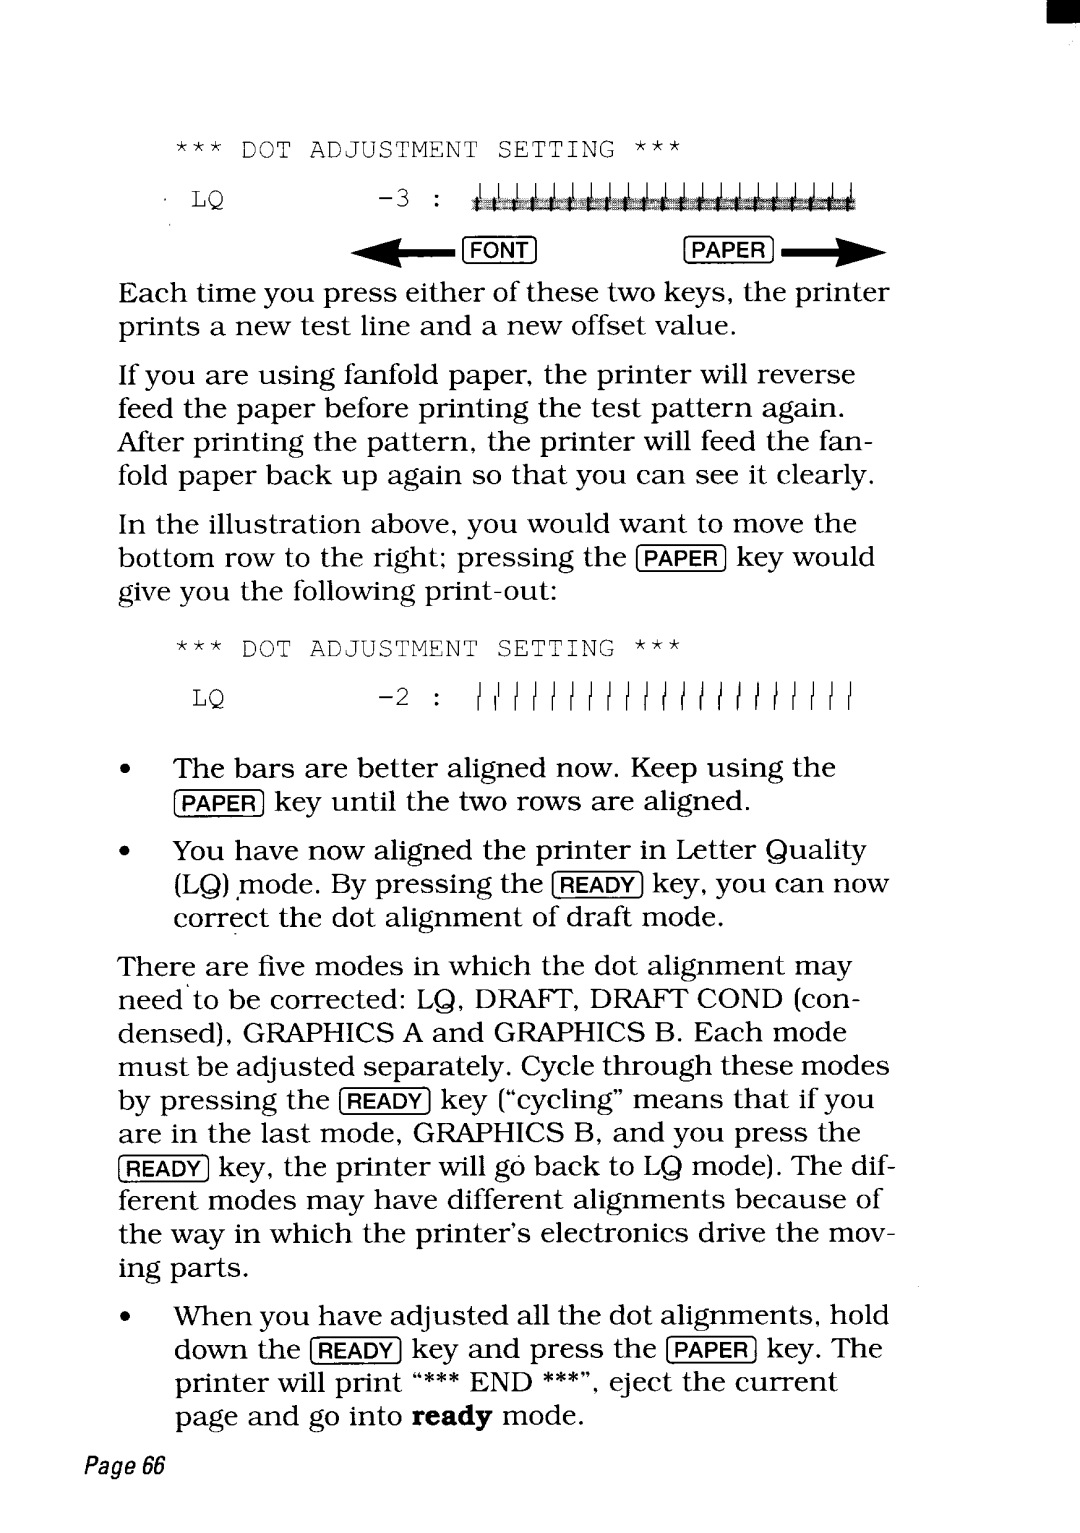
*** | DOT | ADJUSTMENT | SETTING | *** |
Each time you press either of these two keys, the printer prints a new test line and a new offset value.
If you are using fanfold paper, the printer will reverse feed the paper before printing the test pattern again. After printing the pattern, the printer will feed the fan- fold paper back up again so that you can see it clearly.
In the illustration above, you would want to move the
bottom row to the right; pressing the [=] key would give you the following
●The bars are better aligned now. Keep using the
m keY until the two rows are aligned.
●You have now aligned the printer in Letter Quality
(LQ) ,mode. By pressing the
correct the dot alignment of draft mode.
There are five modes in which the dot alignment may need’to be corrected: LQ, DRAFT, DRAFT COND (con- densed), GRAPHICS A and GRAPHICS B. Each mode must be adjusted separately. Cycle through these modes by pressing the [m] key (“cycling” means that if you are in the last mode, GRAPHICS B, and you press the
[m]key, the printer will go back to LQ mode). The dif- ferent modes may have different alignments because of the way in which the printer’s electronics drive the mov- ing parts.
●When you have adjusted all the dot alignments, hold
down the [=] key and press the [=] key. The
printer will print “*** END ***”, eject the current page and go into ready mode.
Page66