you need to change are the values in line 40. The array MASK% contains the values of the dots. (In order to make this program run on the most computers, we’re using only six pins for graphics.
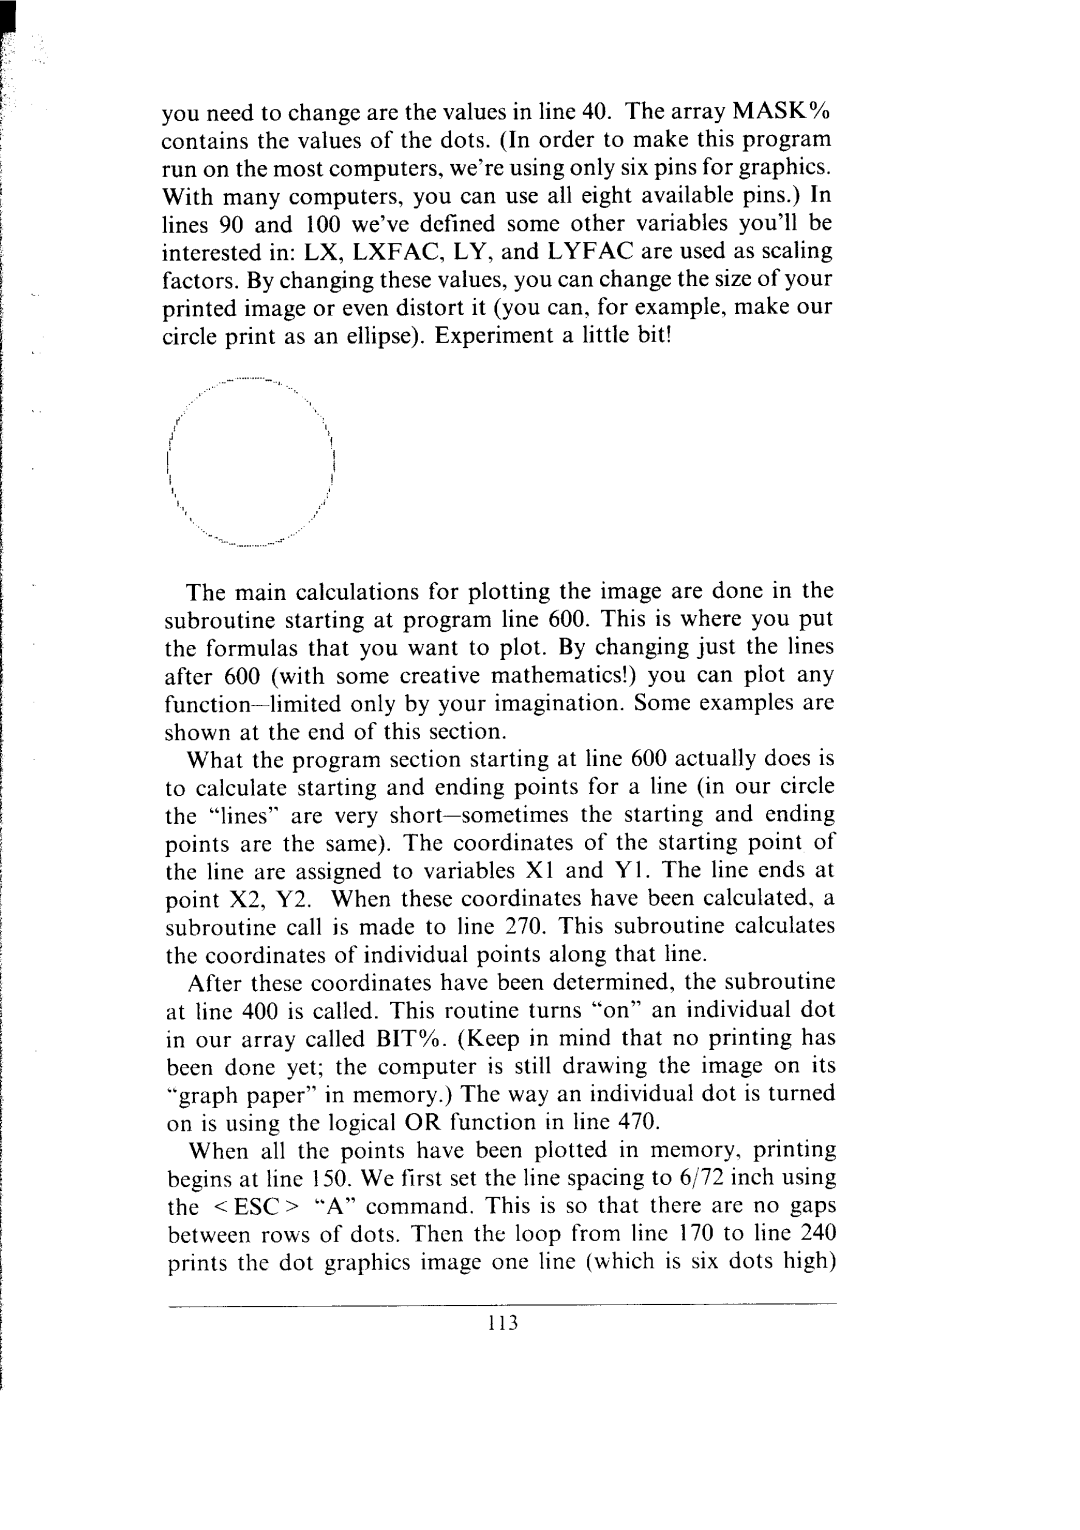
With many computers, you can use all eight available pins.) In lines 90 and 100 we’ve defined some other variables you’ll be interested in: LX, LXFAC, LY, and LYFAC are used as scaling factors. By changing these values, you can change the size of your printed image or even distort it (you can, for example, make our circle print as an ellipse). Experiment a little bit!
The main calculations for plotting the image are done in the subroutine starting at program line 600. This is where you put the formulas that you want to plot. By changing just the lines after 600 (with some creative mathematics!) you can plot any
What the program section starting at line 600 actually does is to calculate starting and ending points for a line (in our circle
the “lines” are very
After these coordinates have been determined, the subroutine at line 400 is called. This routine turns “on” an individual dot in our array called BIT%. (Keep in mind that no printing has been done yet; the computer is still drawing the image on its “graph paper” in memory.) The way an individual dot is turned on is using the logical OR function in line 470.
When all the points have been plotted in memory, printing begins at line 150. We first set the line spacing to 6/72 inch using the < ESC > “A” command. This is so that there are no gaps between rows of dots. Then the loop from line 170 to line 240 prints the dot graphics image one line (which is six dots high)
