5.Open the tractor covers, right and left (Figure
6.Flip the clamp levers forward. This allows the two sprocket units to move freely right and left, so you can align them with the holes in the paper.
7.Pick up the first “sheet” and lift it up and through the slot in the bottom of the
8.Push the paper up to the front of the platen roller.
9.Feed the top sheet inside the paper bail bar and past the platen, high enough so you can grip the paper from above the printer.
10.Pull the paper up past the sprocket wheels.
11.When the holes fit snugly over the nubby teeth, close tractor covers and snap the clamp levers back into the locked positions.
12.With the platen knob, roll the paper up or down until the correct
13.Now we’re ready to roll - replace the printer cover, and turn on the power switch. Speedy printing!
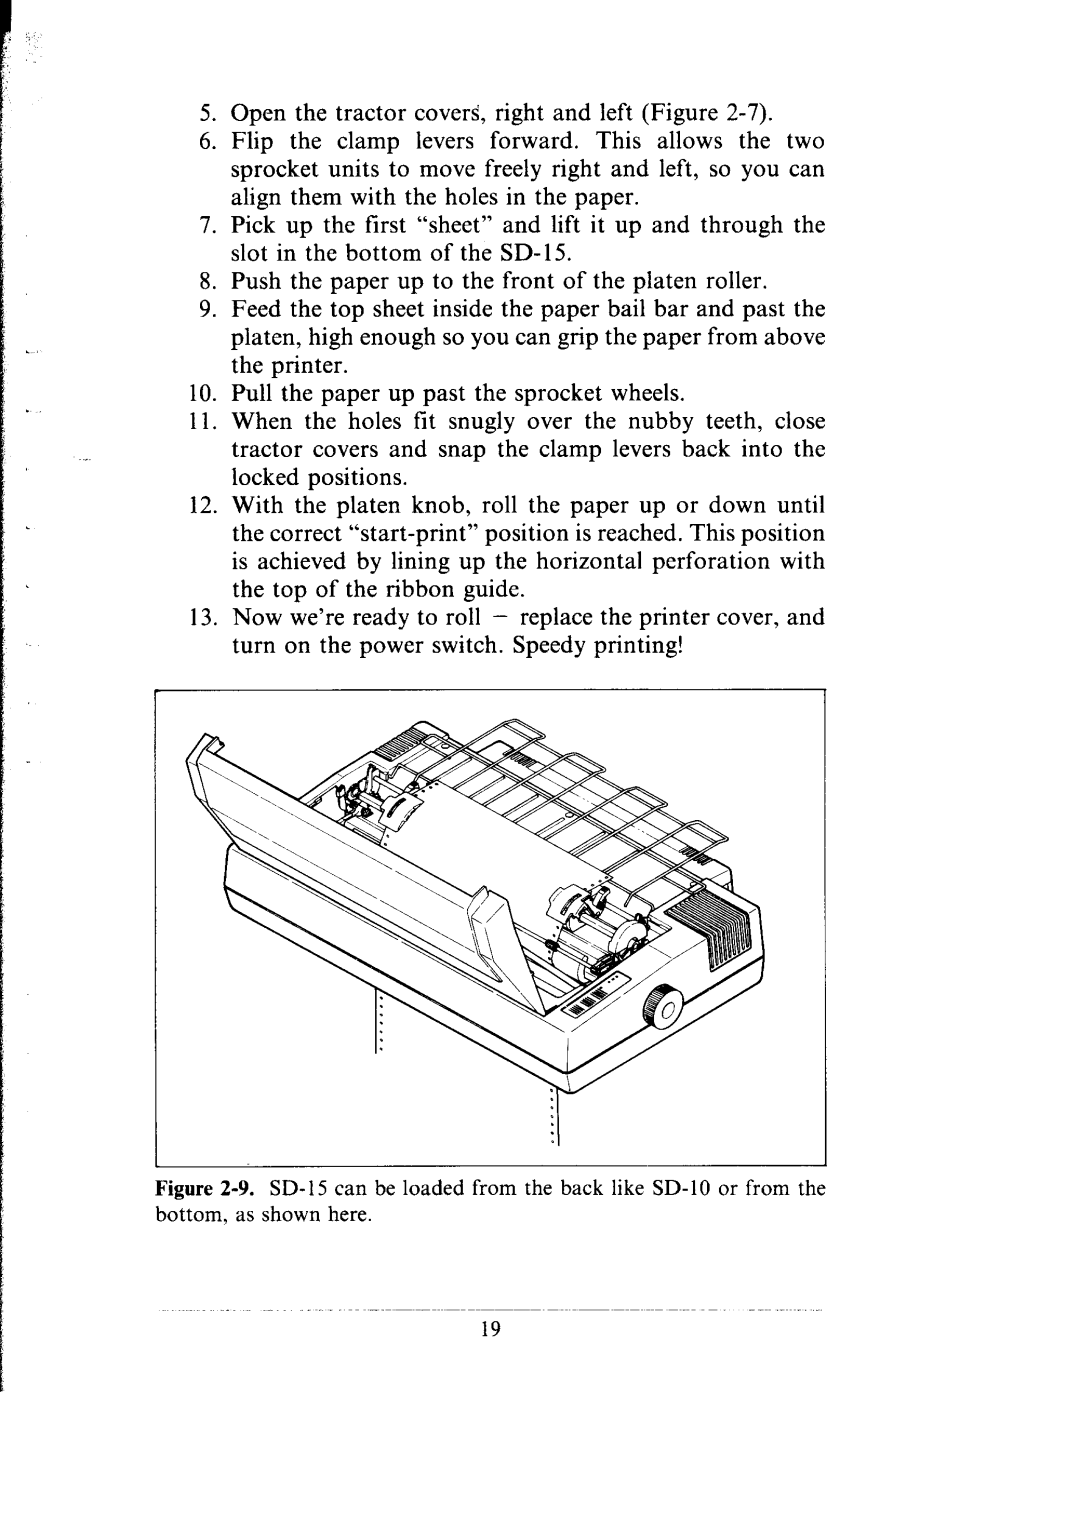
Figure 2-9. SD-15 can be loaded from the back like SD-10 or from the
bottom, as shown here.
19