OPTIONAL DEVICES
User's Manual
5. Insert a thin object under the rim of the keyboard brace and lift out the brace.
Figure 8-5 Removing the keybord brace
6.Remove two screws securing the keyboard and one screw securing the metal brace. Lift off the metal brace.
NOTE: Use a point size 0 Phillips screwdriver.
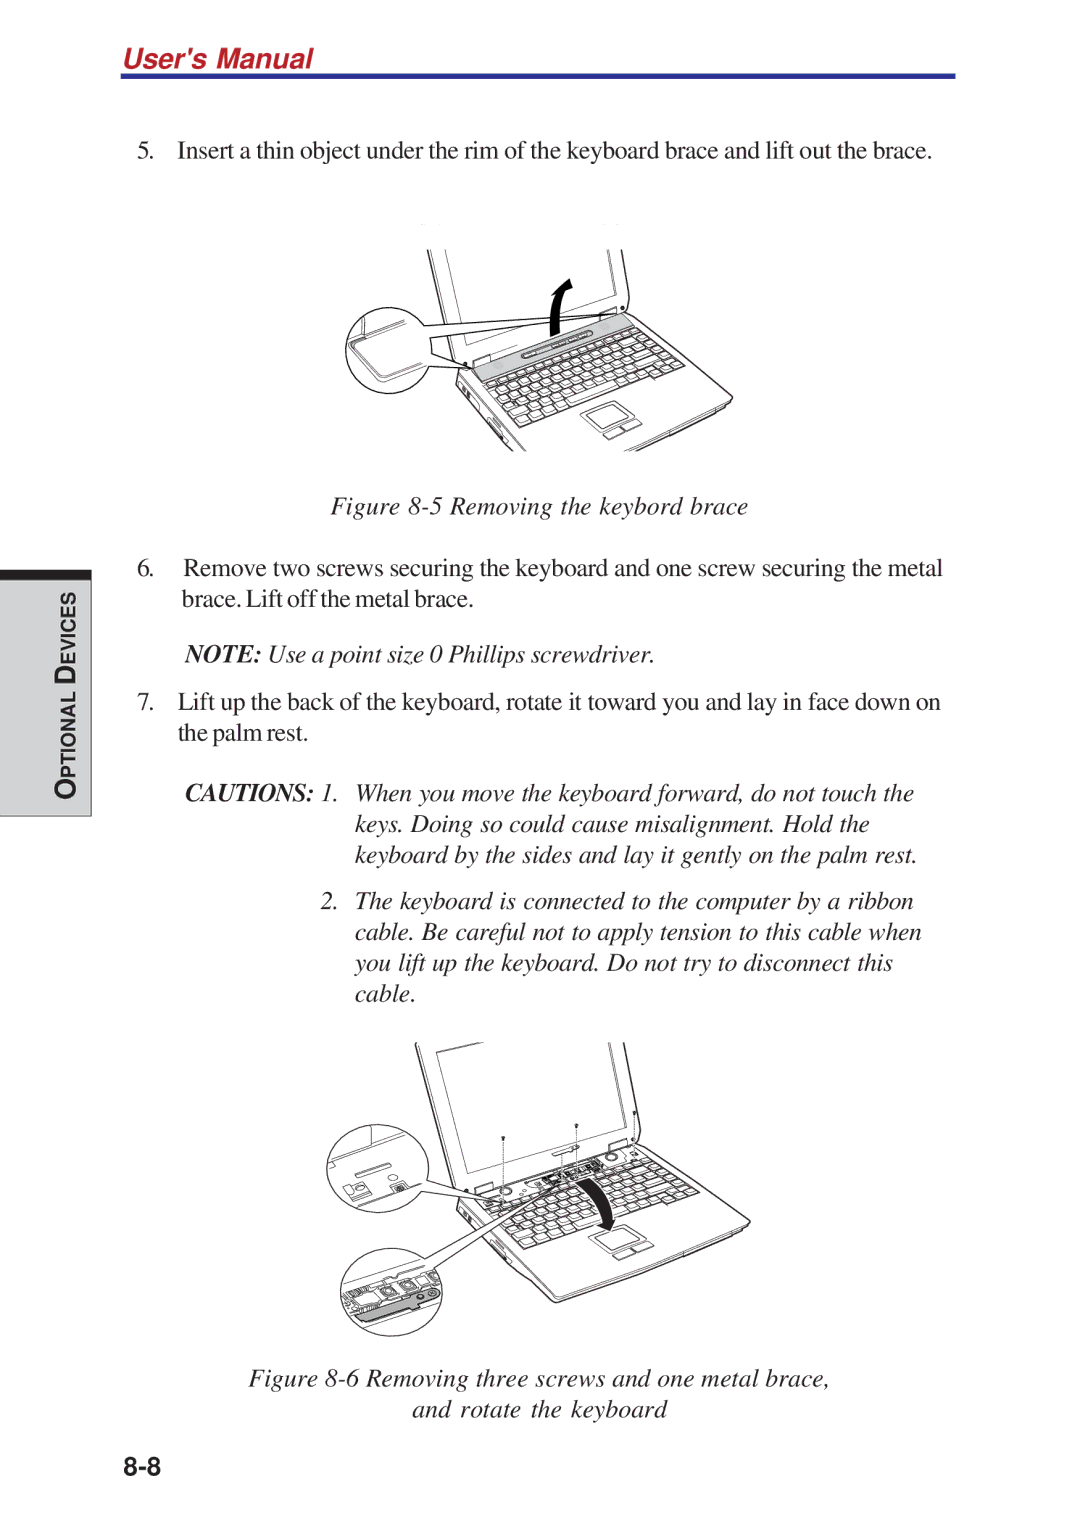
7.Lift up the back of the keyboard, rotate it toward you and lay in face down on the palm rest.
CAUTIONS: 1. When you move the keyboard forward, do not touch the keys. Doing so could cause misalignment. Hold the keyboard by the sides and lay it gently on the palm rest.
2.The keyboard is connected to the computer by a ribbon cable. Be careful not to apply tension to this cable when you lift up the keyboard. Do not try to disconnect this cable.