Manuals
/
Vivotek
/
Musical Instruments & Equipment
/
Recording Equipment
Vivotek
ST3402
user manual
User’s Manual
Models:
ST3402
1
1
88
88
Download
88 pages
62.81 Kb
1
2
3
4
5
6
7
8
Install
Indicators56B
Login
Camera13BConfigurations
Check Setup Information
Display63BAdjustment Toolbox
Backup Settings
Local Settings
System Restore
Volume100B
Page 1
Image 1
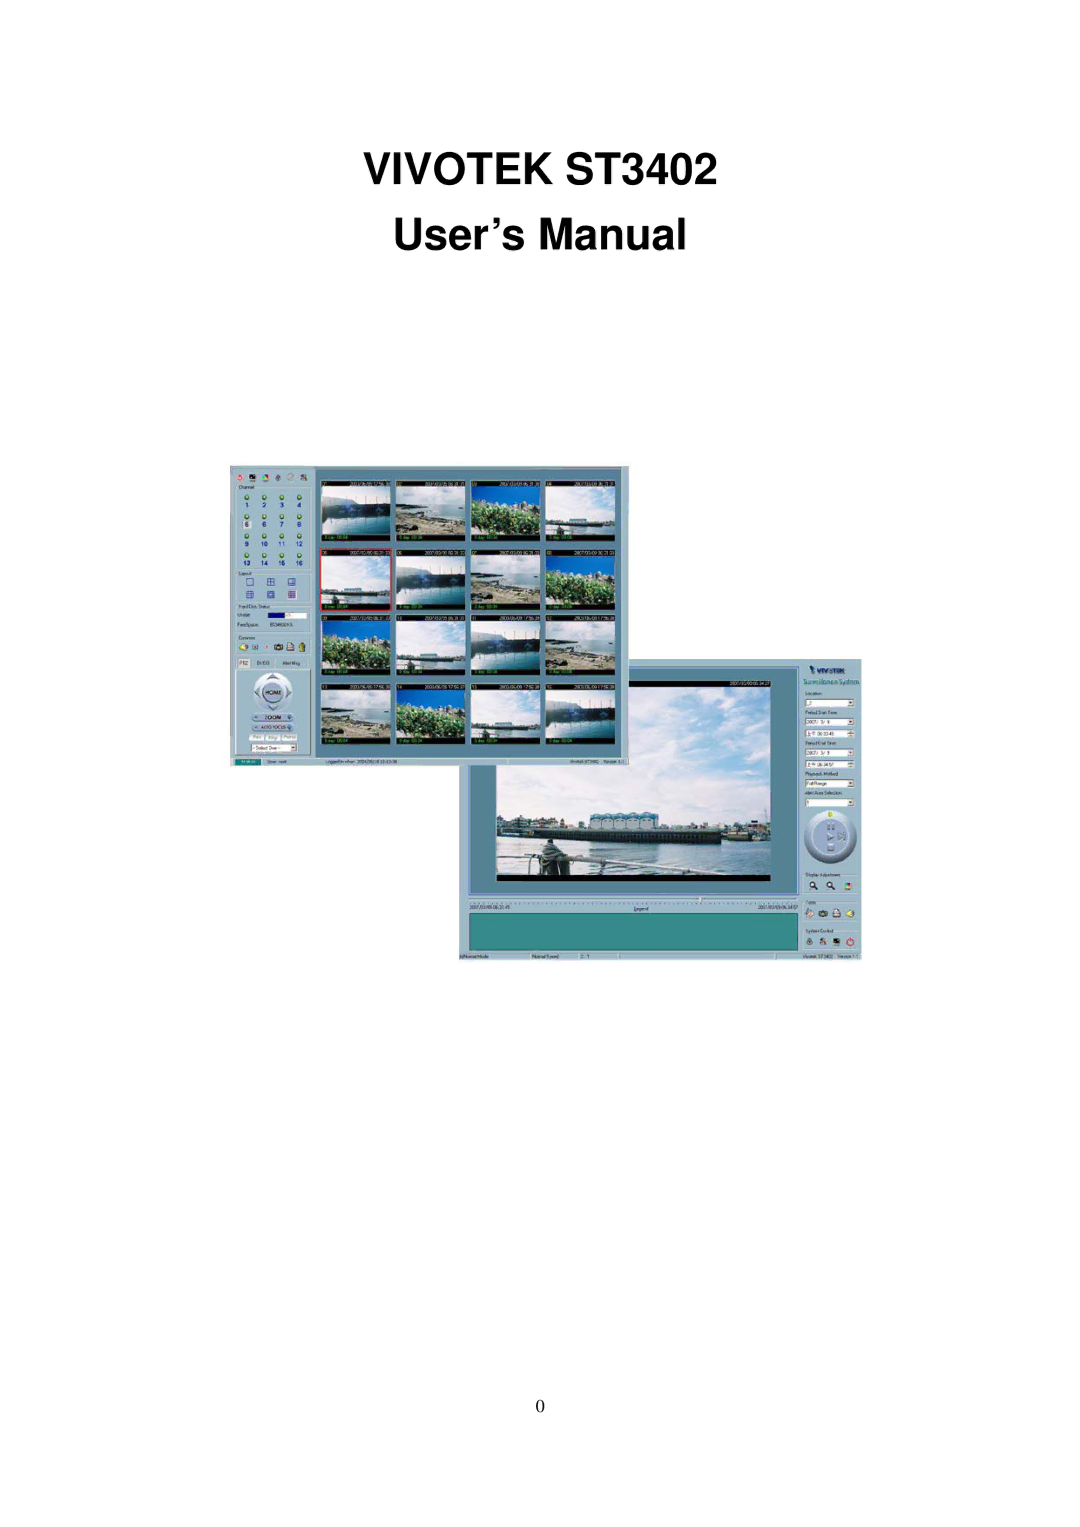
VIVOTEK ST3402
User’s Manual
0
Page 1
Page 2
Page 1
Image 1
Page 1
Page 2
Contents
User’s Manual
Contents105B
Page
Recommended28Bminimum system hardware requirements
System5BHardware Requirements
Suggestions29B
System Restore
DBS, DES, DIA, DSK, DSS HGD, WAP, BCK
Auto-Protect Exclusion List
ST3402 Smart VS-IP Recorder Installation Window
Software6BInstallation
Welcome page for the Vivotek ST3402
To continue
10 Destination Location for Installation
12 Check Setup Information
FigureX1-14X
First7BStart up
Security8Bfor Launcher
Launcher1B
User9BInterface
Login Dialog
II. User management
User Management Window
Monitor Start Up Mode
Hint of State
Page
Traditional30BSurveillance Features
Features10Bof Monitor Tool
Special31BFeatures
Overview of the Monitor Tool
Application11BLayout Functionalities
Page
1 The32BPrivilege of Each Group
Logging12BIn
Camera Configuration
Camera13BConfigurations
Layouts of Camera Configurations
1 The33BLayout of the Configuration
Local Settings
Local Settings
Delete a camera to the list
Alert Settings
Alert35BSettings and Recording Settings
Changing36Bthe Camera Order in the List
Recording Settings
Saving37Bthe Changes
Global14BSettings
Directory Settings
Record Diskspace Usage Settings
Backup Settings
13 Network Account Drive settings
Display15B& UI Settings
Snapshot Format
Display Options
NUMPAD0
Connection38Bof the Video Server / Network Camera Series
Using16BMonitor Tool
19 The Hhint of Authentication Fail
20 Invoke Authentication Window
23 The Hint of Unknown Type
Show67Bthe video of the specific channel
24 Mouse Cursor on the Channel Number
Page
26 Showing Video on the Displaying Frame
Close68Bthe channel in displaying frame
27 Close the Channel
2 The39BLayout
28 Layout Monitor tool
30 Double-clicking on the Displaying frame
32 Input/Output Control Tool
2.2 DI/DO70BControl
2.1 PTZ69BControl
OFF
Alert71BMessage
35 Alert Message
Talk72BControl
36 Talk Control
About41B
Backup40B
39 Miscellaneous functions
Miscellaneous Functions
Page
40 Common Control Functions
Common43BControl Functions
Status45BBar
Multiple44BFocus
Starting46Bthe Scheduling tool
Invoke17BScheduling Tool
Introduction47B
The18BLayout and Functionalities
Channel Selector
2 The48BFunctionalities of Configuration Components
3 The49BSchedule Scheme operations
Primary19BSchedule
Schedule50Bwith Time Lines
Marking/Unmarking74Bthe Recoding Time
Week73BTime-Line
Hour75BTime-Line
Marking/Unmarking76Bthe Recording Time
Schedule51Bwith Time Picker
Begin77Band End Time
2.2 Add78Band Erase Buttons
Period Picker, Apply button and Erase button
Schedule53Bin Continuous mode
Schedule52Bin event mode
Motion79Bdetection
Digital80Binput
Schedule54Bmodes
Secondary20BSchedule
Playback4B
Features21Bof Playback
Logging22BIn
Main55BAreas
Layout23B
Display81BArea
Display By Time Normal Display Mode
Control83BArea
Histogram82BArea
Status84BArea
Indicators56B
Settings24B
Area85BSelection Indicator
Frame86BSelection Indicator
System Control Tool
Settings Dialog
Normal25BSingle Frame Mode
Histogram58BArea
Normal Display Mode
Preview26BMultiple Frame Mode
Histogram59BArea
Preview Mode
Histogram60BLegend
Using27BTools
Selector61BTools
Period88BSelector
Location87BSelector
Playback89BMethod Selector
Play62BControl
Alert90BArea Selector
14 Jog Dial
Zoom91BIn
Display63BAdjustment Toolbox
Zoom92BOut
Full Screen
Searching64BRange Adjustment Toolbox
Zoom94BIn
Zoom95BOut
Full96BRange
Toolbox65B
Transducer97B
Snapshot98B
System66BControl Toolbox
Volume100B
Print99B
Lock101BProgram
Settings102B
Minimize103B
Exit104B
Top
Page
Image
Contents