You can make your own schedule scheme by plotting markers in all
4.3.1.1 Week73BTime-Line
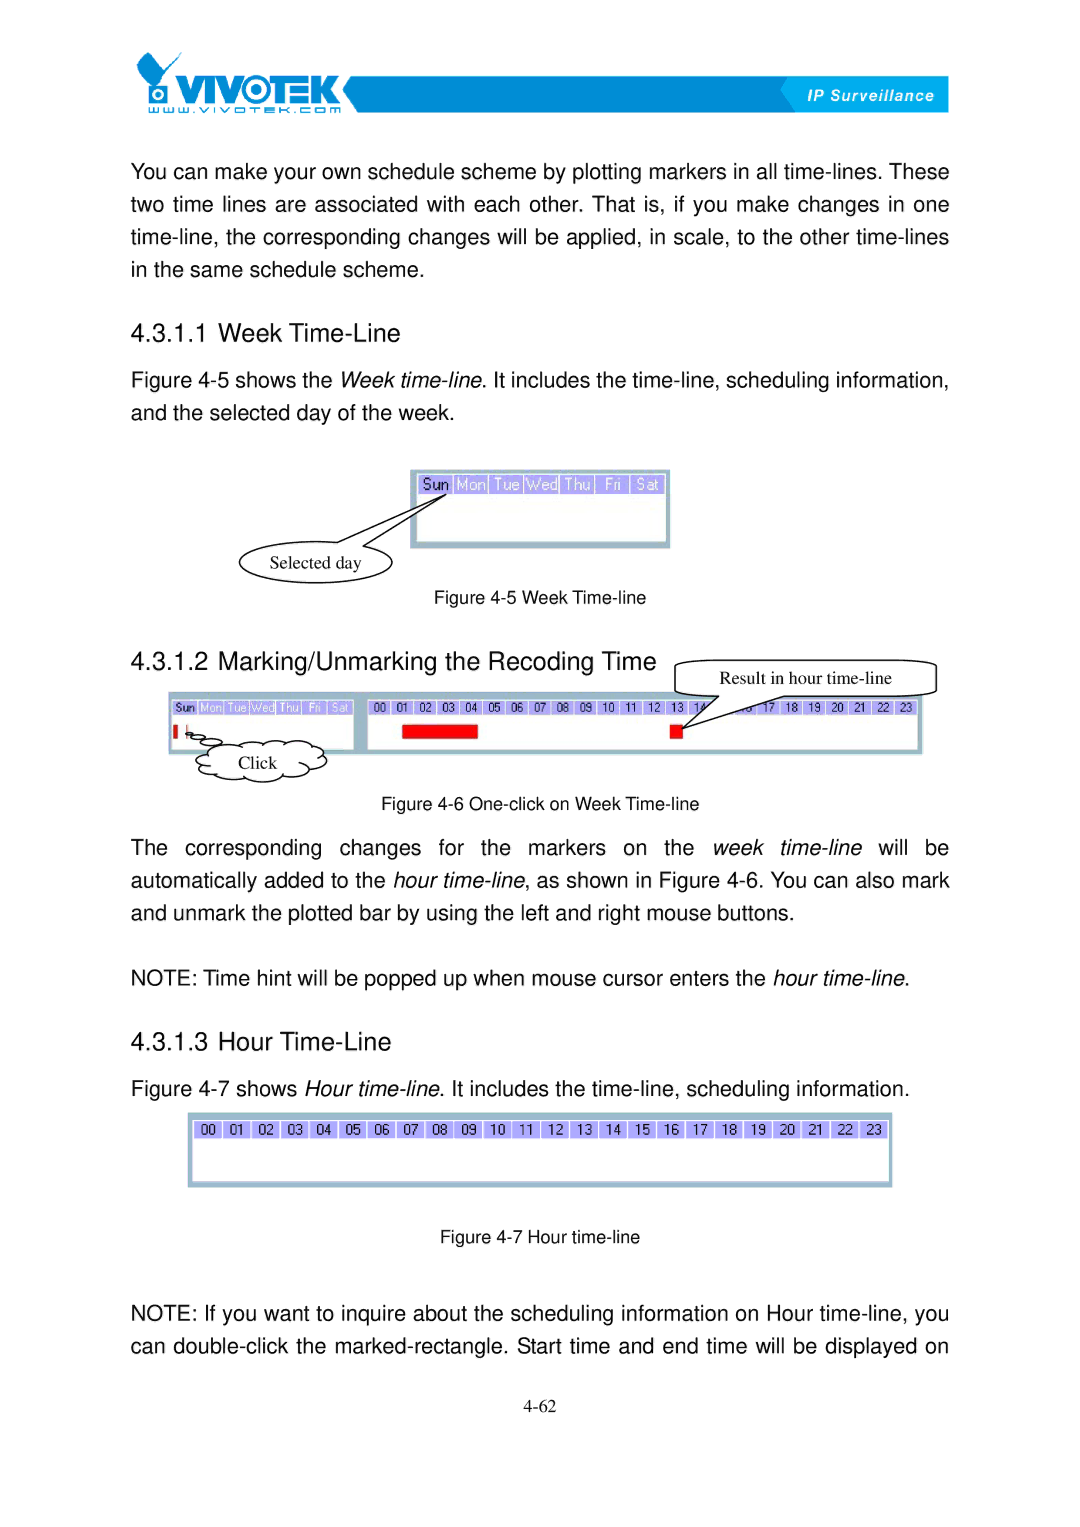
FigureX4-5Xshows the Week time-line. It includes the time-line, scheduling information,
and the selected day of the week.
Selected day
Figure 4-5 Week Time-line
4.3.1.2 Marking/Unmarking74Bthe Recoding Time
Click
Result in hour
Figure 4-6 One-click on Week Time-line
The corresponding changes for the markers on the week
automatically added to the hour
NOTE: Time hint will be popped up when mouse cursor enters the hour
4.3.1.3 Hour75BTime-Line
FigureX4-7Xshows Hour time-line. It includes the time-line, scheduling information.
Figure 4-7 Hour time-line
NOTE: If you want to inquire about the scheduling information on Hour