Installation
Basic Setup Procedure
Table
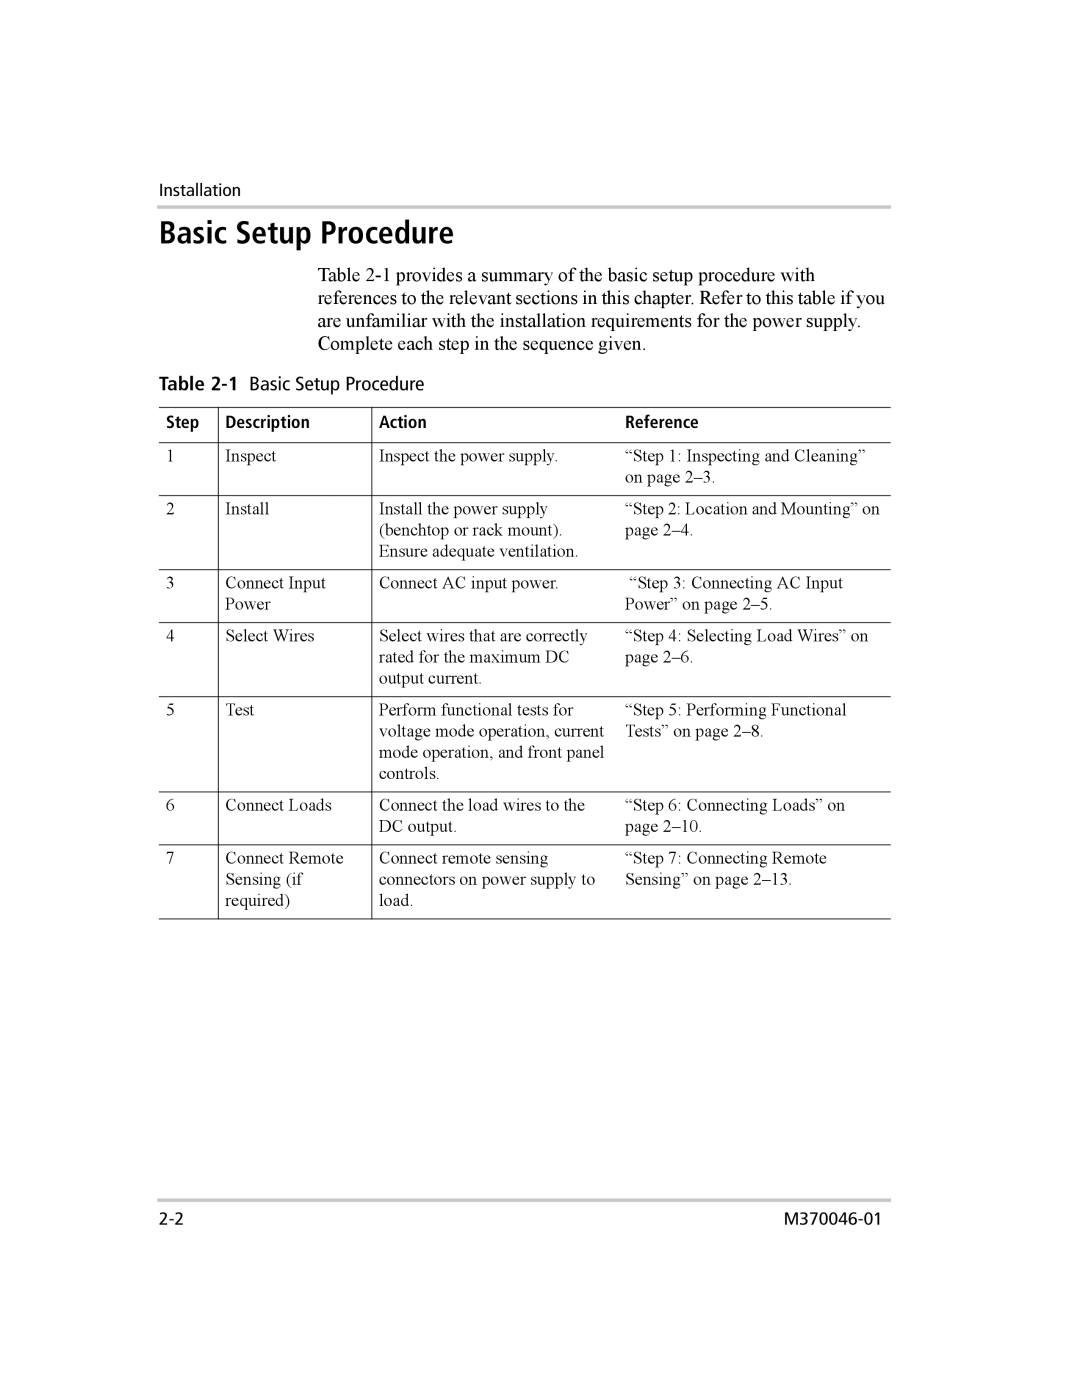
Table 2-1 Basic Setup Procedure
Step | Description | Action | Reference |
|
|
|
|
1 | Inspect | Inspect the power supply. | “Step 1: Inspecting and Cleaning” |
|
|
| on page |
|
|
|
|
2 | Install | Install the power supply | “Step 2: Location and Mounting” on |
|
| (benchtop or rack mount). | page |
|
| Ensure adequate ventilation. |
|
|
|
|
|
3 | Connect Input | Connect AC input power. | “Step 3: Connecting AC Input |
| Power |
| Power” on page |
|
|
|
|
4 | Select Wires | Select wires that are correctly | “Step 4: Selecting Load Wires” on |
|
| rated for the maximum DC | page |
|
| output current. |
|
|
|
|
|
5 | Test | Perform functional tests for | “Step 5: Performing Functional |
|
| voltage mode operation, current | Tests” on page |
|
| mode operation, and front panel |
|
|
| controls. |
|
|
|
|
|
6 | Connect Loads | Connect the load wires to the | “Step 6: Connecting Loads” on |
|
| DC output. | page |
|
|
|
|
7 | Connect Remote | Connect remote sensing | “Step 7: Connecting Remote |
| Sensing (if | connectors on power supply to | Sensing” on page |
| required) | load. |
|
|
|
|
|
