AT-GS950/10PS Switch Web Interface User’s Guide
Create a Port Trunk
This procedure explains how to create a static port trunk.
![]() Caution
Caution
Do not connect the cables of a port trunk to the ports on the switch until you have configured the ports on both the switch and the end nodes. Connecting the cables prior to configuring the ports can create loops in your network topology. Loops can result in broadcast storms which can severely limited the effective bandwidth of your network.
To create a port trunk, perform the following procedure:
1.Select the Bridge folder. The Bridge folder expands.
2.From the Bridge folder, select the Trunk Config folder. The Trunk Config folder expands.
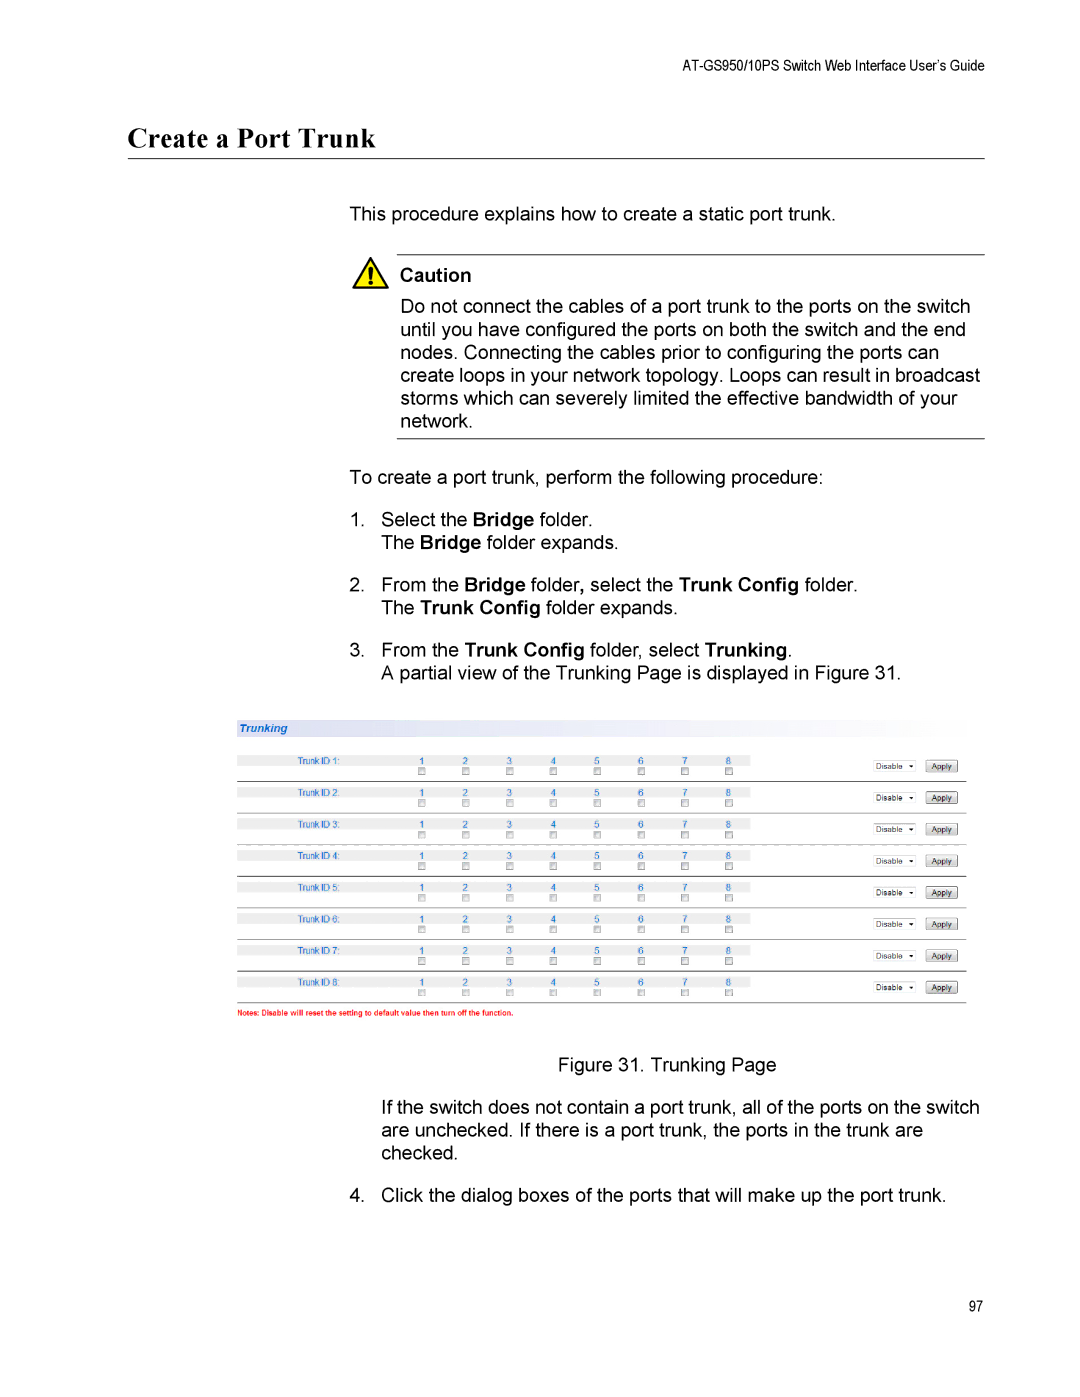
3.From the Trunk Config folder, select Trunking.
A partial view of the Trunking Page is displayed in Figure 31.
Figure 31. Trunking Page
If the switch does not contain a port trunk, all of the ports on the switch are unchecked. If there is a port trunk, the ports in the trunk are checked.
4. Click the dialog boxes of the ports that will make up the port trunk.
97