AT-GS950/10PS Switch Web Interface User’s Guide
Configure RSTP Port Settings
Configure the
Basic RSTP Port
Settings
This section contains the following topics:
“Configure the Basic RSTP Port Settings,” next
“Configure the Advanced RSTP Port Settings” on page 75
To configure the basic RSTP port settings, perform the following procedure:
1.From the main menu on the left side of the page, select Bridge. The Bridge folder expands.
2.From the Bridge folder, select the Spanning Tree folder. The Spanning Tree folder expands.
3.From the Spanning Tree folder, select the RSTP folder. The RSTP folder expands.
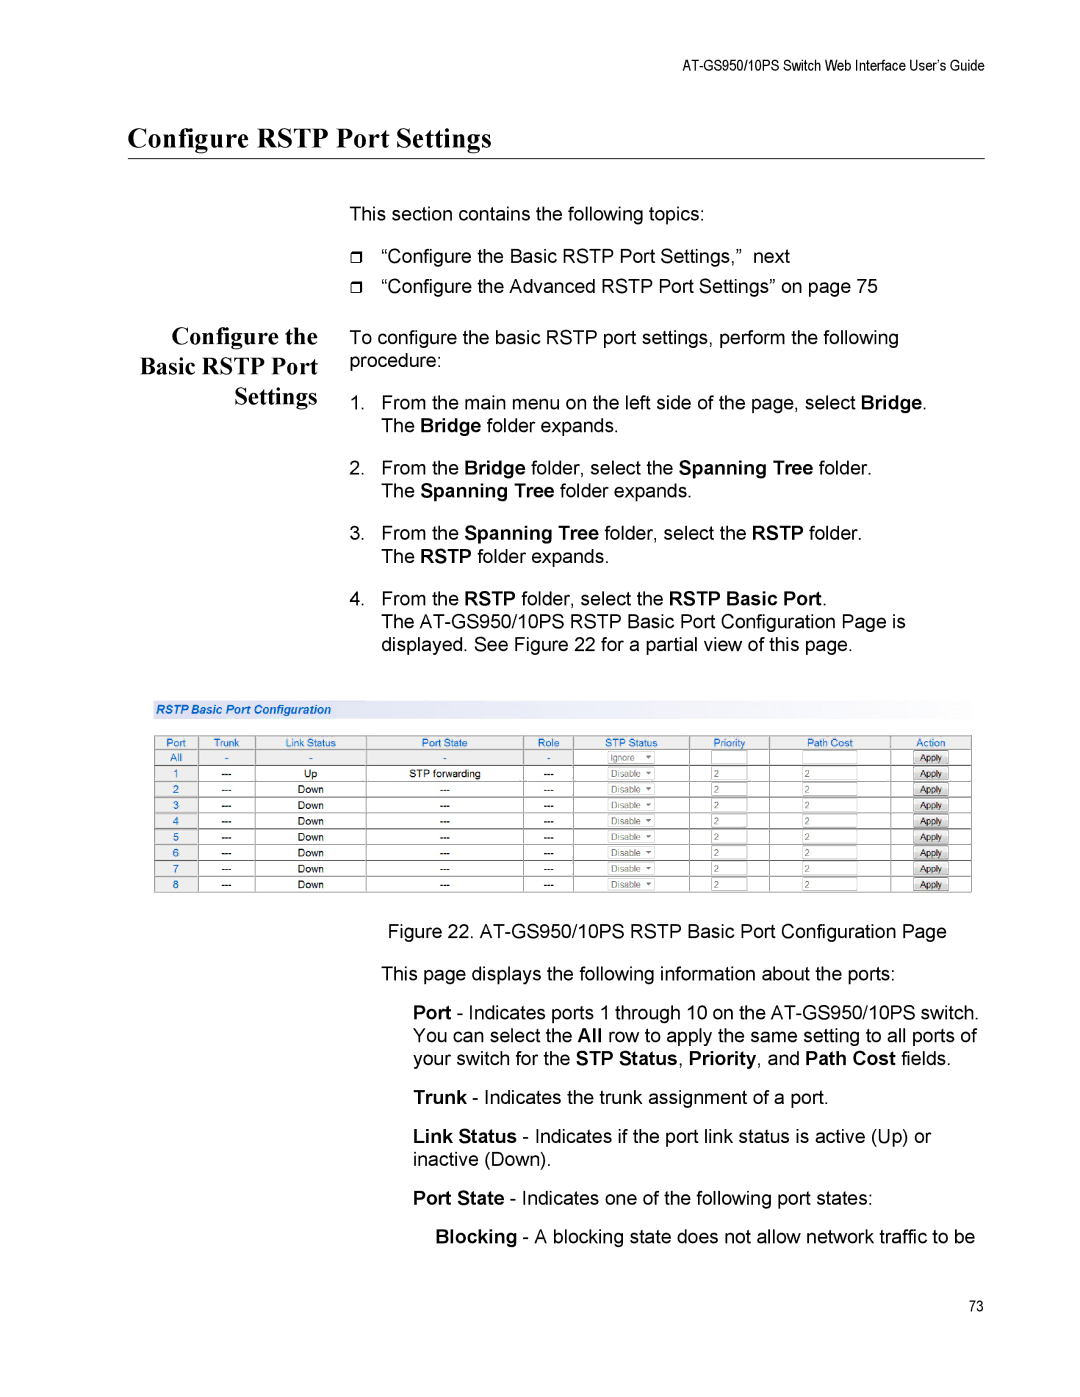
4.From the RSTP folder, select the RSTP Basic Port.
The
Figure 22. AT-GS950/10PS RSTP Basic Port Configuration Page
This page displays the following information about the ports:
Port - Indicates ports 1 through 10 on the AT-GS950/10PS switch. You can select the All row to apply the same setting to all ports of your switch for the STP Status, Priority, and Path Cost fields.
Trunk - Indicates the trunk assignment of a port.
Link Status - Indicates if the port link status is active (Up) or inactive (Down).
Port State - Indicates one of the following port states:
Blocking - A blocking state does not allow network traffic to be
73
