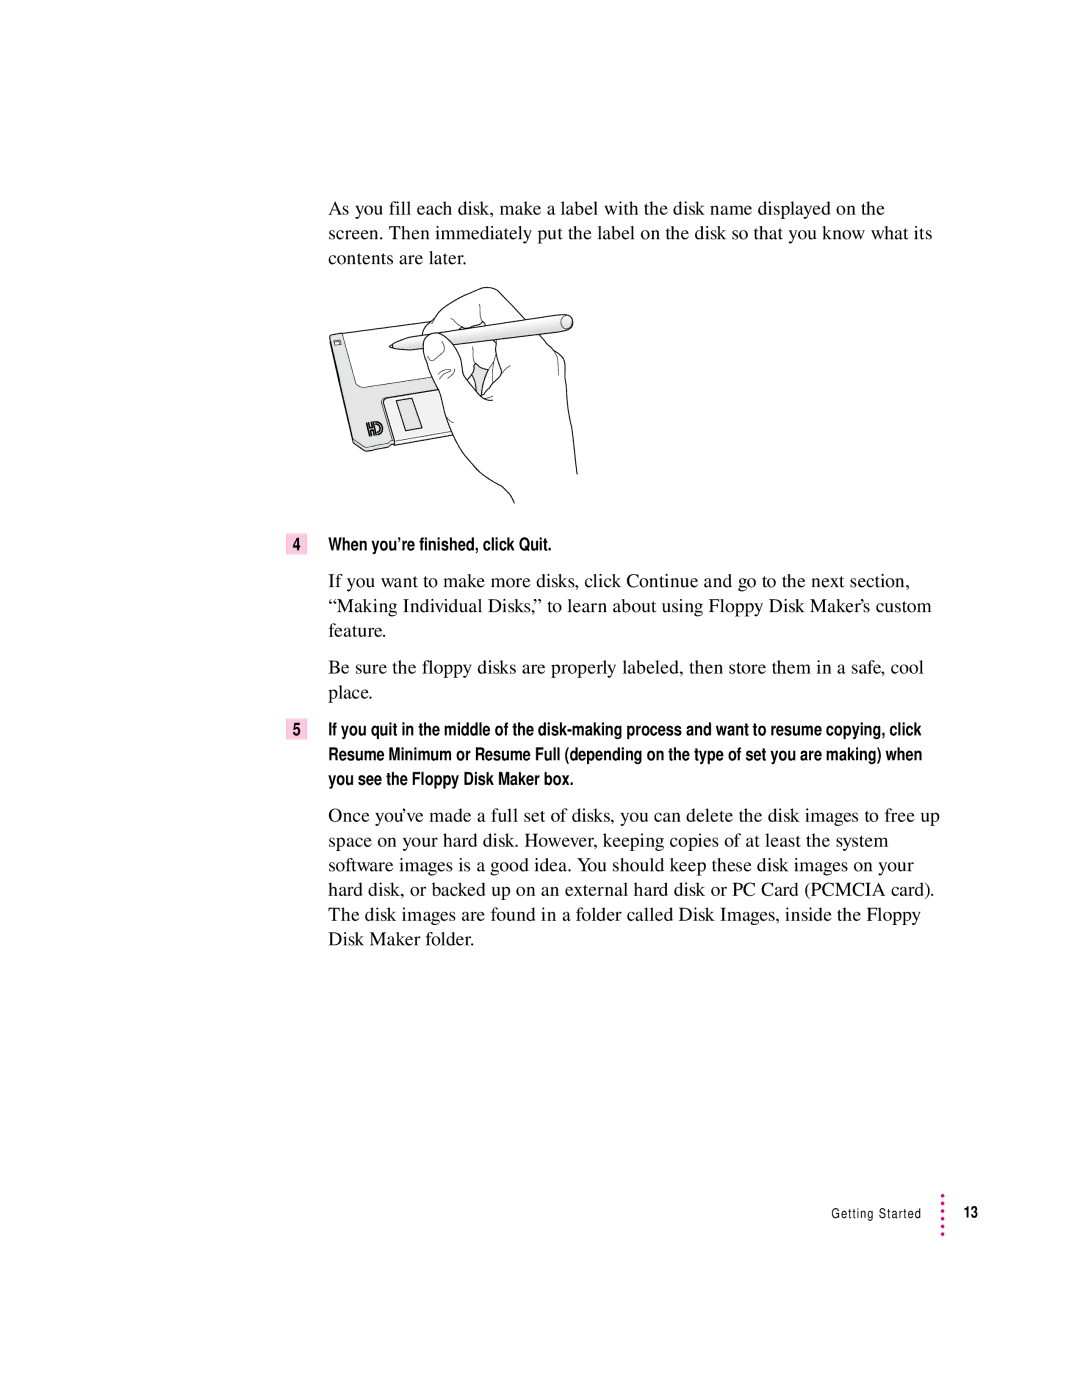
As you fill each disk, make a label with the disk name displayed on the screen. Then immediately put the label on the disk so that you know what its contents are later.
4When you’re finished, click Quit.
If you want to make more disks, click Continue and go to the next section, “Making Individual Disks,” to learn about using Floppy Disk Maker’s custom feature.
Be sure the floppy disks are properly labeled, then store them in a safe, cool place.
5If you quit in the middle of the
Once you’ve made a full set of disks, you can delete the disk images to free up space on your hard disk. However, keeping copies of at least the system software images is a good idea. You should keep these disk images on your hard disk, or backed up on an external hard disk or PC Card (PCMCIA card). The disk images are found in a folder called Disk Images, inside the Floppy Disk Maker folder.
Getting Started | 13 |
