Installing the
AsantéBridge
1012
Preparing for the Installation
Installing the AsantéBridge 1012
This section tells you how to quickly install your new AsantéBridge 1012 between two segments in a network and how to connect other network devices to the RJ45 ports.
This is a very simple installation guide designed to get your AsantéBridge up and running with minimum effort. For more detailed information on different ways you can install your AsantéBridge, please see the next chapter, “Connecting to the Network.”
You need to make sure you have certain items ready before doing the installation.
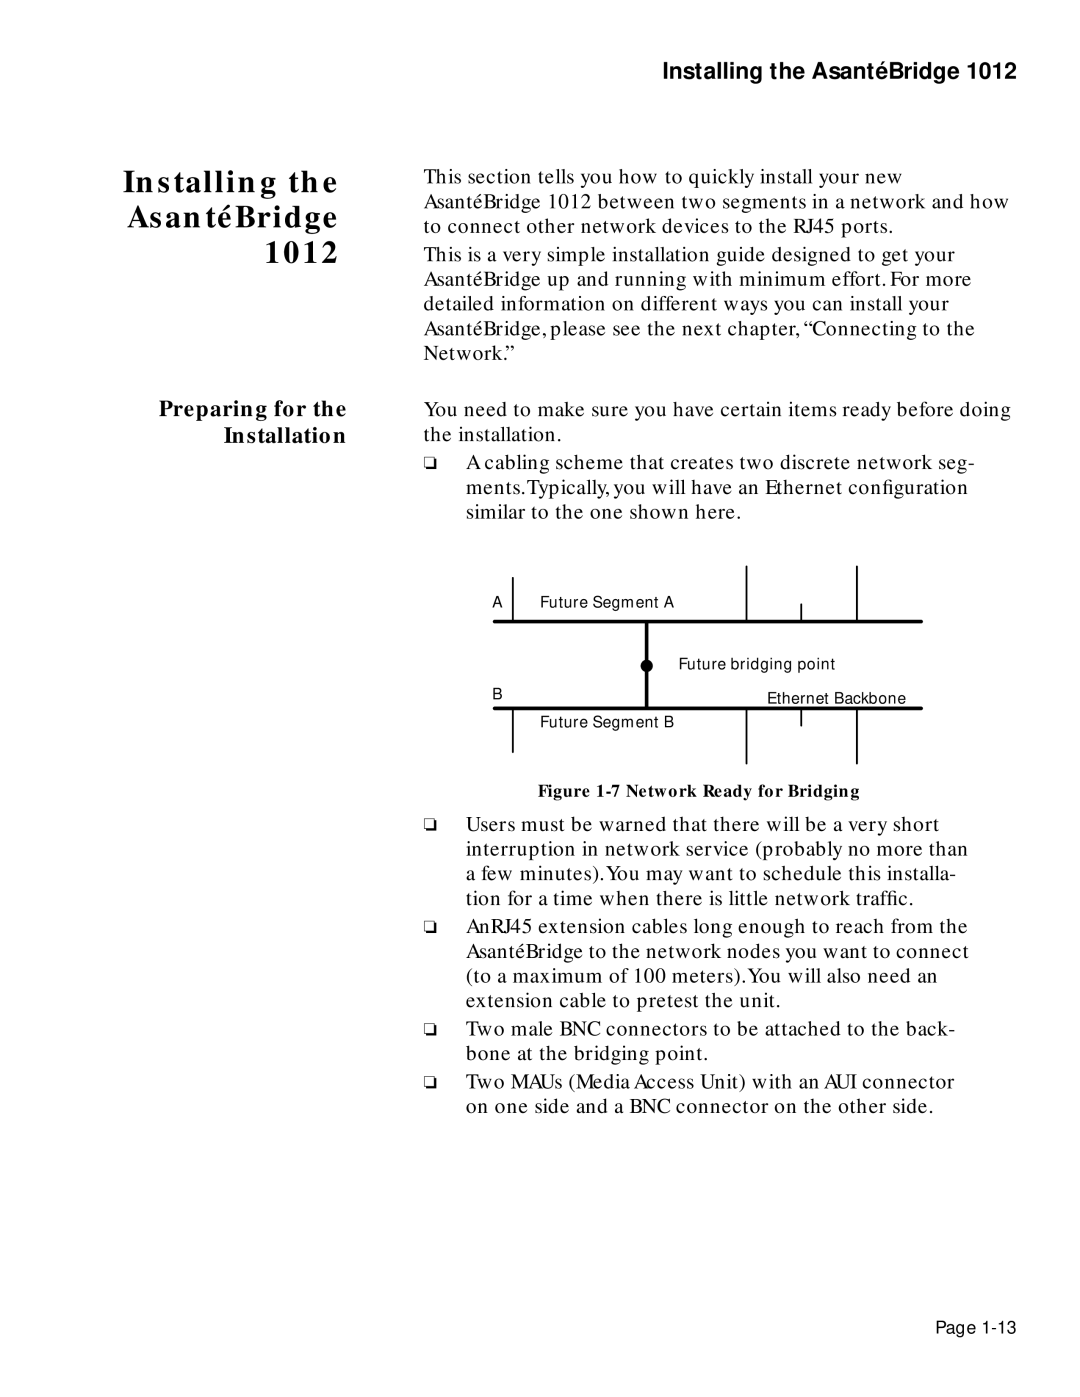
❏A cabling scheme that creates two discrete network seg- ments.Typically, you will have an Ethernet configuration similar to the one shown here.
A |
| Future Segment A |
|
|
| ||
|
|
|
| ||||
|
|
|
| ||||
|
|
|
|
|
|
|
|
|
|
|
| Future bridging point | |||
B |
|
|
| Ethernet Backbone | |||
|
|
| Future Segment B |
|
|
| |
|
|
|
|
|
| ||
|
|
|
|
|
|
|
|
|
|
|
|
|
|
|
|
Figure 1-7 Network Ready for Bridging
❏Users must be warned that there will be a very short interruption in network service (probably no more than a few minutes).You may want to schedule this installa- tion for a time when there is little network traffic.
❏AnRJ45 extension cables long enough to reach from the AsantéBridge to the network nodes you want to connect (to a maximum of 100 meters).You will also need an extension cable to pretest the unit.
❏Two male BNC connectors to be attached to the back- bone at the bridging point.
❏Two MAUs (Media Access Unit) with an AUI connector on one side and a BNC connector on the other side.
Page