2 Fasten the brackets to the rack, using the hardware pro- vided, or wall using screws that are appropriate for the type of wall on which you are mounting the AsantéBridge.
3 Place the unit on the brackets (get an assistant to hold it in place if necessary), and fasten the hub to the brackets, using the screws provided.
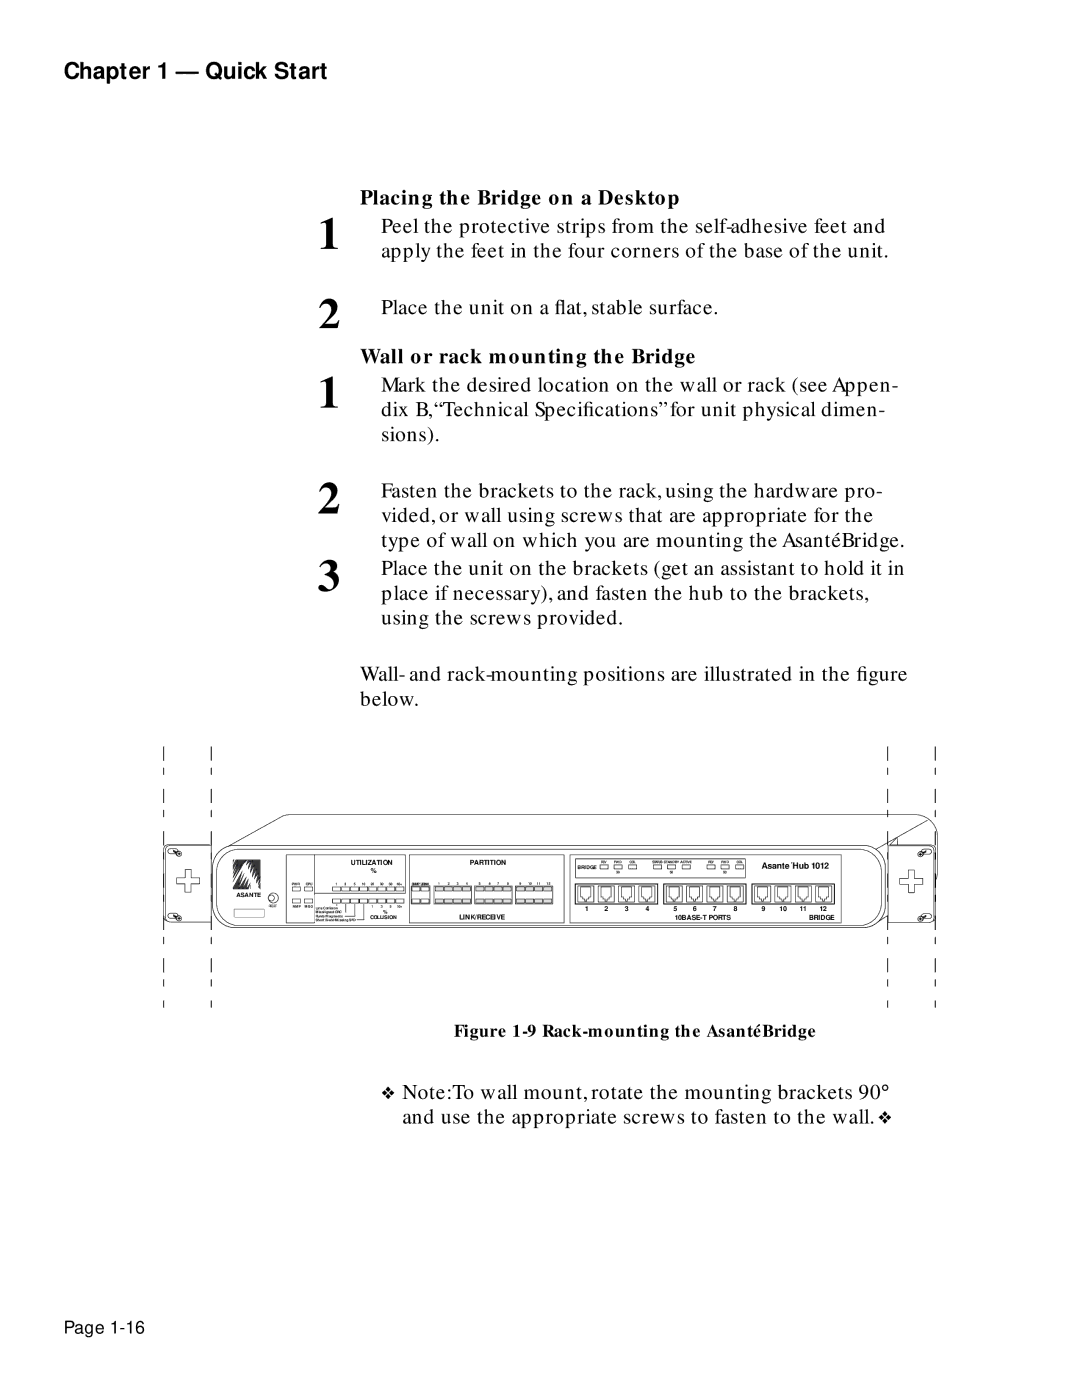
Wall- and rack-mounting positions are illustrated in the figure below.
1
2
1 Mark the desired location on the wall or rack (see Appen- dix B,“Technical Specifications” for unit physical dimen- sions).
Wall or rack mounting the Bridge
Place the unit on a flat, stable surface.
Peel the protective strips from the self-adhesive feet and apply the feet in the four corners of the base of the unit.
Placing the Bridge on a Desktop
Chapter 1 — Quick Start
| | | | | | | | UTILIZATION | | | | | | | PARTITION |
| | | | | | | | | | % | | | | | | | | | | | | | | | |
PWR | CPU | 1 3 5 | | 10 20 | 30 | 50 | | 65+ | | SNMP UPLINK 1 2 3 4 5 6 7 8 9 10 11 12 |
| | | | | | | | | | | | | | | | | | | | | | | | | | | |
| | | | | | | | | | | | | | | | | | | | | | | | | |
| | | | | | | | | | | 1 | 3 | 5 | | 10+ | | | | | | | | | | | |
| | | | | | | | | | | | | | | | | | | | | | |
| NMP | MSG | Late Collision | | | | | | | | | | | | | | | |
| | | | | Misaligned CRC | | | | | | % | | | | | | | | LINK/RECEIVE |
| | | | | Short Event/Missing SFD | | | | COLLISION | | | | | |
| | | | | Runts/Fragments | | | | | | | | | | | | | | | | | | | | |
| | | | | | | | | | | | | | | | | | | | | | | | | | | |
| | | | | | | | | | | | | | | | | | | | | | | | | | | |
| | | | | | | | | | | | | | | | | | | | | | | | | | Asante´Hub 1012 |
| BRIDGE | RCV | FWD | COL | STATUS STANDBY ACTIVE | | | RCV FWD | | COL | | |
| | | | | | | | | | | | | | | | | | | | | | | |
| | 50 | | | | | | 50 | | | | | 50 | | | | | |
| | | | | | | | | | | | | | | | | | | | | | | | | | |
| | | | | | | | | | | | | | | | | | | | | | | | | | | | | | | | | | |
| | | | | | | | | | | | | | | | | | | | | | | | | | | | | | | | | | |
| | | | | | | | | | | | | | | | | | | | | | | | | | | | | | | | | | |
| | | | | | | | | | | | | | | | | | | | | | | | | | | | | | | | | | |
| | | | | | | | | | | | | | | | | | | | | | | | | | | | | | | | | | |
| 1 | | 2 | 3 | 4 | | 5 | | | 6 | 7 | | | 8 | 9 | 10 | 11 | 12 | |
| | | | | | | | | | | | | 10BASE-T PORTS | | | | | | | | | | BRIDGE |
Figure 1-9 Rack-mounting the AsantéBridge
❖Note:To wall mount, rotate the mounting brackets 90° and use the appropriate screws to fasten to the wall. ❖