CONTENTS
GLOSSARY
INDEX
Chapter 3 | 14 |
Scanning |
|
|
You can choose to scan the image without changing the default scan settings, or you can use ScanGear
Acquiring an Image
When an application receives a scanned image directly from a scan, it is acquiring the image. Throughout this manual, you will see references to “acquiring an image.” This means that an application is using ScanGear
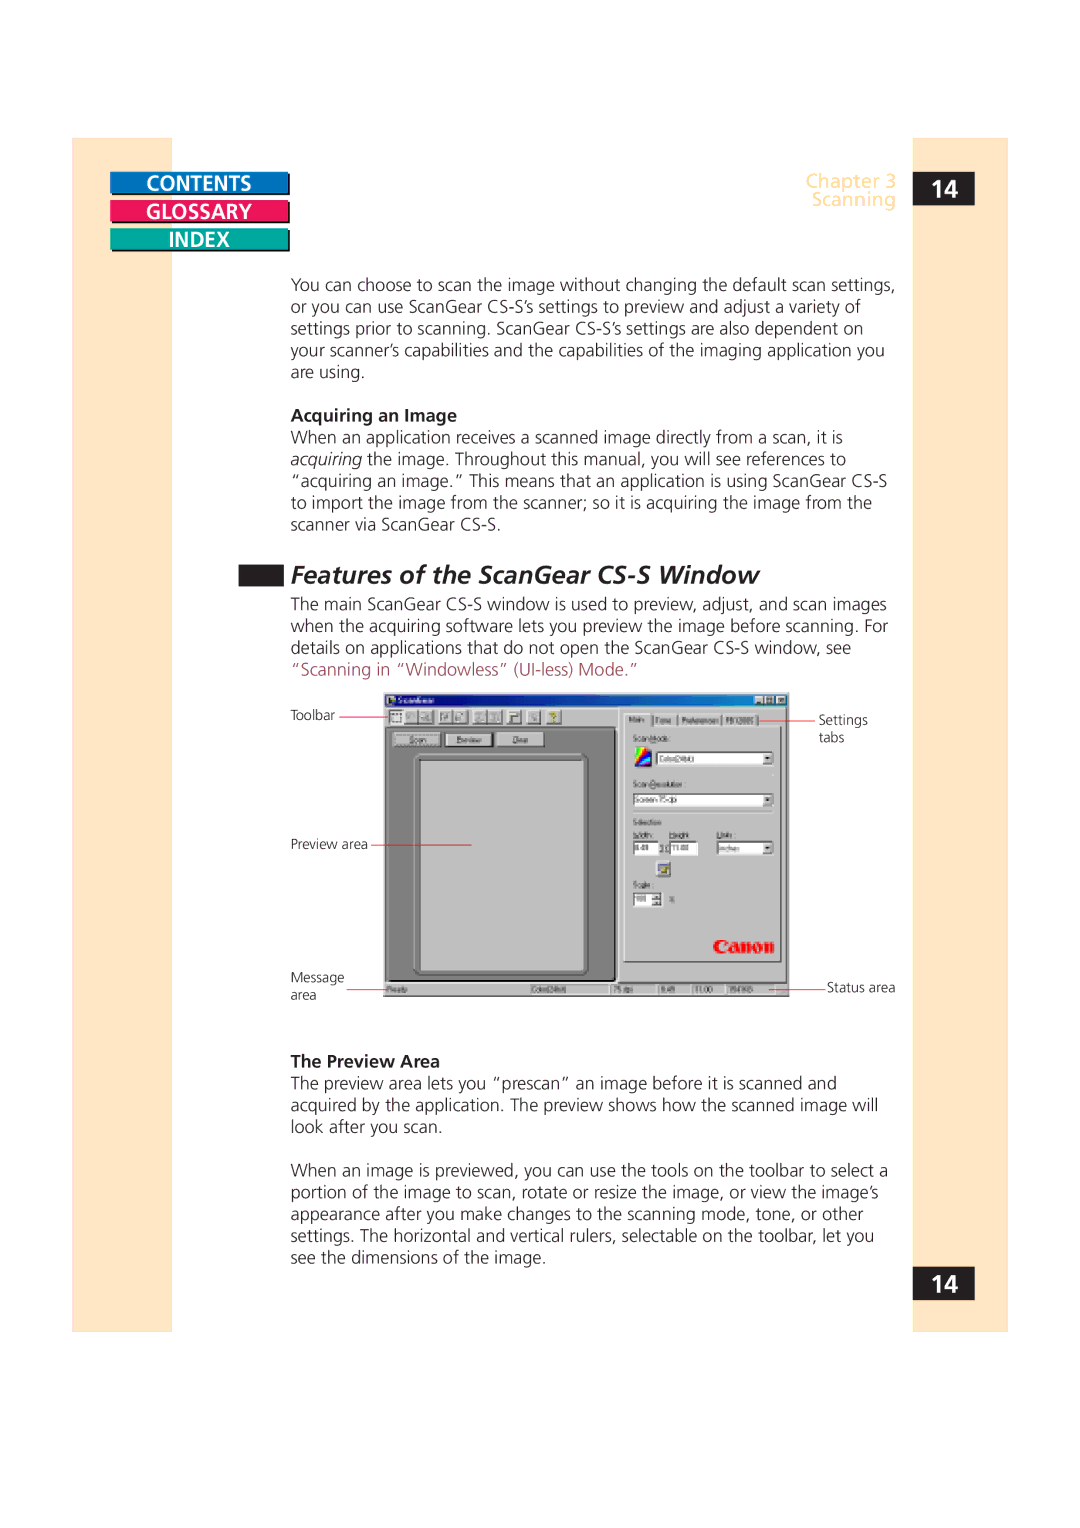
Features of the ScanGear CS-S Window
The main ScanGear
Toolbar |
|
|
| Settings |
|
|
| ||
|
|
|
| |
|
|
|
| tabs |
Preview area
Message |
|
|
| Status area |
area |
|
|
| |
|
| |||
|
|
|
|
The Preview Area
The preview area lets you “prescan” an image before it is scanned and acquired by the application. The preview shows how the scanned image will look after you scan.
When an image is previewed, you can use the tools on the toolbar to select a portion of the image to scan, rotate or resize the image, or view the image’s appearance after you make changes to the scanning mode, tone, or other settings. The horizontal and vertical rulers, selectable on the toolbar, let you see the dimensions of the image.
14