Chapter 2 Installing the Access Point
Mounting the Access Point
Step 3 When all bolts are
Step 4 Repeat Step 3 using the same tightening sequence to fully tighten each bolt to 6 to 7 ft lbs (0.68 to 0.79 Nm).
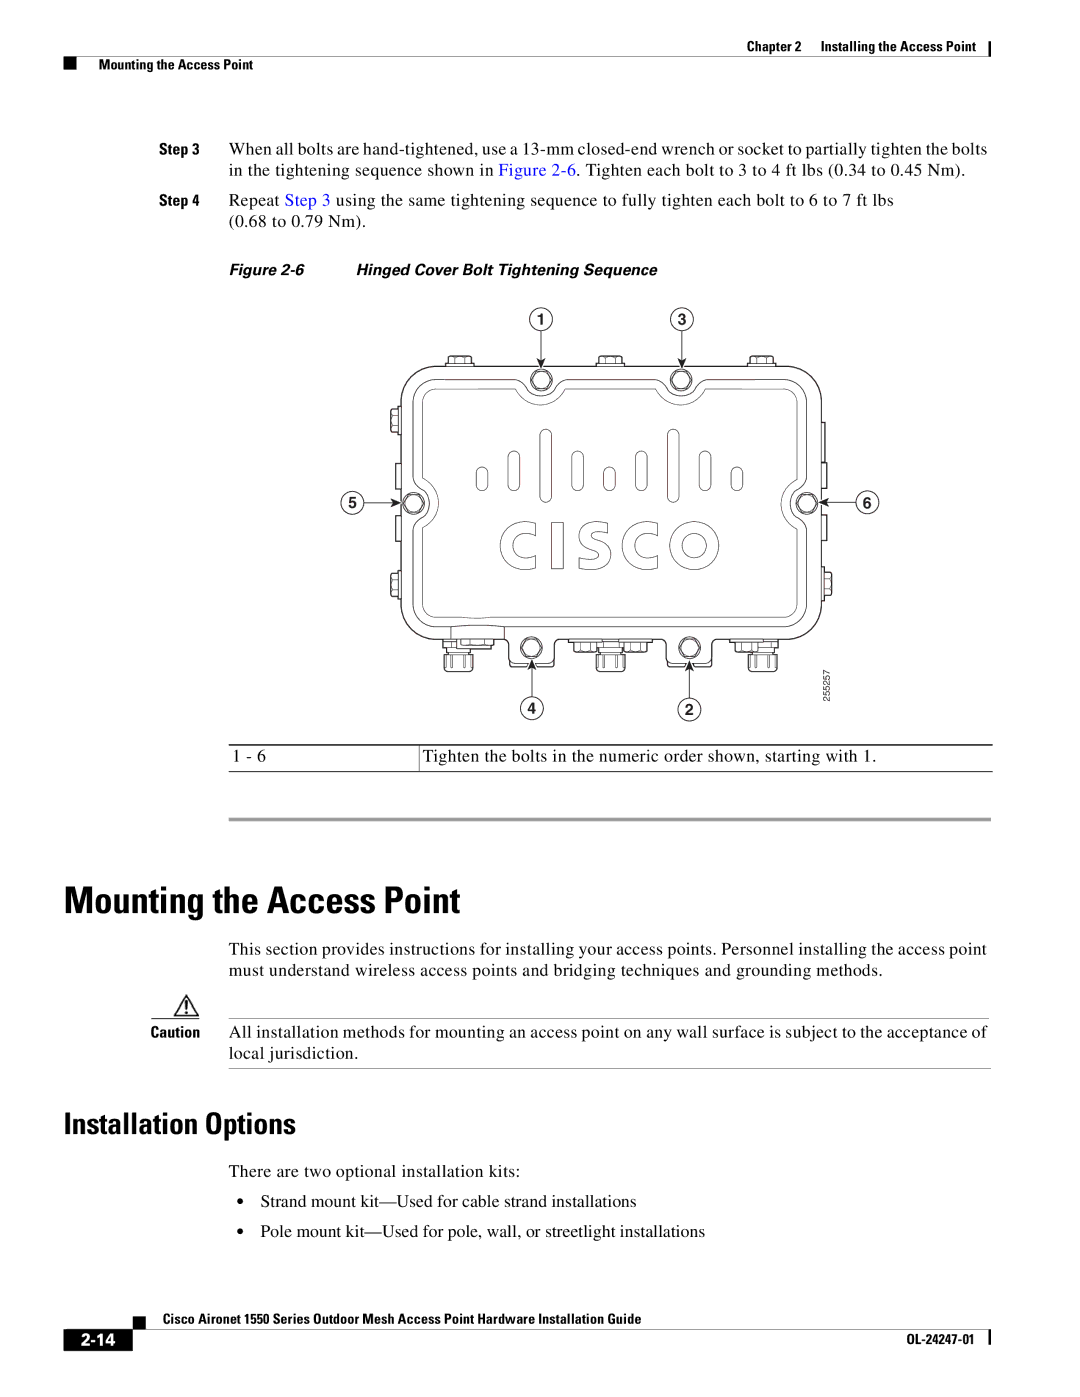
Figure 2-6 Hinged Cover Bolt Tightening Sequence
13
5 | 6 |
255257
42
1 - 6
Tighten the bolts in the numeric order shown, starting with 1.
Mounting the Access Point
This section provides instructions for installing your access points. Personnel installing the access point must understand wireless access points and bridging techniques and grounding methods.
Caution All installation methods for mounting an access point on any wall surface is subject to the acceptance of local jurisdiction.
Installation Options
There are two optional installation kits:
•Strand mount
•Pole mount
| Cisco Aironet 1550 Series Outdoor Mesh Access Point Hardware Installation Guide |