Chapter 2 Installing the Access Point
Mounting the Access Point
Mounting Bracket Assembly on a Pole
The access point can be installed where power is available, without the need for a wired LAN connection. The access point uses intelligent wireless routing that is based on the Adaptive Wireless Path Protocol (AWPP). AWPP enables a remote access point to dynamically optimize the best route to the wired LAN network using another access point.
The 1552 access point uses the
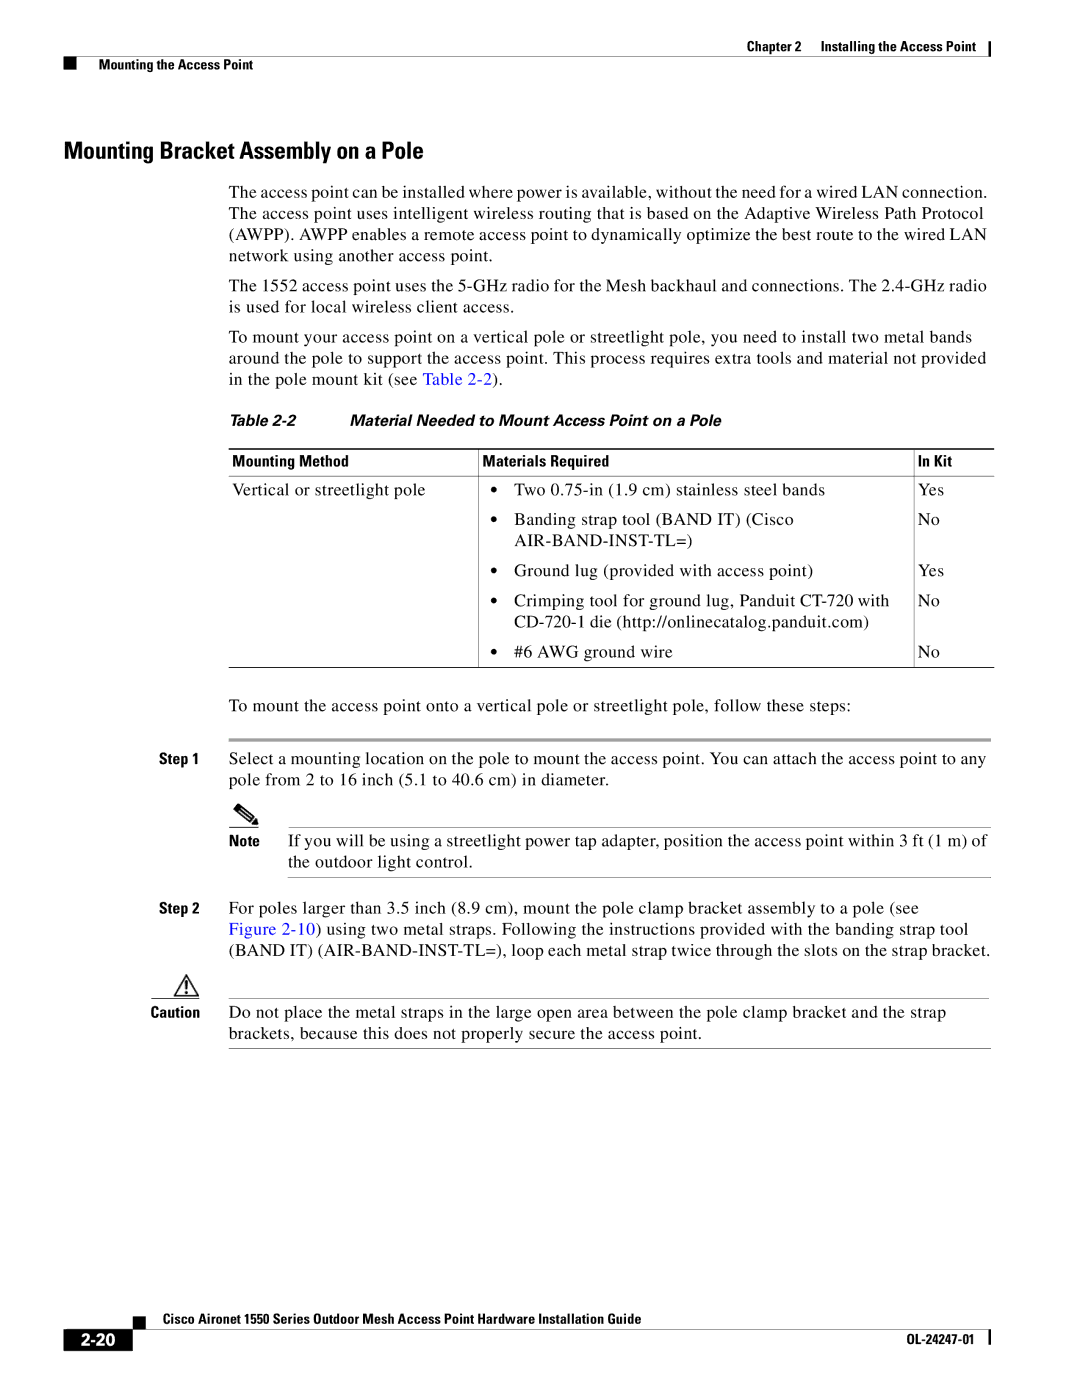
To mount your access point on a vertical pole or streetlight pole, you need to install two metal bands around the pole to support the access point. This process requires extra tools and material not provided in the pole mount kit (see Table
Table | Material Needed to Mount Access Point on a Pole |
| |
|
|
|
|
Mounting Method |
| Materials Required | In Kit |
|
|
| |
Vertical or streetlight pole | • Two | Yes | |
|
| • Banding strap tool (BAND IT) (Cisco | No |
|
|
|
|
|
| • Ground lug (provided with access point) | Yes |
|
| • Crimping tool for ground lug, Panduit | No |
|
|
| |
|
| • #6 AWG ground wire | No |
|
|
|
|
To mount the access point onto a vertical pole or streetlight pole, follow these steps:
Step 1 Select a mounting location on the pole to mount the access point. You can attach the access point to any pole from 2 to 16 inch (5.1 to 40.6 cm) in diameter.
Note If you will be using a streetlight power tap adapter, position the access point within 3 ft (1 m) of the outdoor light control.
Step 2 For poles larger than 3.5 inch (8.9 cm), mount the pole clamp bracket assembly to a pole (see Figure
Caution Do not place the metal straps in the large open area between the pole clamp bracket and the strap brackets, because this does not properly secure the access point.
| Cisco Aironet 1550 Series Outdoor Mesh Access Point Hardware Installation Guide |
