Chapter 3 Installing Modules and Cables in the Chassis
Cable Management
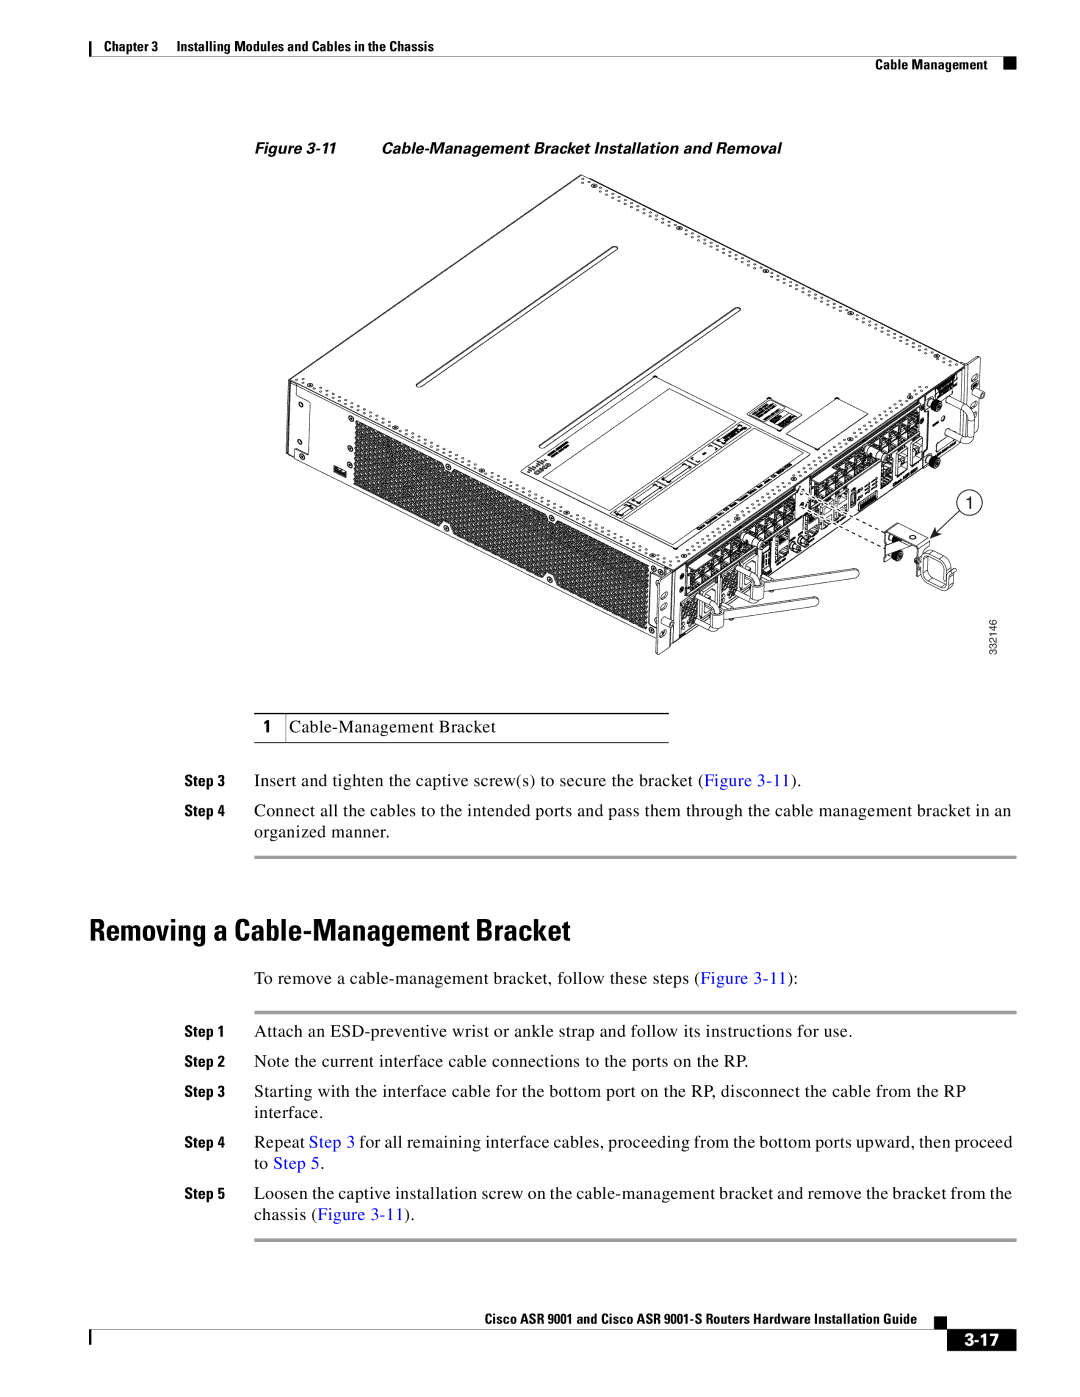
Figure 3-11 Cable-Management Bracket Installation and Removal
1
332146
1
Step 3 Insert and tighten the captive screw(s) to secure the bracket (Figure
Step 4 Connect all the cables to the intended ports and pass them through the cable management bracket in an organized manner.
Removing a Cable-Management Bracket
To remove a
Step 1 Attach an
Step 2 Note the current interface cable connections to the ports on the RP.
Step 3 Starting with the interface cable for the bottom port on the RP, disconnect the cable from the RP interface.
Step 4 Repeat Step 3 for all remaining interface cables, proceeding from the bottom ports upward, then proceed to Step 5.
Step 5 Loosen the captive installation screw on the
Cisco ASR 9001 and Cisco ASR