1. After connecting the gas supply, check the piping | Figure 1.11 |
and connections for leaks using a soap and water |
|
solution. The presence of bubbles indicates a leak, |
|
tighten or replace connections as appropriate. |
|
Warning: Do not use any naked flame to check for |
|
leaks. |
|
2.Adjust the test point pressure or supply pressure to the value which is appropriate for the gas type.
3. The operation of the appliance must be tested when installation is completed.
4.Turn on the appliance gas controls and light each burner individually and in combi- nation. Check for a well defined blue flame without any yellow tipping. If any abnormality is evident then check that the burner cap is located properly and the injector nipple is aligned correctly.
5.Check the minimum burner setting by quickly rotating the gas control knob from the maximum to the minimum position, the flame must not go out. If adjustment is required carry out the “minimum burner setting adjustment" procedure described
6.If satisfactory performance cannot be obtained, the installer shall check the installa- tion and notify the local gas supply authority for a gas supply problem, or if it is an appliance problem, our Customer Service Centre should be called to obtain the nearest authorized Delonghi Service Agent.
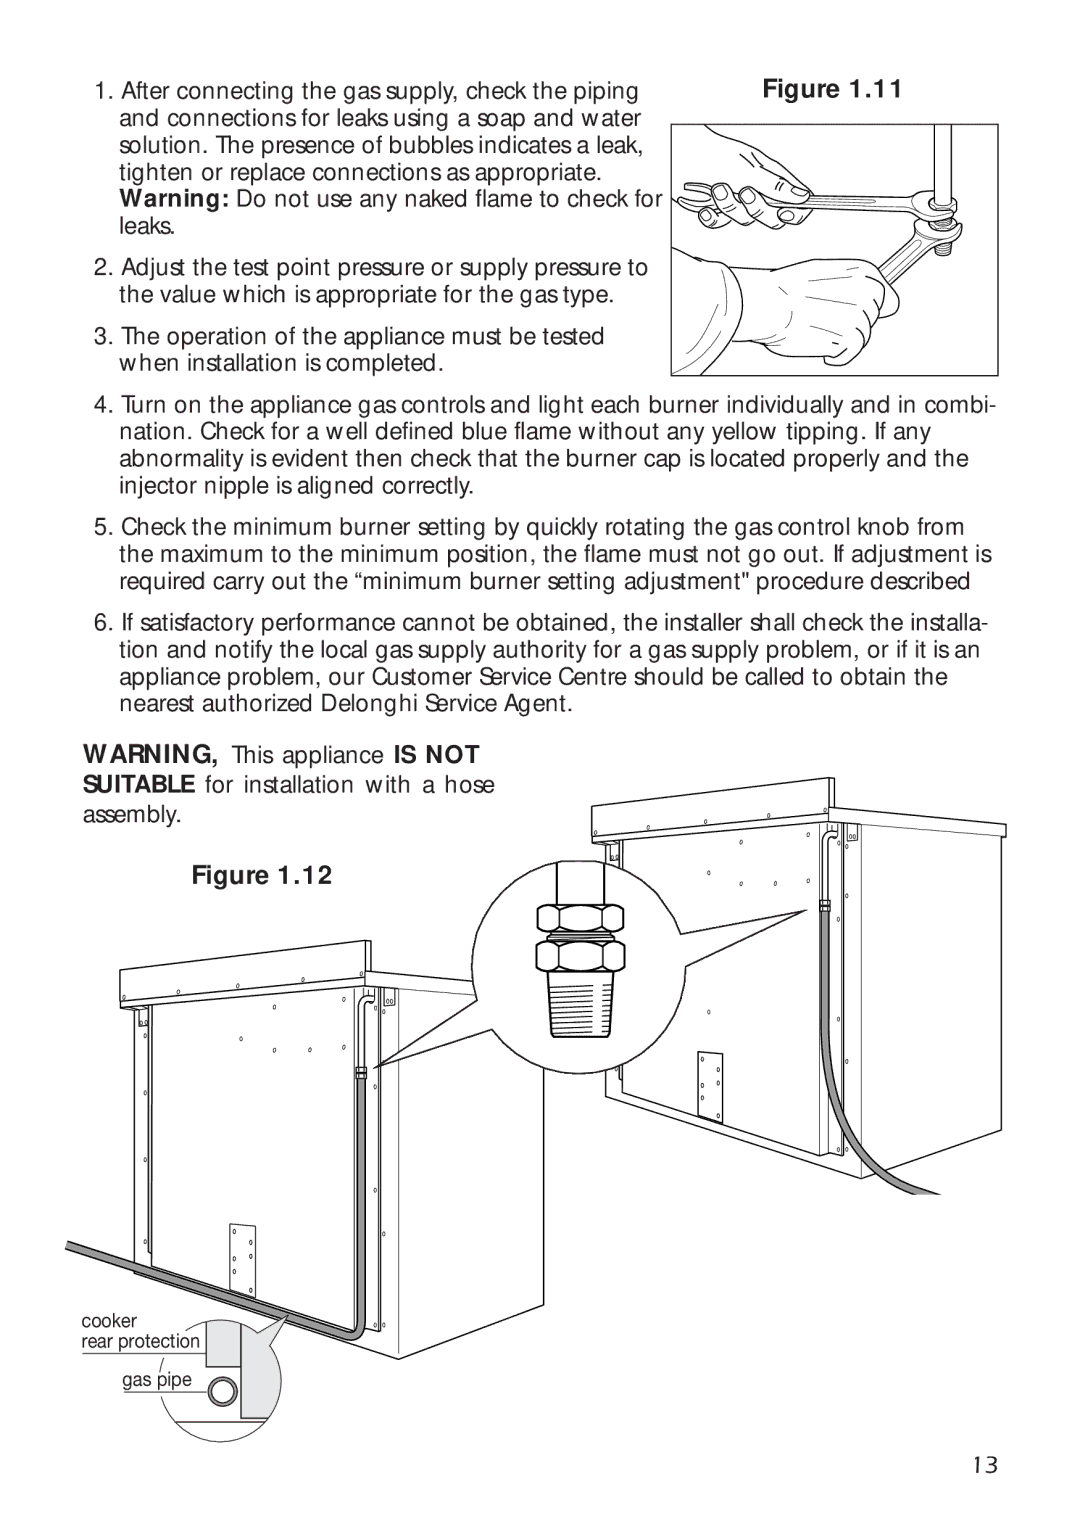
WARNING, This appliance IS NOT SUITABLE for installation with a hose assembly.
Figure 1.12
cooker  rear protection
gas pipe
13