Accessible | Accessible drives and LSD/LSP |
7.2.2Installing an accessible 5.25-inch drive
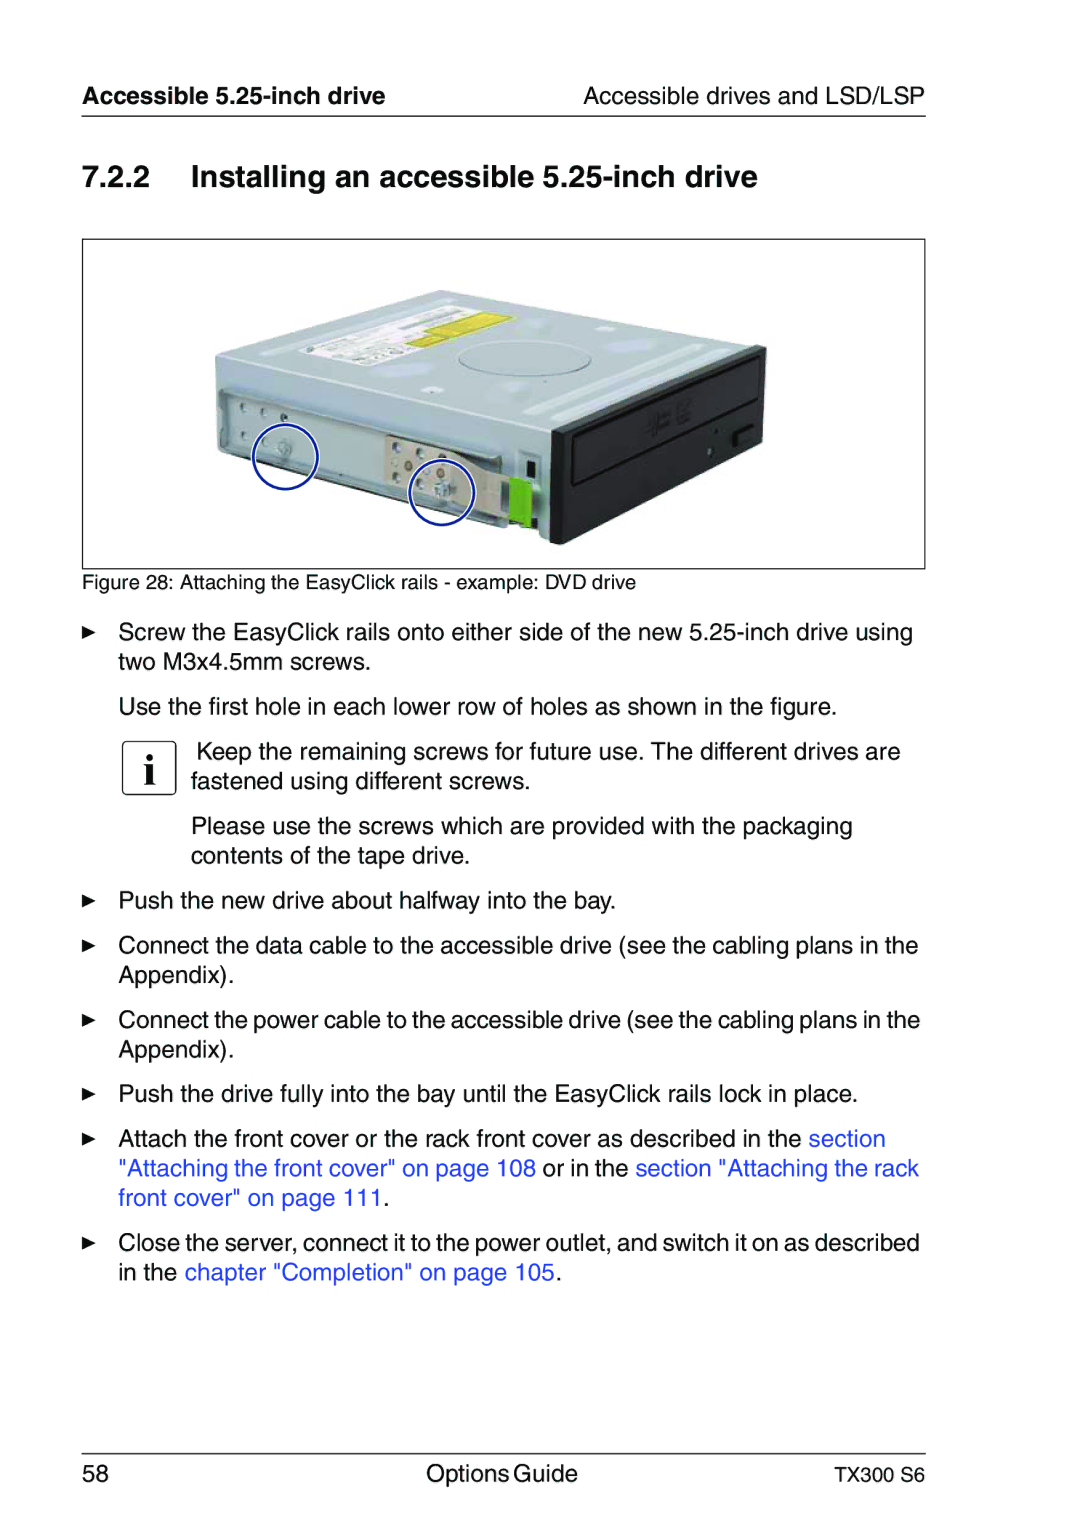
Figure 28: Attaching the EasyClick rails - example: DVD drive
ÊScrew the EasyClick rails onto either side of the new
Use the first hole in each lower row of holes as shown in the figure.
I Keep the remaining screws for future use. The different drives are fastened using different screws.
Please use the screws which are provided with the packaging contents of the tape drive.
ÊPush the new drive about halfway into the bay.
ÊConnect the data cable to the accessible drive (see the cabling plans in the Appendix).
ÊConnect the power cable to the accessible drive (see the cabling plans in the Appendix).
ÊPush the drive fully into the bay until the EasyClick rails lock in place.
ÊAttach the front cover or the rack front cover as described in the section "Attaching the front cover" on page 108 or in the section "Attaching the rack front cover" on page 111.
ÊClose the server, connect it to the power outlet, and switch it on as described in the chapter "Completion" on page 105.
58 | Options Guide | TX300 S6 |