Section 4 Start Up
4.1Power the instrument on and off
1.Plug in power supply.
2.Close the empty cell compartment.
3.Turn the instrument on by pressing the power switch on the back.
Note: Do not turn the instrument off and on in rapid succession. Always wait about 20 seconds before turning the instrument on again, otherwise the electronic and mechanical systems will be damaged.
4.2 Language selection
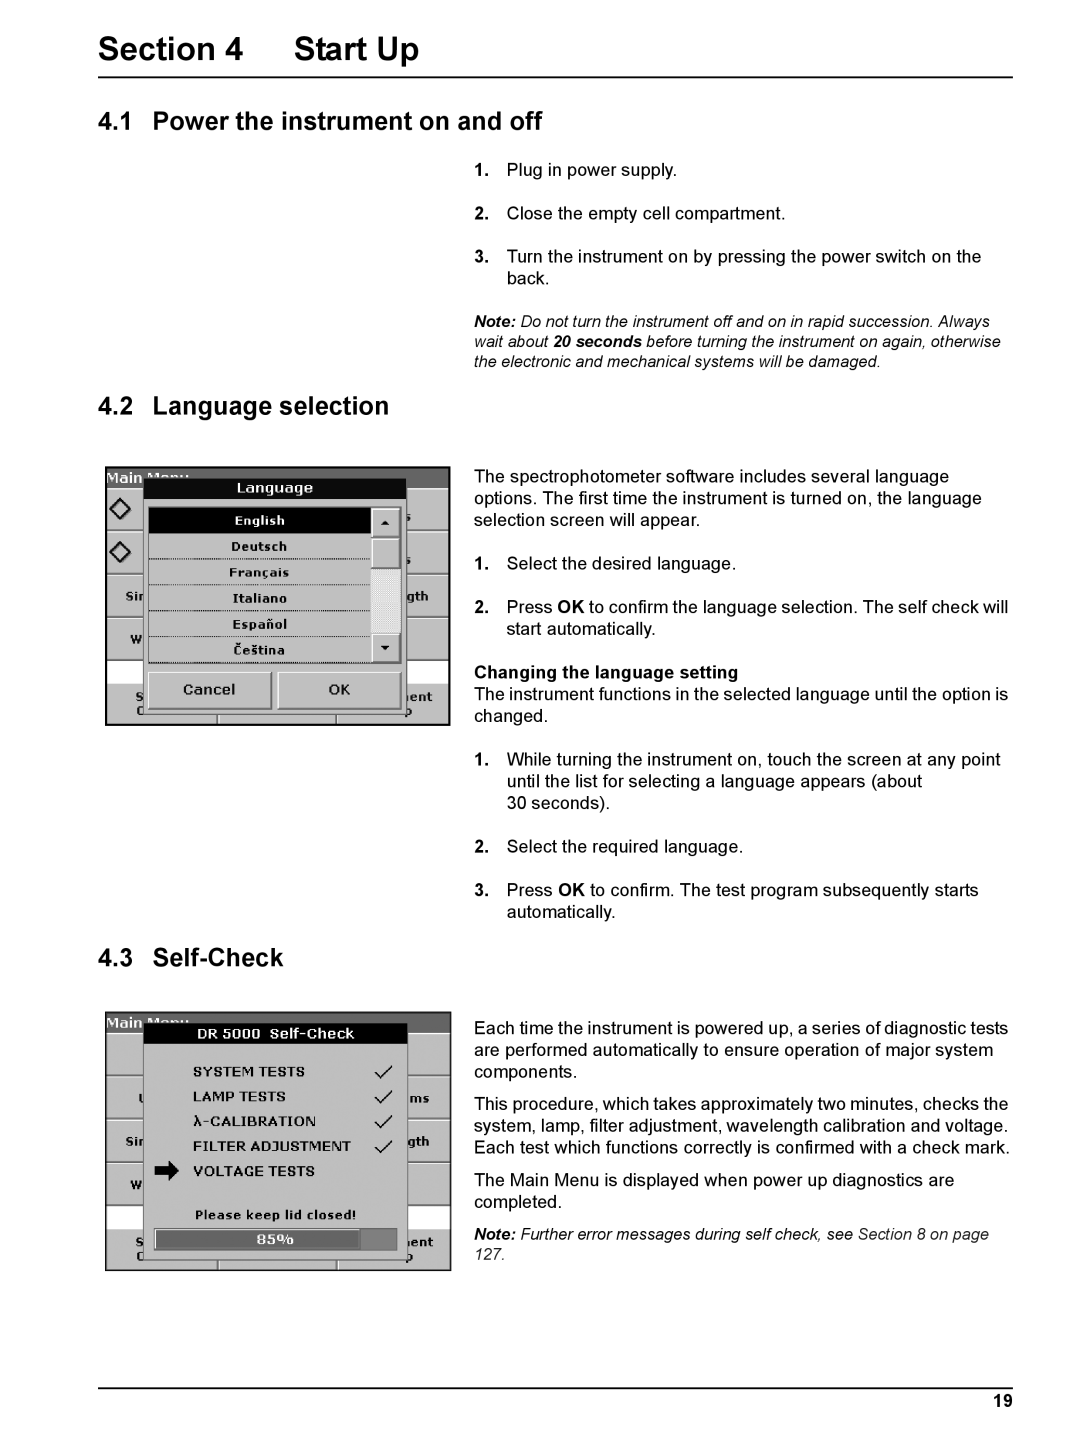
The spectrophotometer software includes several language options. The first time the instrument is turned on, the language selection screen will appear.
1.Select the desired language.
2.Press OK to confirm the language selection. The self check will start automatically.
Changing the language setting
The instrument functions in the selected language until the option is changed.
1.While turning the instrument on, touch the screen at any point until the list for selecting a language appears (about
30 seconds).
2.Select the required language.
3.Press OK to confirm. The test program subsequently starts automatically.
4.3 Self-Check
Each time the instrument is powered up, a series of diagnostic tests are performed automatically to ensure operation of major system components.
This procedure, which takes approximately two minutes, checks the system, lamp, filter adjustment, wavelength calibration and voltage. Each test which functions correctly is confirmed with a check mark.
The Main Menu is displayed when power up diagnostics are completed.
Note: Further error messages during self check, see Section 8 on page 127.
19