Standard Operations
5.5.1 Complete a barcode 13 mm test/vial
Note: The cell compartment must be closed before a measurement is made!
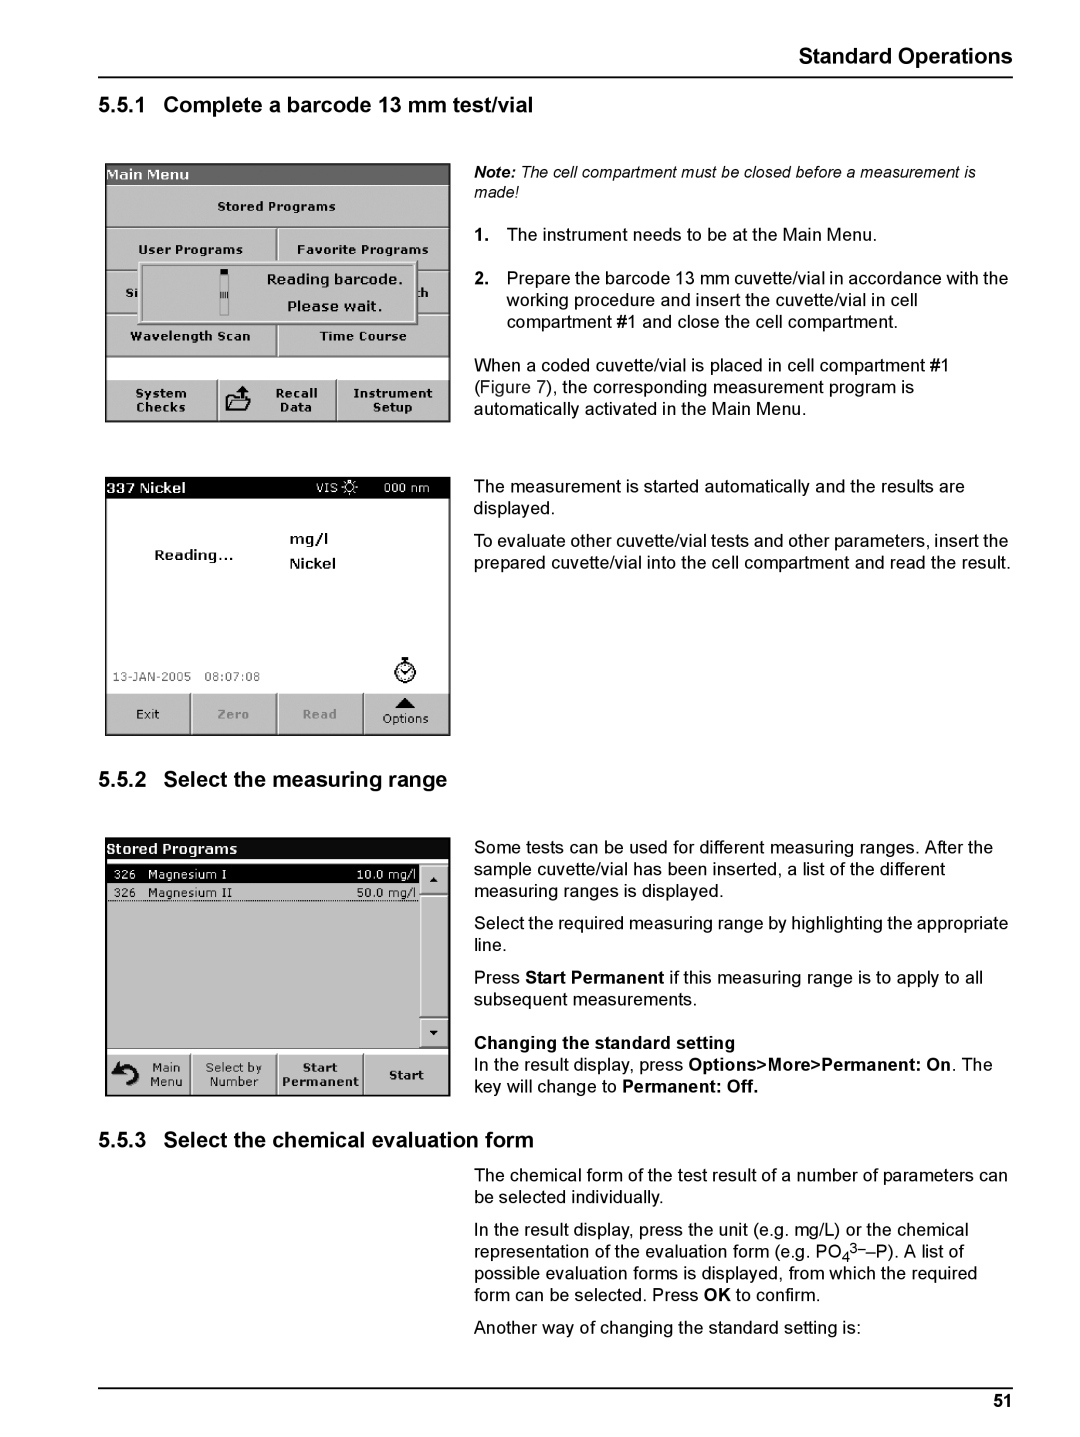
1.The instrument needs to be at the Main Menu.
2.Prepare the barcode 13 mm cuvette/vial in accordance with the working procedure and insert the cuvette/vial in cell compartment #1 and close the cell compartment.
When a coded cuvette/vial is placed in cell compartment #1 (Figure 7), the corresponding measurement program is automatically activated in the Main Menu.
The measurement is started automatically and the results are displayed.
To evaluate other cuvette/vial tests and other parameters, insert the prepared cuvette/vial into the cell compartment and read the result.
5.5.2 Select the measuring range
Some tests can be used for different measuring ranges. After the sample cuvette/vial has been inserted, a list of the different measuring ranges is displayed.
Select the required measuring range by highlighting the appropriate line.
Press Start Permanent if this measuring range is to apply to all subsequent measurements.
Changing the standard setting
In the result display, press Options>More>Permanent: On. The
key will change to Permanent: Off.
5.5.3 Select the chemical evaluation form
The chemical form of the test result of a number of parameters can be selected individually.
In the result display, press the unit (e.g. mg/L) or the chemical representation of the evaluation form (e.g.
Another way of changing the standard setting is:
51