Media Properties | ◆ Follow the guidelines in this chapter for printing on rigid |
| media. |
| ◆ The media should have parallel opposite edges with 90- |
| degree corners. Media that is not exactly square with itself |
| can be used, but will require extra attention when loading |
| (see “Loading and Squaring the Media,” below). |
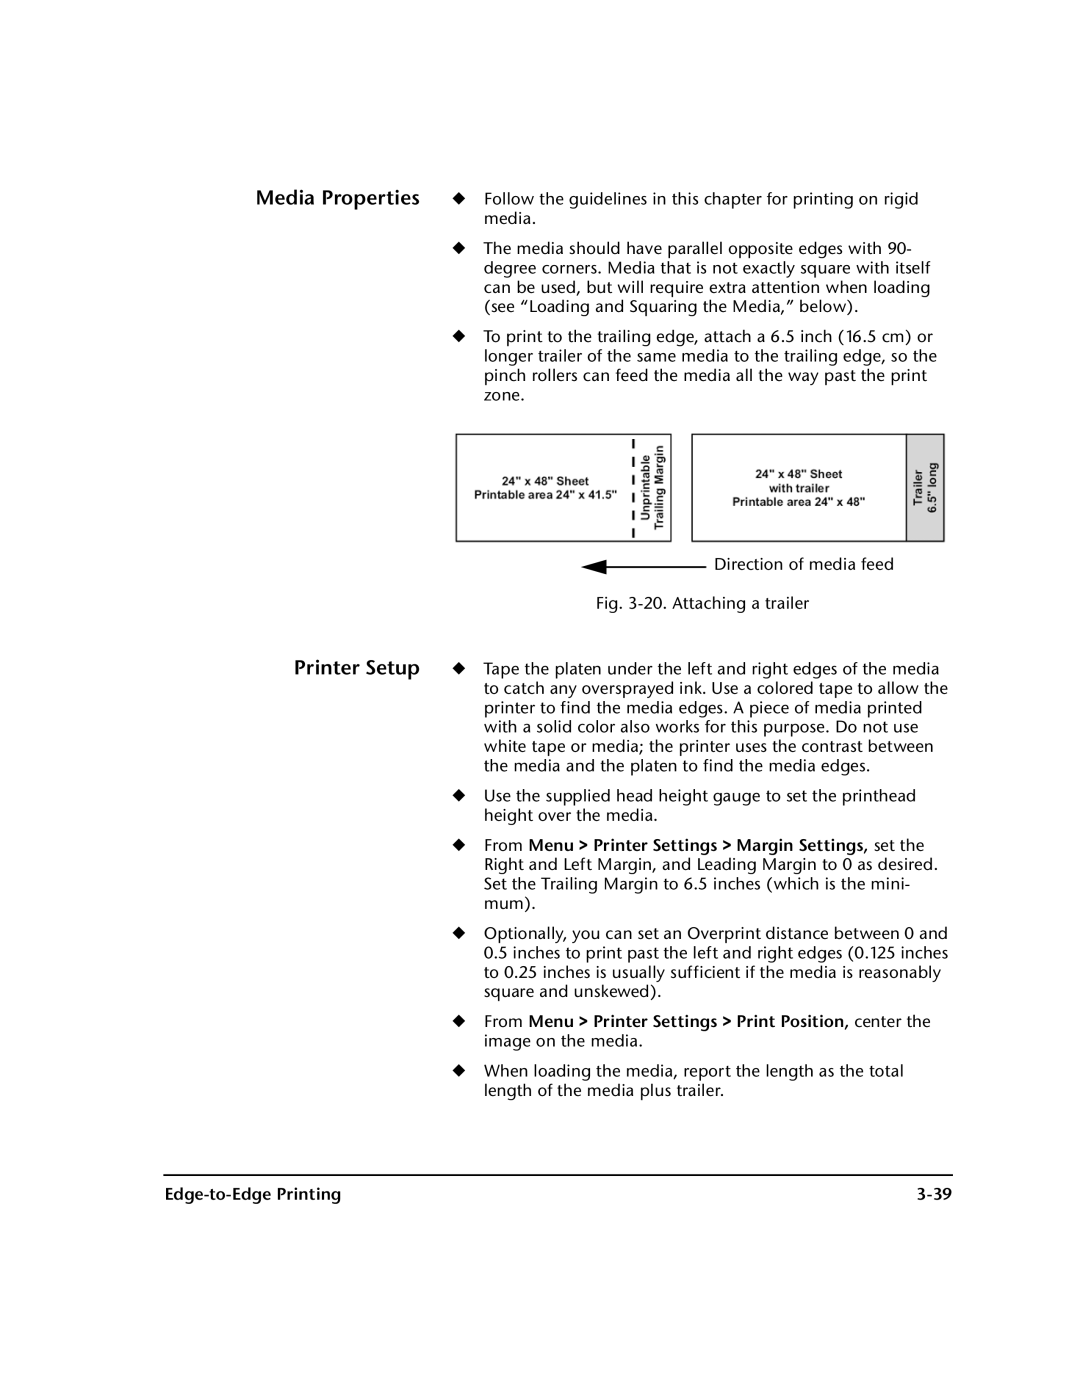
| ◆ To print to the trailing edge, attach a 6.5 inch (16.5 cm) or |
| longer trailer of the same media to the trailing edge, so the |
| pinch rollers can feed the media all the way past the print |
| zone. |
|
|
|
| Direction of media feed |
|
|
|
| |
| Fig. | |||
Printer Setup | ◆ Tape the platen under the left and right edges of the media | |||
| to catch any oversprayed ink. Use a colored tape to allow the | |||
| printer to find the media edges. A piece of media printed | |||
| with a solid color also works for this purpose. Do not use | |||
| white tape or media; the printer uses the contrast between | |||
| the media and the platen to find the media edges. | |||
| ◆ Use the supplied head height gauge to set the printhead | |||
| height over the media. | |||
| ◆ From Menu > Printer Settings > Margin Settings, set the | |||
| Right and Left Margin, and Leading Margin to 0 as desired. | |||
| Set the Trailing Margin to 6.5 inches (which is the mini- | |||
| mum). | |||
| ◆ Optionally, you can set an Overprint distance between 0 and | |||
| 0.5 inches to print past the left and right edges (0.125 inches | |||
| to 0.25 inches is usually sufficient if the media is reasonably | |||
| square and unskewed). | |||
| ◆ From Menu > Printer Settings > Print Position, center the | |||
| image on the media. | |||
| ◆ When loading the media, report the length as the total | |||
| length of the media plus trailer. | |||
|