IBM System Storage DR550 | Version 3.0 | 17 March 2006 | Page 68 |
|
|
|
|
Step 14 - Verify and synchronize the HACMP cluster
1.Use the F3 key (normally four times) to go back to the Extended Configuration window. Go to Extended Verification and Synchronization and press Enter.
2.In the next window use the default settings and press Enter.
3.Check the SMIT result screen for an OK status and quit SMIT with the F10 key.
Step 15 - Start the HACMP cluster
Now that the configuration of the HACMP cluster is completed, the cluster can be started.
Whether you start it for the first time as would normally be the case after the procedure above, or as part of the normal operations of the DR550, the procedure is the same. The procedure is listed below.
The following steps describe the procedure for starting cluster services on a single node or both nodes in the cluster by executing the
Tip: Because the DR550 is running a two node HACMP cluster, to start only one of the both nodes is not a usual task. To start only one node is needed for maintenance tasks only. Hence the normal starting procedure for HACMP in the DR550 always includes the starting of both nodes.
1.Log in to either of the P5 520 servers (such as drs_engine1). Login in a user dr550and switch to root. You can switch to root with the AIX command su - root.
Login dr550 Password xxxxxx su – root Password xxxxxx
2.On the AIX command line start SMIT by issuing the command smitty cl_admin.
3.Go to Manage HACMP Services
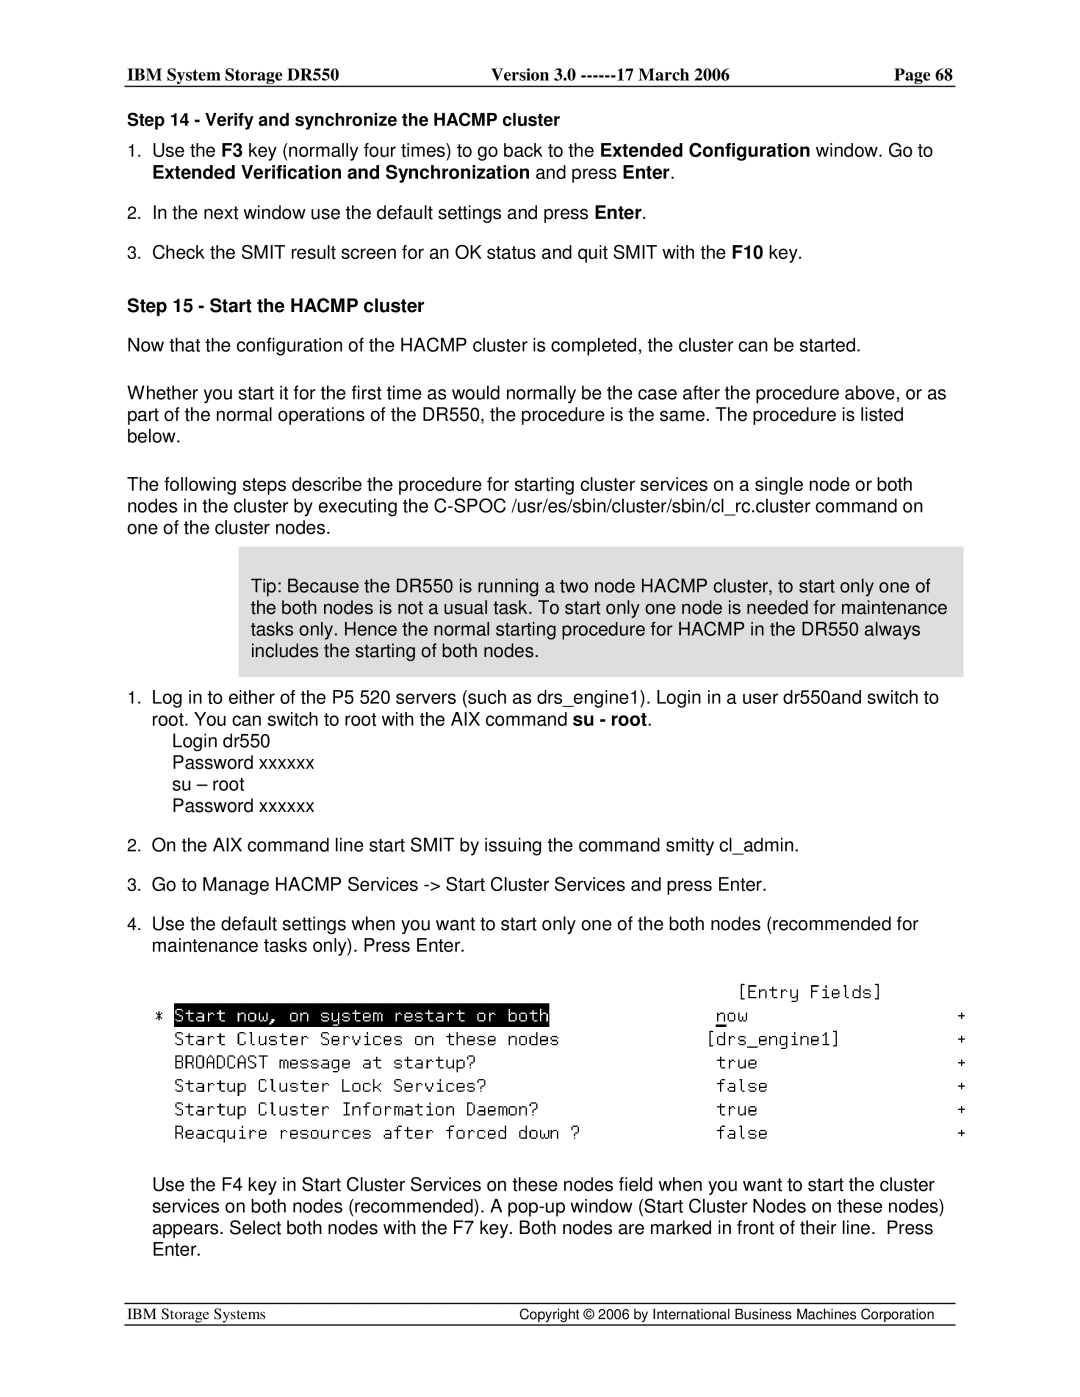
4.Use the default settings when you want to start only one of the both nodes (recommended for maintenance tasks only). Press Enter.
Use the F4 key in Start Cluster Services on these nodes field when you want to start the cluster services on both nodes (recommended). A
IBM Storage Systems | Copyright © 2006 by International Business Machines Corporation |
|
|
