Installing and Removing a PCI Add-in Card
Caution: The
Installing a PCI Add-in Card
1.Observe the safety and ESD precautions at the beginning of this book. See “Safety Information” on page iii.
2.Power down the server and unplug all peripheral devices and the AC power cable.
3.Remove the server system cover. For instructions, see “Removing the Server System Cover” on page 14.
4.Remove the PCI riser assembly. For instructions, see “Removing the PCI Riser Assembly” on page 21.
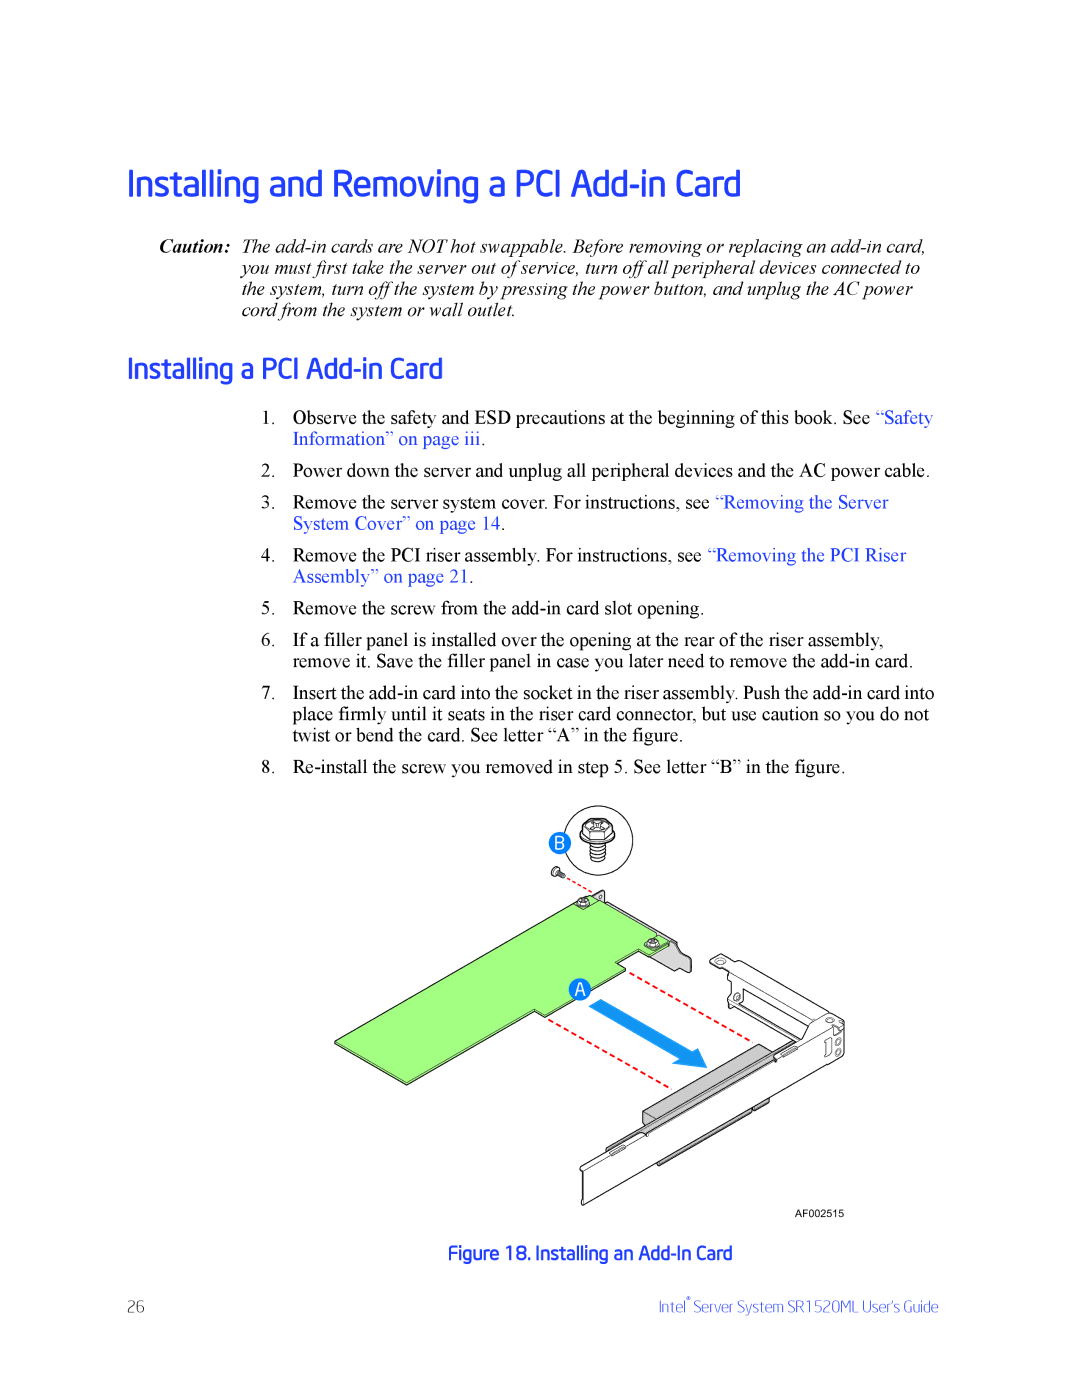
5.Remove the screw from the
6.If a filler panel is installed over the opening at the rear of the riser assembly, remove it. Save the filler panel in case you later need to remove the
7.Insert the
8.
B
A
AF002515
Figure 18. Installing an Add-In Card
26 | Intel® Server System SR1520ML User’s Guide |