C |
![]()
![]()
![]()
![]() A
A ![]()
![]()
![]()
B
B
AF002525
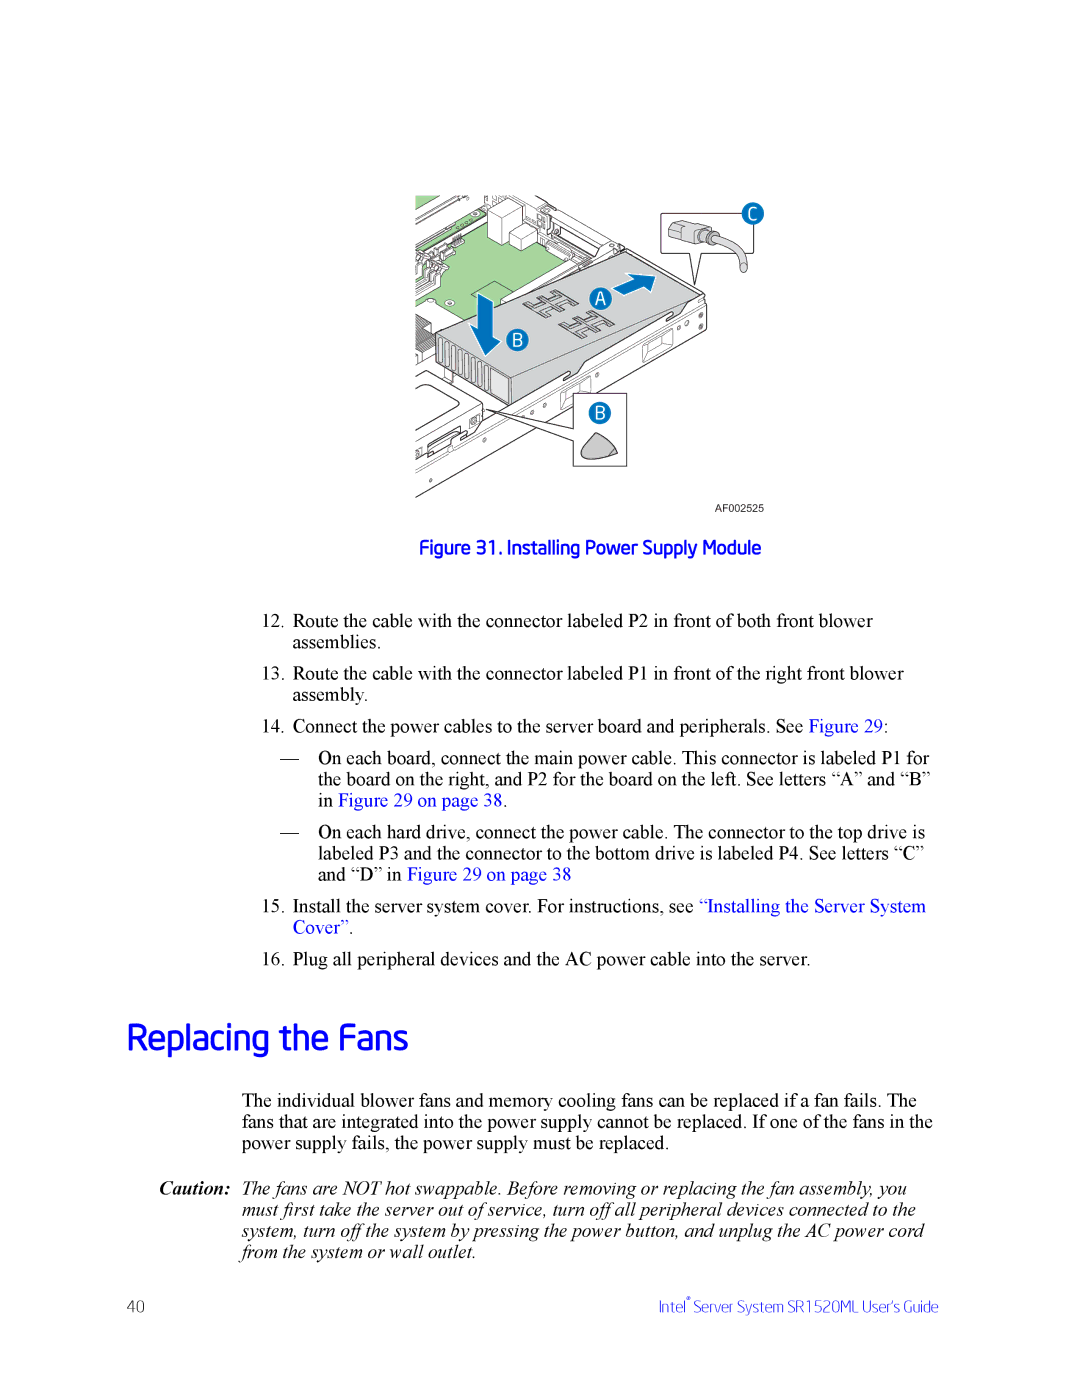
Figure 31. Installing Power Supply Module
12.Route the cable with the connector labeled P2 in front of both front blower assemblies.
13.Route the cable with the connector labeled P1 in front of the right front blower assembly.
14.Connect the power cables to the server board and peripherals. See Figure 29:
—On each board, connect the main power cable. This connector is labeled P1 for the board on the right, and P2 for the board on the left. See letters “A” and “B” in Figure 29 on page 38.
—On each hard drive, connect the power cable. The connector to the top drive is labeled P3 and the connector to the bottom drive is labeled P4. See letters “C” and “D” in Figure 29 on page 38
15.Install the server system cover. For instructions, see “Installing the Server System Cover”.
16.Plug all peripheral devices and the AC power cable into the server.
Replacing the Fans
The individual blower fans and memory cooling fans can be replaced if a fan fails. The fans that are integrated into the power supply cannot be replaced. If one of the fans in the power supply fails, the power supply must be replaced.
Caution: The fans are NOT hot swappable. Before removing or replacing the fan assembly, you must first take the server out of service, turn off all peripheral devices connected to the system, turn off the system by pressing the power button, and unplug the AC power cord from the system or wall outlet.
40 | Intel® Server System SR1520ML User’s Guide |