Remote Control
10.4. Serial Connection (Option)
There is an option to control your system remotely from a laptop/ PC via the
10.4.1Serial connection details
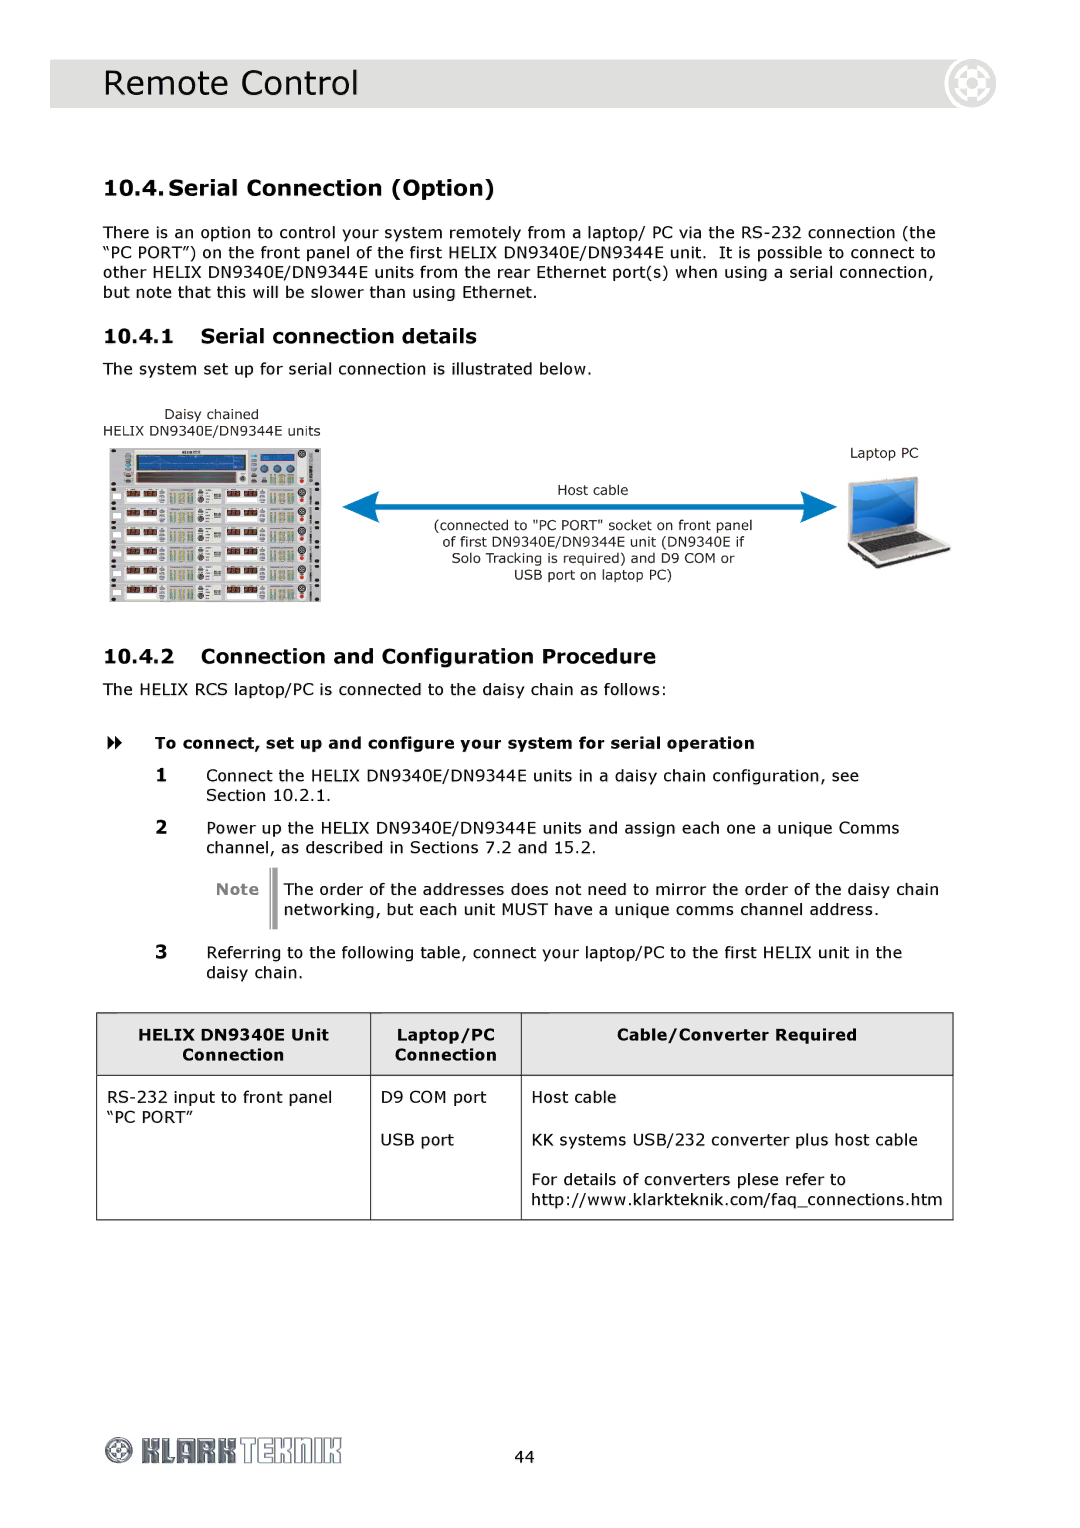
The system set up for serial connection is illustrated below.
10.4.2Connection and Configuration Procedure
The HELIX RCS laptop/PC is connected to the daisy chain as follows:
To connect, set up and configure your system for serial operation
1Connect the HELIX DN9340E/DN9344E units in a daisy chain configuration, see Section 10.2.1.
2Power up the HELIX DN9340E/DN9344E units and assign each one a unique Comms channel, as described in Sections 7.2 and 15.2.
Note
The order of the addresses does not need to mirror the order of the daisy chain networking, but each unit MUST have a unique comms channel address.
3Referring to the following table, connect your laptop/PC to the first HELIX unit in the daisy chain.
HELIX DN9340E Unit | Laptop/PC | Cable/Converter Required |
Connection | Connection |
|
|
|
|
D9 COM port | Host cable | |
“PC PORT” |
|
|
| USB port | KK systems USB/232 converter plus host cable |
|
| For details of converters plese refer to |
|
| http://www.klarkteknik.com/faq_connections.htm |
|
|
|
44