Manuals
/
Klark Teknik
/
Home Audio
/
Stereo Equalizer
Klark Teknik
manual
Helix DN9340E/DN9344E
Models:
DN9344E
DN9340E
1
1
65
65
Download
65 pages
57.17 Kb
1
2
3
4
5
6
7
8
Troubleshooting
Install
Password
Wireless Routing
System Configuration Window
To reset all faders to zero
Access Point
Connection Procedure
Protecting System Settings
Version Update
Page 1
Image 1
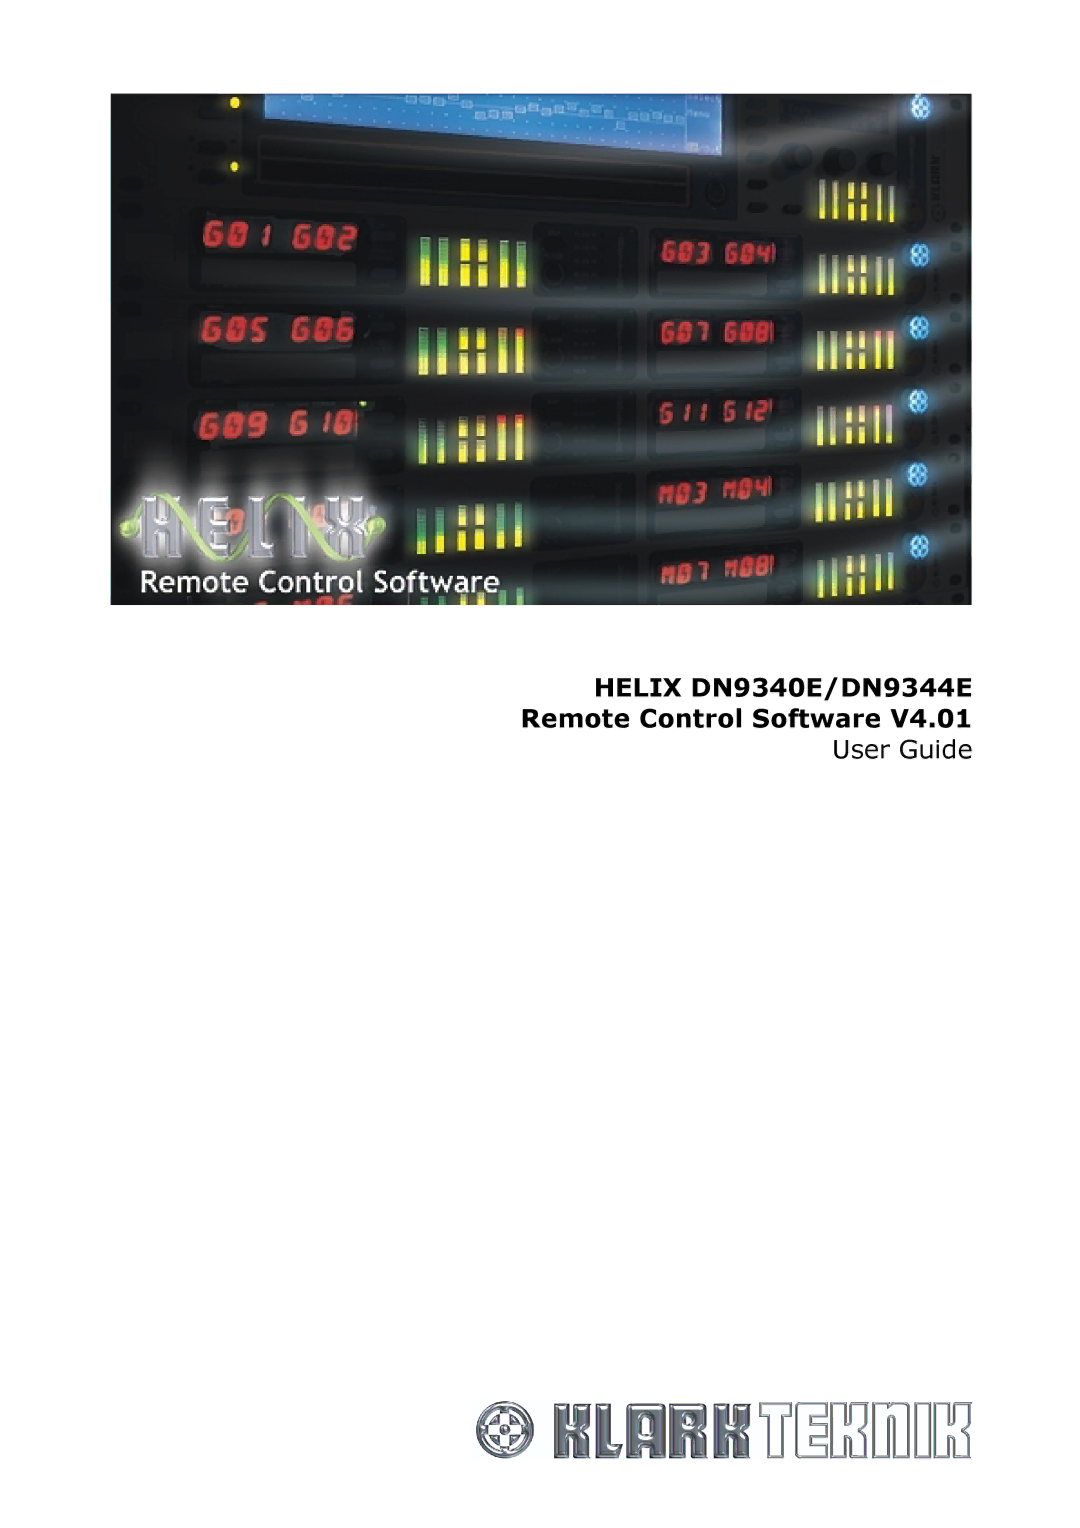
HELIX DN9340E/DN9344E
Remote Control Software V4.01
User Guide
Page 1
Page 2
Page 1
Image 1
Page 1
Page 2
Contents
Helix DN9340E/DN9344E
Contact Details
Helix DN9340E/DN9344E Remote Control Software
Contents
STORING/RECALLING Memory Settings
Introducing the Helix Remote Control Software
Microsoft .NET Framework 1.1 available at
Minimum System Requirements
Midas Elgar Library Manager Shell available at
Software Installation
Helix DN9340E/DN9344E Remote Control Software
To add-in an Helix RCS device to the Elgar Library Manager
Opening Helix RCS within the Elgar Library Manager
DN9340 Device Workspace
To quickly switch to a different view on the same channel
Quick Tour of the DN9340 Device Views
To quickly switch to a different view on the other channel
Specify the Helix unit details in the upper Home tab
Network Identification
Specify channel details in the lower Home tab
Linking and Bypassing Channels
To link the channels for identical operation
To specify the EQ mode for the current channel
To switch to the Graphic Equalisation view
Graphic Equalisation
Graphic
To adjust a group of faders together
To adjust a fader level
To reset all faders to zero
To switch a fader out of the circuit
To set the Parametric EQ mode for the channel
To switch to the Parametric Equalisation view
Parametric Equalisation
Para
To Bypass the parametric EQ on the current channel
To switch a PEQ section out of the circuit
To add a PEQ section to the graph
To activate the target at an existing PEQ section
To set the Dynamic EQ mode for the channel
To switch to the Dynamic Equalisation view
Dynamic Equalisation
Dynamic
To shape a Dynamic EQ section
To Bypass the Dynamic EQ on the current channel
To activate the target on the other Dynamic
To switch to the Filter view
To switch a Dynamic section out of the circuit
Filters
Filter
To switch a Filter out of the circuit
At the Filter Mode tab
To Bypass all the Filters on the current channel
To add a Filter to the graph
Building your Network Remotely
To switch to the FastNav screen
FastNav Screen
Helix DN9340E/DN9344E Remote Control Software
Copy Channels Screen
To copy settings from one device to another
Hint
Global Graphic Screen
Overview
Connecting the Helix DN9340/DN9344E units in a daisy chain
Helix DN9340E/DN9344E unit interconnections
Ethernet connection standard
Ethernet Connection
Configuring the Network Devices
Ethernet connection wireless option
To configure an Ethernet device and assign a port to it
Helix DN9340E/DN9344E Remote Control Software
Click OK
IP Addressing
Wireless Routing
IP settings
Access Point
Wireless Network Settings
Security Settings
Wireless network properties window
Wireless Card
Wireless Network Connections screen
Helix DN9340E/DN9344E Remote Control Software
If your laptop/PC has a firewall
Serial Connection Option
Connection Procedure
Serial connection details
Laptop/PC Cable/Converter Required Unit Connection
Helix DN9340E/DN9344E Remote Control Software
Helix DN9340E/DN9344E Remote Control Software
Finding ports and device names
System Configuration Window
To find all ports on your system
To find new devices attached to your PC
Port Configuration screen
Helix DN9340E/DN9344E Remote Control Software
Communications Overview
Working Online
Online Operation
Version Update
To take a unit offline
To cancel online connection during polling
To check the online status of the Devices in the network
To set the Rapide unit online/offline
Troubleshooting
Activity Indicators
To take the entire network offline
All Units Offline
Solo Tracking Operation
To open the System Solo Tracking Setup screen
To assign solo sources to Helix channels
Helix DN9340E/DN9344E Remote Control Software
To change lockout settings
Protecting System Settings
Function Locking
Change Password
To change the current password
Memory Working with Individual AddIns
To switch to the Memory view
Helix DN9340E/DN9344E Remote Control Software
To write all the Memories from the AddIn Device to the unit
To retrieve all the Memories from a Unit to the AddIn Device
To open the global Memory Management screen
Global Memory Management
To Read/Write All Memories from/to multiple units
Recall From Memory Store To Memory
Switch to the Store \ Recall Memory tab
To return to the FastNav screen, click
AddIn
Glossary of Terms and Abbreviations
Ssid
To connect a single unit USB to front panel
Remote Control Connection Options
To connect a single non-Ethernet unit USB to rear panel
Helix DN9340E/DN9344E Remote Control Software
Helix DN9340E/DN9344E Remote Control Software
Helix DN9340E/DN9344E Remote Control Software
Helix DN9340E/DN9344E Remote Control Software
Setting up the Lantronix UDS1100 Converter
Web Configuration and Telnet Configuration tabs
Connecting the system equipment
Apply Settings
To connect up a Helix RCS Ethernet System
LAN
Top
Page
Image
Contents