HELIX DN9340E/DN9344E Remote Control Software
User Guide
12Click
Apply Settings
to apply the changes;
you will see the “Please wait …” message while the unit saves the changes and reboots.
13 Close the Device Installer by selecting
File > Exit or by clicking on ![]() in the top
in the top
9.3.2Connecting the system equipment
For an overview of the connections, please refer to the HELIX Remote Control Software: Brief Guide to Setting Up an Ethernet System user guide.
To connect up a HELIX RCS Ethernet System:
1Connect, power up and set up the addresses of your slave HELIX units in a daisy chain network as described in the DN9340 Operators Manual. If using Solo Tracking, the ‘first’ HELIX in the daisy chain must be located in the FOH Stack for connection to the console.
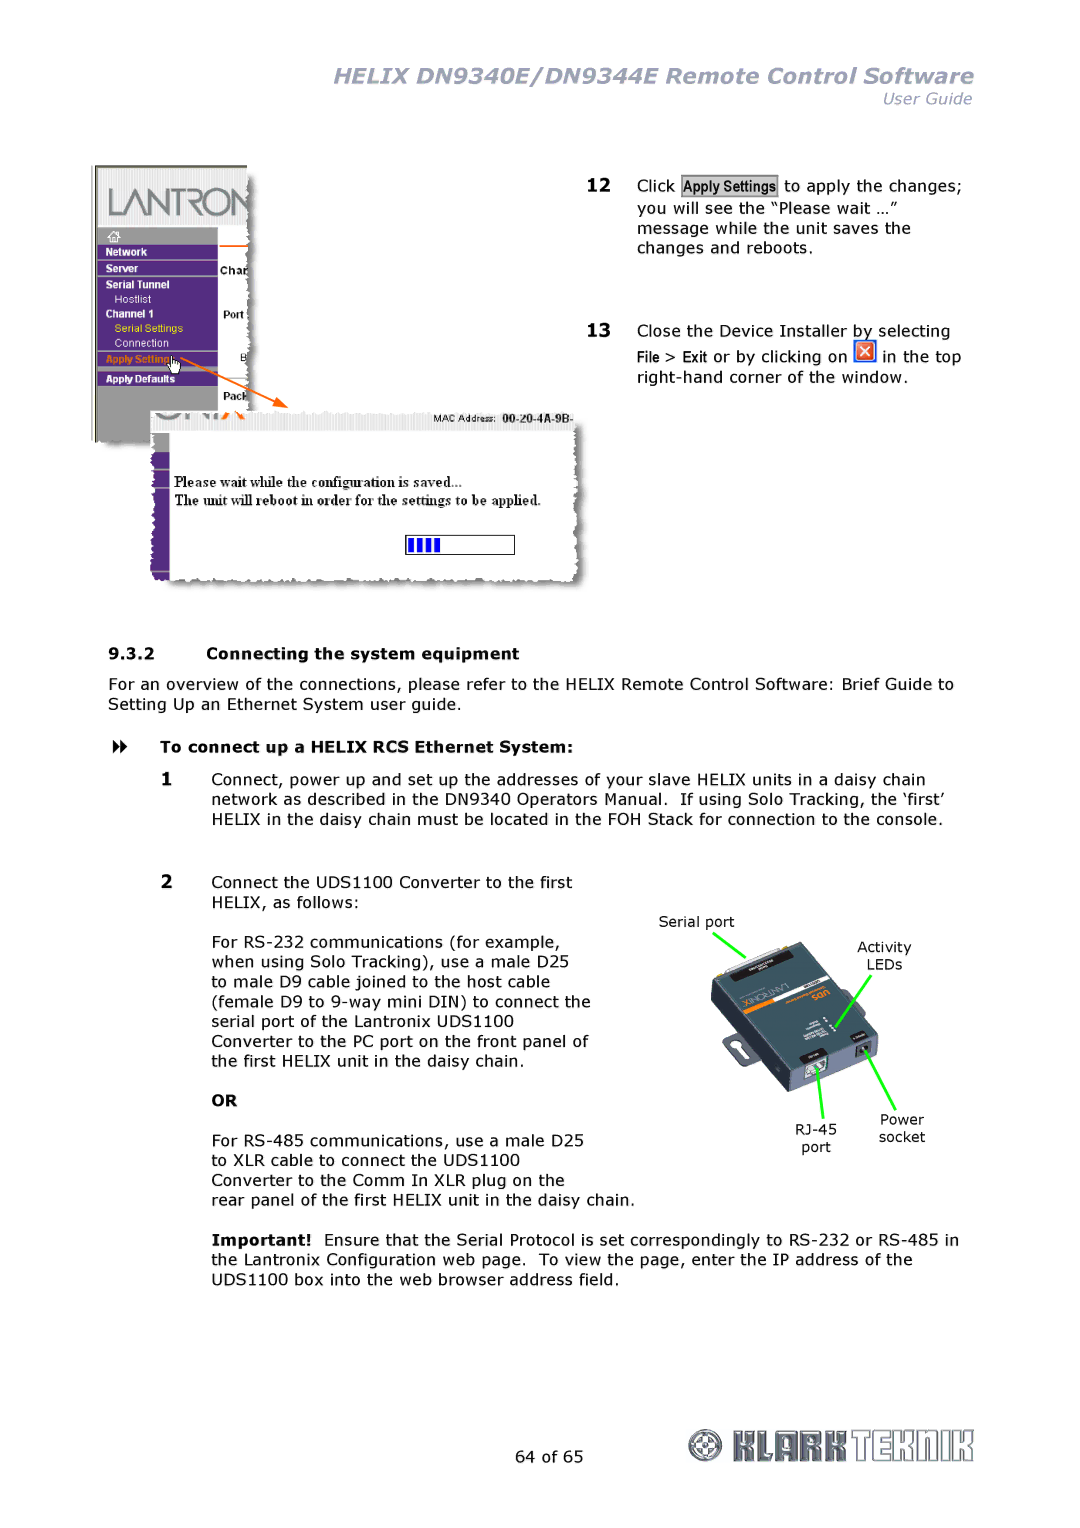
2Connect the UDS1100 Converter to the first HELIX, as follows:
Serial port
For
OR
For
rear panel of the first HELIX unit in the daisy chain.
Activity
LEDs
Power
Important! Ensure that the Serial Protocol is set correspondingly to
64 of 65