KODAK HERO 2.2 All-in-One Printer
Scan Option |
| Settings |
Scan Size |
| Auto (default) 2 x 3 3.5 x 5 4 x 6 4 x 7 |
|
| 4 x 8 5 x 7 4 x 12 8 x 10 8.5 x 11 A4 |
|
|
|
Save as Defaults |
| No / Yes |
|
|
|
|
|
|
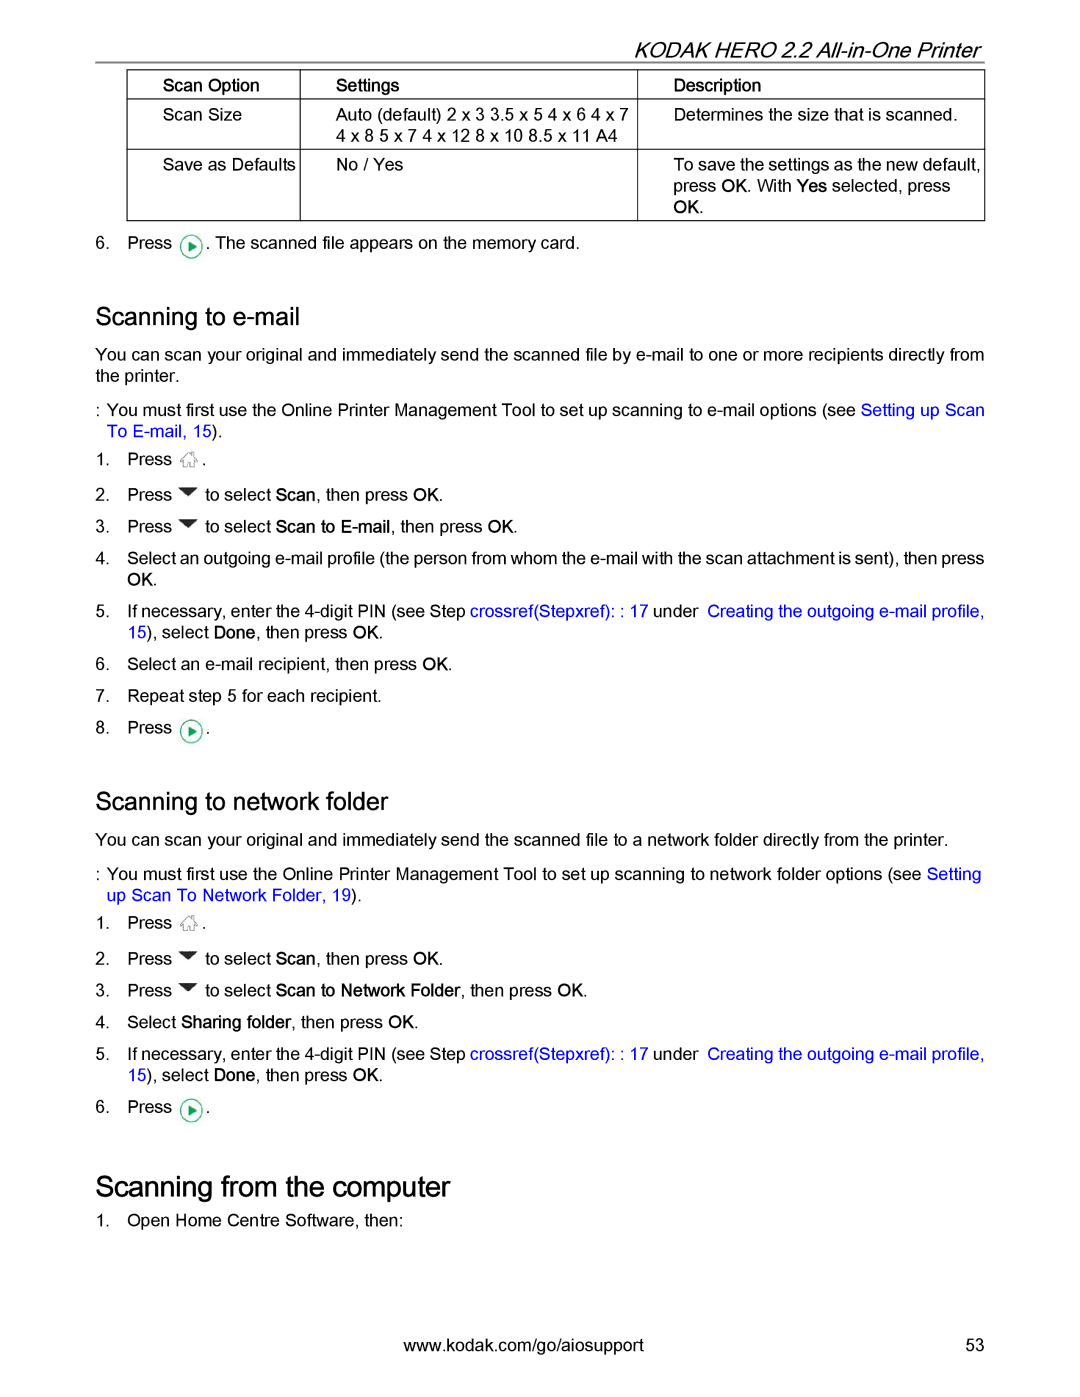
6. Press ![]() . The scanned file appears on the memory card.
. The scanned file appears on the memory card.
Description
Determines the size that is scanned.
To save the settings as the new default, press OK. With Yes selected, press OK.
Scanning to e-mail
You can scan your original and immediately send the scanned file by
:You must first use the Online Printer Management Tool to set up scanning to
1.Press ![]() .
.
2.Press ![]() to select Scan, then press OK.
to select Scan, then press OK.
3.Press ![]() to select Scan to
to select Scan to
4.Select an outgoing
5.If necessary, enter the
6.Select an
7.Repeat step 5 for each recipient.
8.Press ![]() .
.
Scanning to network folder
You can scan your original and immediately send the scanned file to a network folder directly from the printer.
:You must first use the Online Printer Management Tool to set up scanning to network folder options (see Setting up Scan To Network Folder, 19).
1.Press ![]() .
.
2.Press ![]() to select Scan, then press OK.
to select Scan, then press OK.
3.Press ![]() to select Scan to Network Folder, then press OK.
to select Scan to Network Folder, then press OK.
4.Select Sharing folder, then press OK.
5.If necessary, enter the
6.Press ![]() .
.
Scanning from the computer
1. Open Home Centre Software, then:
www.kodak.com/go/aiosupport | 53 |
