Networking Your Printer
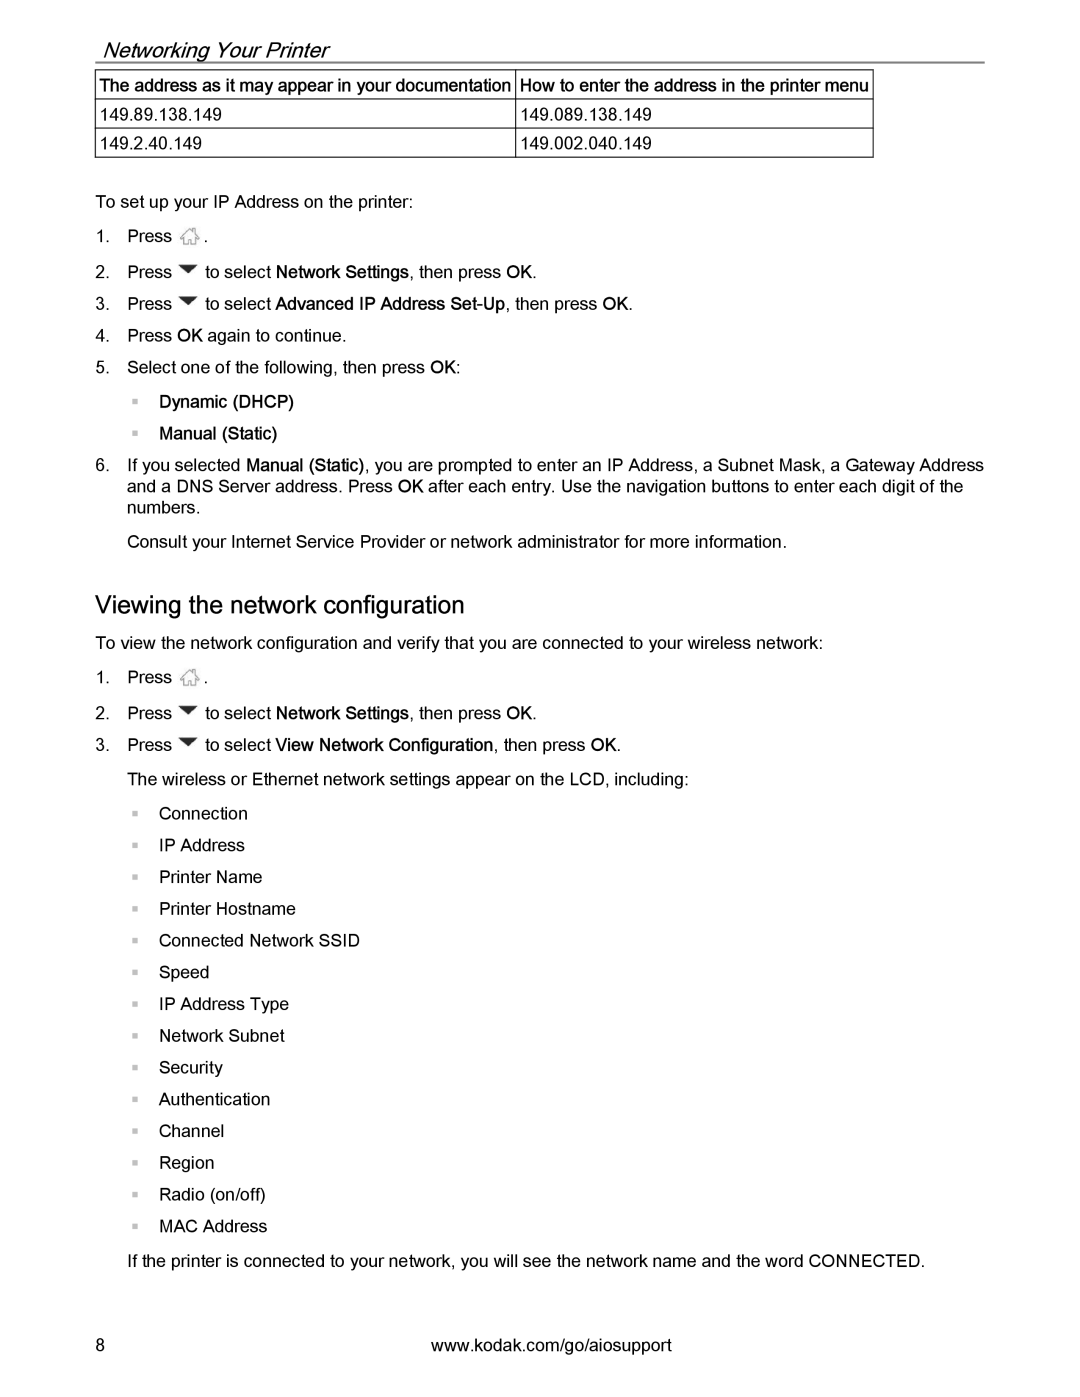
The address as it may appear in your documentation How to enter the address in the printer menu
149.89.138.149 | 149.089.138.149 | |
|
|
|
149.2.40.149 | 149.002.040.149 | |
|
|
|
To set up your IP Address on the printer:
1.Press ![]() .
.
2.Press ![]() to select Network Settings, then press OK.
to select Network Settings, then press OK.
3.Press ![]() to select Advanced IP Address
to select Advanced IP Address
4.Press OK again to continue.
5.Select one of the following, then press OK:
Dynamic (DHCP)
Manual (Static)
6.If you selected Manual (Static), you are prompted to enter an IP Address, a Subnet Mask, a Gateway Address and a DNS Server address. Press OK after each entry. Use the navigation buttons to enter each digit of the numbers.
Consult your Internet Service Provider or network administrator for more information.
Viewing the network configuration
To view the network configuration and verify that you are connected to your wireless network:
1.Press ![]() .
.
2.Press ![]() to select Network Settings, then press OK.
to select Network Settings, then press OK.
3.Press ![]() to select View Network Configuration, then press OK.
to select View Network Configuration, then press OK.
The wireless or Ethernet network settings appear on the LCD, including:
Connection
IP Address
Printer Name
Printer Hostname
Connected Network SSID
Speed
IP Address Type
Network Subnet
Security
Authentication
Channel
Region
Radio (on/off)
MAC Address
If the printer is connected to your network, you will see the network name and the word CONNECTED.
8 | www.kodak.com/go/aiosupport |