Operation
4Set the recording level.
Hold down the [SHIFT] key and press the [MIXER] key to switch the “DISPLAY” setting in the screen to “POST”
While watching the level meter, use the [TRACK] fader of that track to adjust the recording level so that the level does not reach “CLIP” when the loudest sounds are produced.
5Set the current time to the location from which you want to begin recording.
For details on how to set the time, refer to p.32.
6Verify the tracks for recording.
Verify that the display shows a “ ![]() ” symbol for the track numbers that you will be recording. If not, press the corresponding [REC SELECT] key.
” symbol for the track numbers that you will be recording. If not, press the corresponding [REC SELECT] key.
7Press the [REC] key to enter
Press the [REC] key. The “ ![]()
![]()
![]() ” (REC) icon in the dis- play will blink.
” (REC) icon in the dis- play will blink.
8Press the [PLAY] key to start recording.
When you are ready to begin playing, press the
26 | [PLAY] key. Recording will begin. Play your instru- |
ment. During recording, the “![]()
![]() ” (REC) icon and
” (REC) icon and
“ ![]()
![]() ” (PLAY) icon in the display will be lit.
” (PLAY) icon in the display will be lit.
9Press the [STOP] key to stop recording.
To stop recording, press the [STOP] key. The “![]()
![]() ”
”
(REC) icon and “ ![]()
![]() ” (PLAY) icon will go dark, and recording will stop.
” (PLAY) icon will go dark, and recording will stop.
2.Additional recording
Using virtual tracks to record
The PXR4 is a
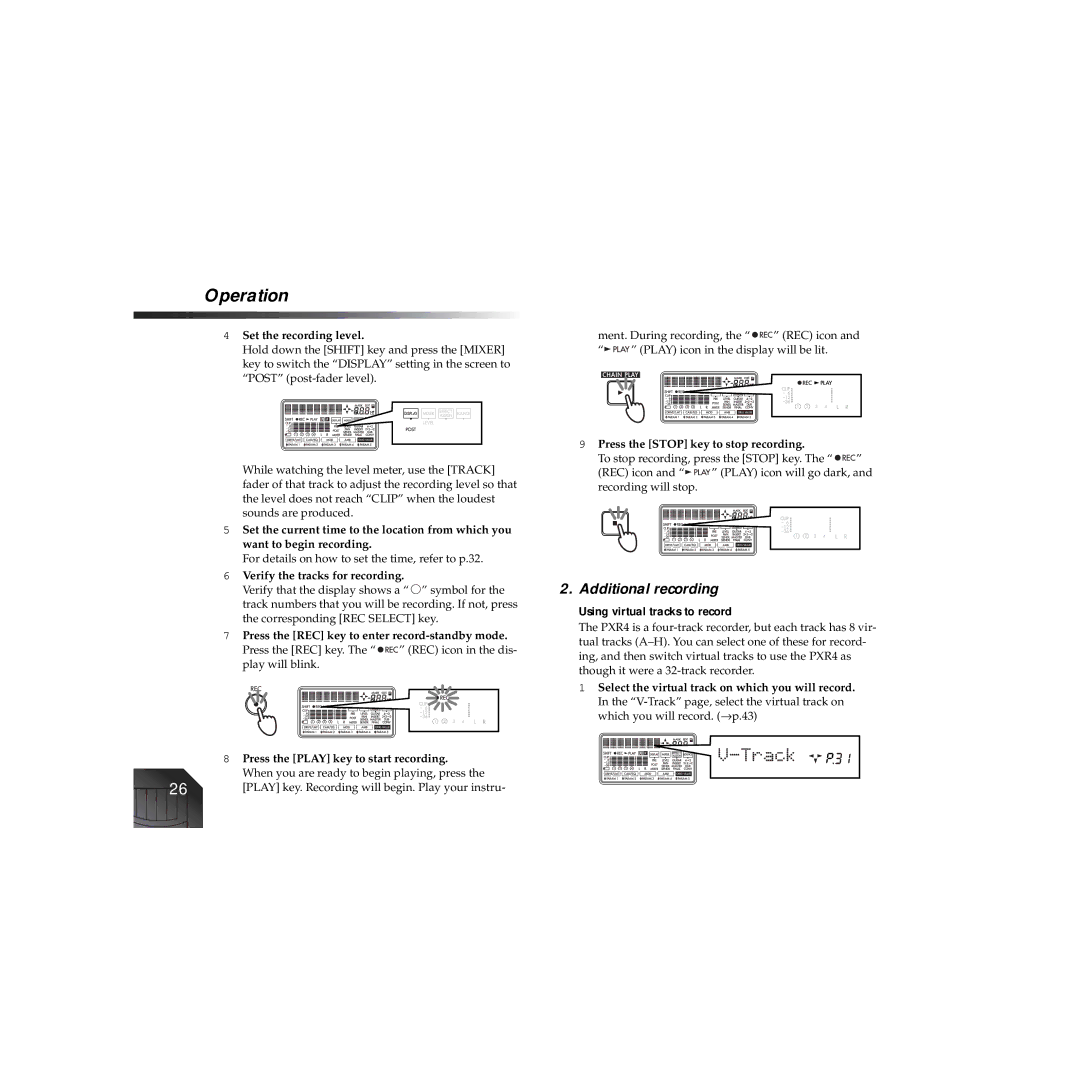
1Select the virtual track on which you will record.
In the