Operation
which is inconvenient for listening while you record. If you turn the “AutoPan” setting “On,” the panning of the bounce source tracks will automatically be set appropriately for the bounce destination, and the monitor sound will also be auto- matically panned to the center. If you are using two record- ing tracks, this setting will be ignored. Pan to “L” if the recording track is
4Set the current time to the beginning of the song.
5Adjust the playback/recording levels.
Use the [TRACK] fader of each channel to adjust the playback level of each track. Use the [MASTER] fader to adjust the recording level of all tracks (→ p.25). After you have made the adjustments, press the [STOP] key.
6Begin bounce recording.
Press the [REC] key to select
“![]()
![]()
![]() ” (REC) icon will blink). Press the [PLAY] key to
” (REC) icon will blink). Press the [PLAY] key to
begin recording (the “![]()
![]()
![]() ” (REC) icon will light).
” (REC) icon will light).
7When you are finished recording, press the [STOP] key to stop.
Combining three tracks and one external input source onto one track
Here’s how the audio from two
As an example, we will explain how the audio of tracks 1– 3 plus one external audio input source can be recorded on track 1.
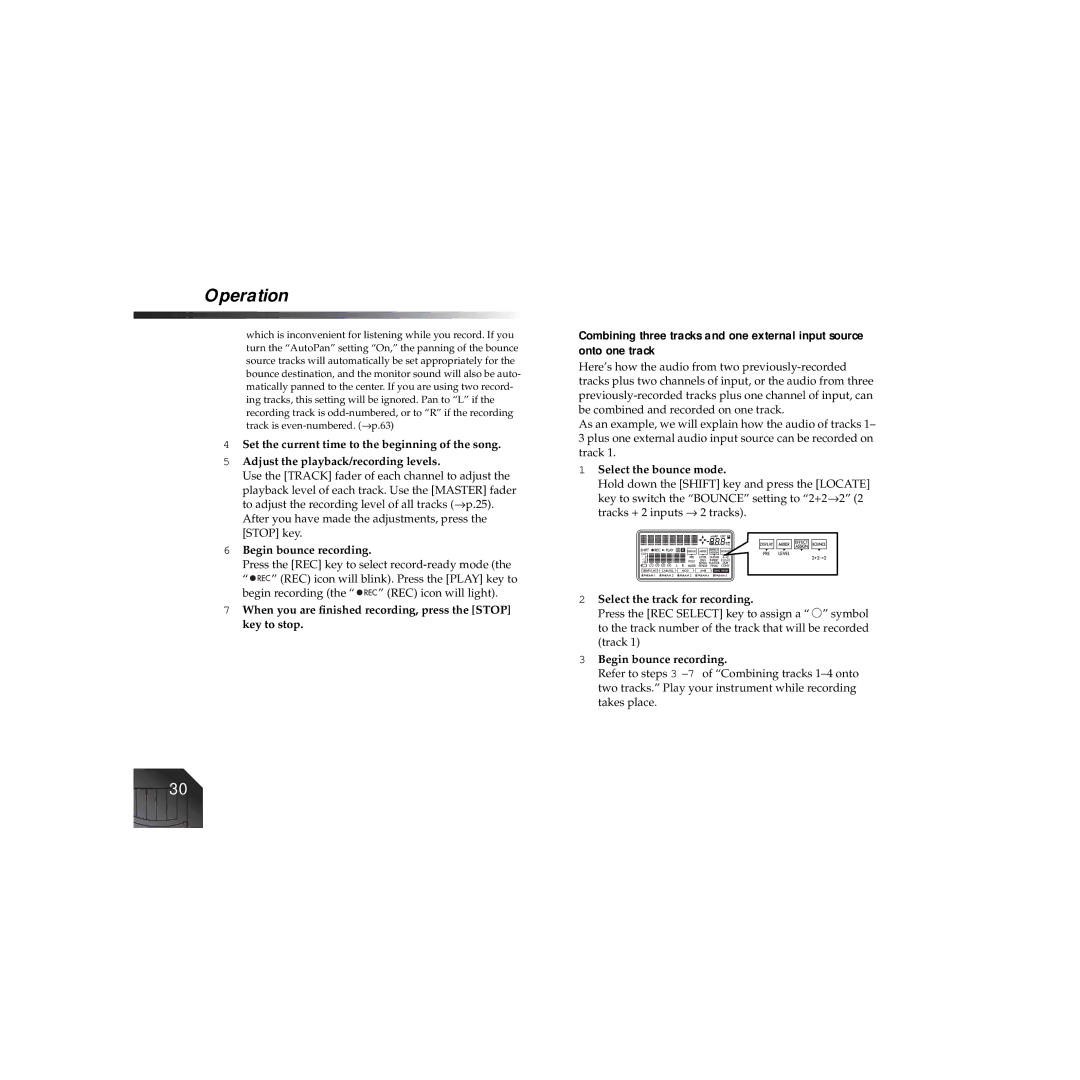
1Select the bounce mode.
Hold down the [SHIFT] key and press the [LOCATE] key to switch the “BOUNCE” setting to “2+2→ 2” (2
tracks + 2 inputs → 2 tracks).
2Select the track for recording.
Press the [REC SELECT] key to assign a “ ![]() ” symbol to the track number of the track that will be recorded (track 1)
” symbol to the track number of the track that will be recorded (track 1)
3Begin bounce recording.
Refer to steps 3
30