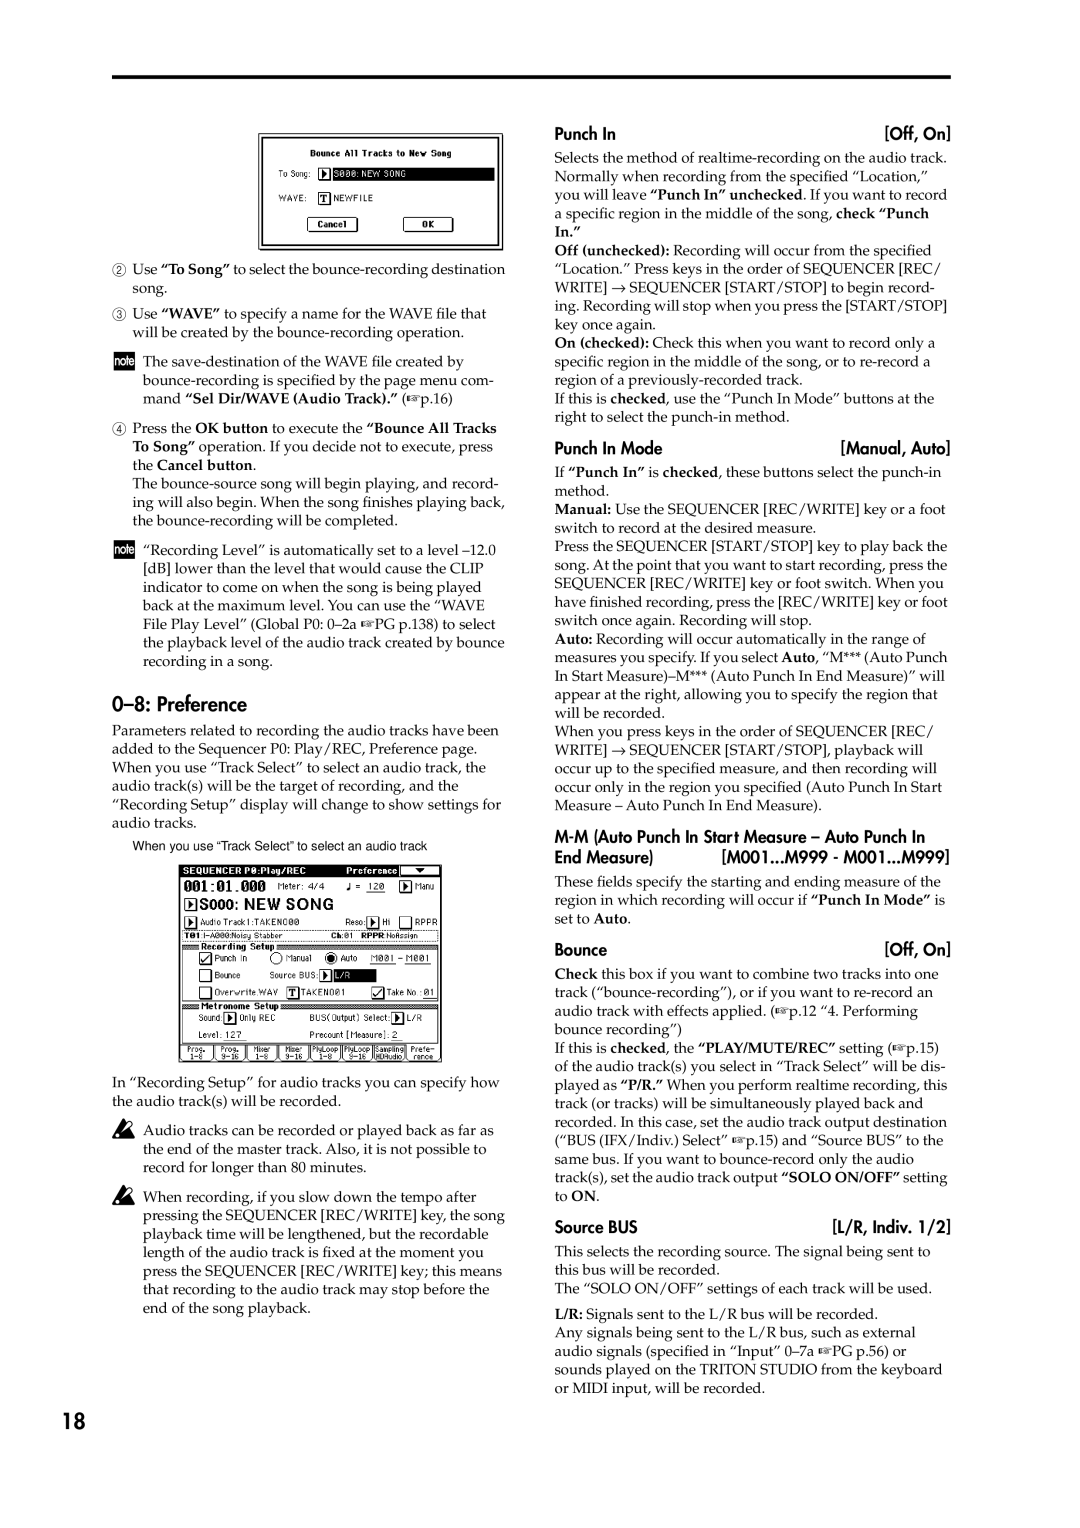
2Use “To Song” to select the
3Use “WAVE” to specify a name for the WAVE file that will be created by the
The
4Press the OK button to execute the “Bounce All Tracks To Song” operation. If you decide not to execute, press the Cancel button.
The
“Recording Level” is automatically set to a level
0–8: Preference
Parameters related to recording the audio tracks have been added to the Sequencer P0: Play/REC, Preference page. When you use “Track Select” to select an audio track, the audio track(s) will be the target of recording, and the “Recording Setup” display will change to show settings for audio tracks.
When you use “Track Select” to select an audio track
In “Recording Setup” for audio tracks you can specify how the audio track(s) will be recorded.
Audio tracks can be recorded or played back as far as the end of the master track. Also, it is not possible to record for longer than 80 minutes.
![]() When recording, if you slow down the tempo after pressing the SEQUENCER [REC/WRITE] key, the song playback time will be lengthened, but the recordable length of the audio track is fixed at the moment you press the SEQUENCER [REC/WRITE] key; this means that recording to the audio track may stop before the end of the song playback.
When recording, if you slow down the tempo after pressing the SEQUENCER [REC/WRITE] key, the song playback time will be lengthened, but the recordable length of the audio track is fixed at the moment you press the SEQUENCER [REC/WRITE] key; this means that recording to the audio track may stop before the end of the song playback.
Punch In | [Off, On] |
Selects the method of
In.”
Off (unchecked): Recording will occur from the specified “Location.” Press keys in the order of SEQUENCER [REC/ WRITE] → SEQUENCER [START/STOP] to begin record- ing. Recording will stop when you press the [START/STOP] key once again.
On (checked): Check this when you want to record only a specific region in the middle of the song, or to
If this is checked, use the “Punch In Mode” buttons at the right to select the
Punch In Mode | [Manual, Auto] |
If “Punch In” is checked, these buttons select the
Manual: Use the SEQUENCER [REC/WRITE] key or a foot switch to record at the desired measure.
Press the SEQUENCER [START/STOP] key to play back the song. At the point that you want to start recording, press the SEQUENCER [REC/WRITE] key or foot switch. When you have finished recording, press the [REC/WRITE] key or foot switch once again. Recording will stop.
Auto: Recording will occur automatically in the range of measures you specify. If you select Auto, “M*** (Auto Punch In Start
When you press keys in the order of SEQUENCER [REC/ WRITE] → SEQUENCER [START/STOP], playback will occur up to the specified measure, and then recording will occur only in the region you specified (Auto Punch In Start Measure – Auto Punch In End Measure).
End Measure) | [M001...M999 - M001...M999] |
These fields specify the starting and ending measure of the region in which recording will occur if “Punch In Mode” is set to Auto.
Bounce | [Off, On] |
Check this box if you want to combine two tracks into one track
If this is checked, the “PLAY/MUTE/REC” setting (☞p.15) of the audio track(s) you select in “Track Select” will be dis- played as “P/R.” When you perform realtime recording, this track (or tracks) will be simultaneously played back and recorded. In this case, set the audio track output destination (“BUS (IFX/Indiv.) Select” ☞p.15) and “Source BUS” to the same bus. If you want to
Source BUS | [L/R, Indiv. 1/2] |
This selects the recording source. The signal being sent to this bus will be recorded.
The “SOLO ON/OFF” settings of each track will be used.
L/R: Signals sent to the L/R bus will be recorded.
Any signals being sent to the L/R bus, such as external audio signals (specified in “Input”
18
