address will move by one pixel.) In the vertical axis, you can
![]() At low zoom ratios (1x or less), the waveform shown in the waveform display may be slightly different before and after editing, but this will not affect the playback. In this case, raising the zoom ratio will cause the wave- form to be displayed correctly.
At low zoom ratios (1x or less), the waveform shown in the waveform display may be slightly different before and after editing, but this will not affect the playback. In this case, raising the zoom ratio will cause the wave- form to be displayed correctly.
0–6b: WAVE Parameter
Here you can set the “Loop On/Off,” “Loop S,” and “End” setting of the WAVE file. If you edit any of these settings, you must execute the page menu command “Save WAVE
Parameter.”
![]() “Loop On/Off,” “Loop S,” and “End” settings are used only when the WAVE file is loaded into sample mem- ory (RAM) in Sampling mode (Disk mode
“Loop On/Off,” “Loop S,” and “End” settings are used only when the WAVE file is loaded into sample mem- ory (RAM) in Sampling mode (Disk mode
26)Load .WAV ☞PG p.164). These settings are not used when playing an audio track or when playing a WAVE file in the
Loop On/Off[Off, On]
Specifies whether the WAVE file waveform will be looped. On (checked): The waveform will play repeatedly from “LoopS” to the end; i.e., “sample start” → “sample end” → “LoopS” → “sample end” → “LoopS” ...
Off (unchecked): The waveform will play once from “sam- ple start” → “sample end”; i.e.,
If you change “Loop On/Off” from Off to On, the “sample start” and “sample end” addresses will be set as the initial values of “LoopS” and “End.”
LoopS | [0000000... | ] |
End | [0000000... | ] |
These parameters specify the loop start address and end address that will be used when playing the WAVE file. These points are valid only if Loop is on. The numerical val- ues are sample addresses. The addresses you specify here are shown as vertical lines in the “WAVE file waveform dis- play.”
If “Loop On/Off” is On, the “LoopS” and “End” values will be the initial values of “Edit Range Start” and “Edit Range End”; when you press the SAMPLING [START/ STOP] key, only the region between “LoopS” and “End” will play back. If you want to check the looping, load the WAVE file into sample memory (RAM) and check it in Sampling mode. If the size of the WAVE file exceeds the capacity of sample memory (RAM) so that you are unable to load it, use the page menu command “Truncate” or “Cut” to extract the “LoopS” and “End” region and create a new WAVE file that is small enough to load.
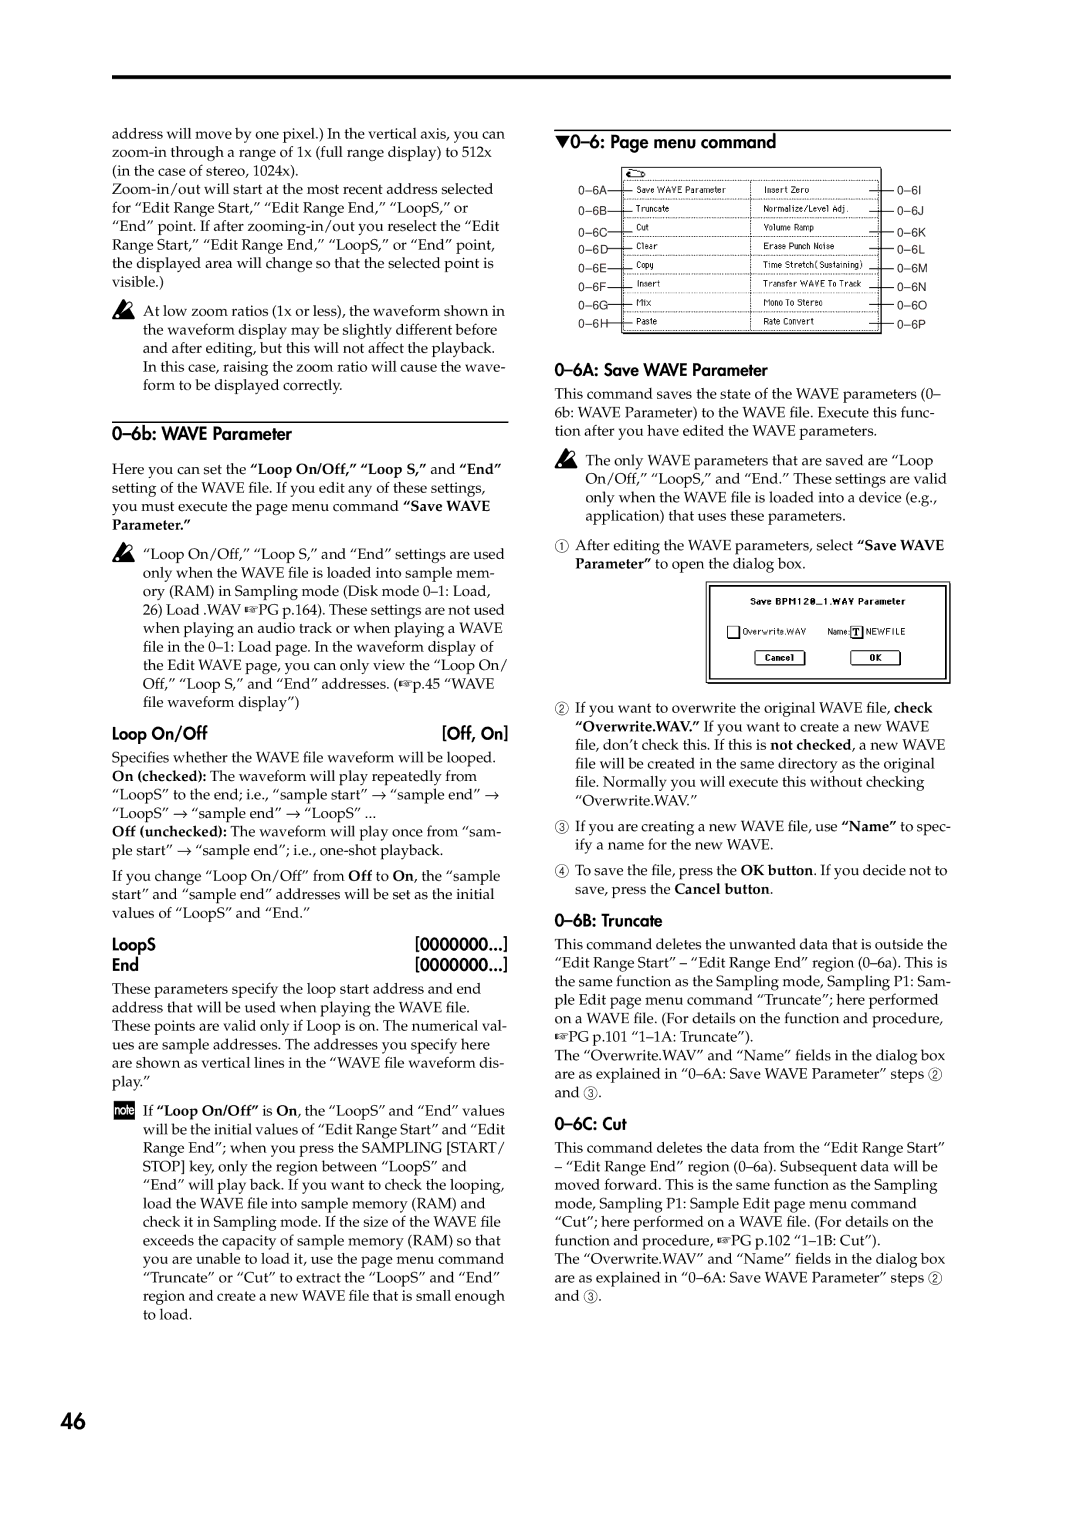
▼0–6: Page menu command
|
|
| ||
|
| |||
|
|
| ||
|
| |||
|
|
| ||
|
| |||
|
|
| ||
|
| |||
|
|
| ||
|
| |||
|
|
| ||
|
| |||
|
|
| ||
|
| |||
|
|
| ||
|
|
0–6A: Save WAVE Parameter
This command saves the state of the WAVE parameters (0– 6b: WAVE Parameter) to the WAVE file. Execute this func- tion after you have edited the WAVE parameters.
![]() The only WAVE parameters that are saved are “Loop On/Off,” “LoopS,” and “End.” These settings are valid only when the WAVE file is loaded into a device (e.g., application) that uses these parameters.
The only WAVE parameters that are saved are “Loop On/Off,” “LoopS,” and “End.” These settings are valid only when the WAVE file is loaded into a device (e.g., application) that uses these parameters.
1After editing the WAVE parameters, select “Save WAVE Parameter” to open the dialog box.
2If you want to overwrite the original WAVE file, check “Overwrite.WAV.” If you want to create a new WAVE file, don’t check this. If this is not checked, a new WAVE file will be created in the same directory as the original file. Normally you will execute this without checking “Overwrite.WAV.”
3If you are creating a new WAVE file, use “Name” to spec- ify a name for the new WAVE.
4To save the file, press the OK button. If you decide not to save, press the Cancel button.
0–6B: Truncate
This command deletes the unwanted data that is outside the “Edit Range Start” – “Edit Range End” region
The “Overwrite.WAV” and “Name” fields in the dialog box are as explained in
0–6C: Cut
This command deletes the data from the “Edit Range Start”
–“Edit Range End” region
The “Overwrite.WAV” and “Name” fields in the dialog box are as explained in
46