■Recording on the audio track(s)
7Set “Location” to the location that you want to record.
8Press the SEQUENCER [REC/WRITE] key and then the SEQUENCER [START/STOP] key. (Recording will begin.)
9Play the musical instrument etc. that is connected to the AUDIO INPUT jack(s) you selected for “Source Audio.”
0When you have finished performing, press the SEQUENCER [START/STOP] key. (Recording will stop.)
![]() If a “Buffer overrun error occurred” or “Buffer under- run error occurred” error message is displayed, refer to “What to do if a “Buffer overrun error occurred” or “Buffer underrun error occurred” error message appears during recording or playback” (☞p.13), and execute the Disk mode
If a “Buffer overrun error occurred” or “Buffer under- run error occurred” error message is displayed, refer to “What to do if a “Buffer overrun error occurred” or “Buffer underrun error occurred” error message appears during recording or playback” (☞p.13), and execute the Disk mode
■Check the audio track(s) that you recorded
•Press the SEQUENCER [START/STOP] key to play back.
If you want to apply an insert effect to the input source, go to the Sequencer P0: Play/REC Sampling/HD Audio page, and set Input 1,2 “BUS (IFX/Indiv.) Select” to
You can use manual or auto
Use the page menu command “Sel Dir/WAVE (Audio Track)” (☞p.16) to specify the
6. Bounce Audio Track
“Bounce Audio Track” makes the appropriate settings for combining audio tracks 1 and 2 into audio track 1 or re- recording the audio tracks while applying an effect.
■Setup
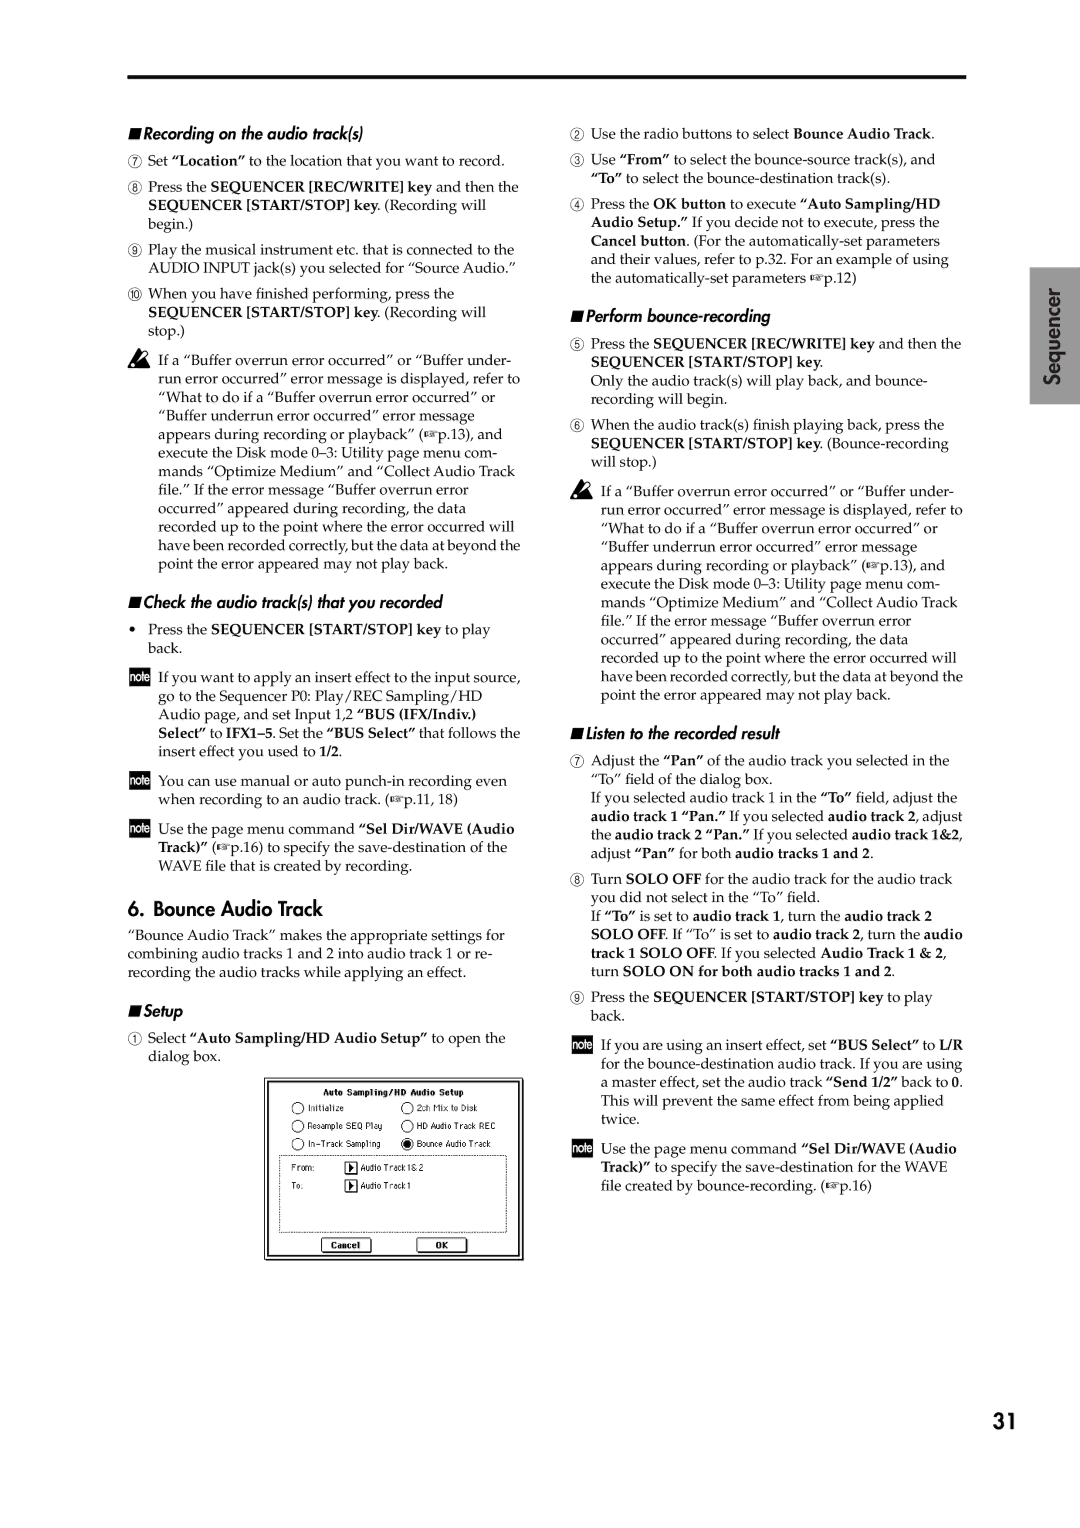
1Select “Auto Sampling/HD Audio Setup” to open the dialog box.
2Use the radio buttons to select Bounce Audio Track.
3Use “From” to select the
4Press the OK button to execute “Auto Sampling/HD Audio Setup.” If you decide not to execute, press the Cancel button. (For the
■Perform bounce-recording
5Press the SEQUENCER [REC/WRITE] key and then the SEQUENCER [START/STOP] key.
Only the audio track(s) will play back, and bounce- recording will begin.
6When the audio track(s) finish playing back, press the SEQUENCER [START/STOP] key.
If a “Buffer overrun error occurred” or “Buffer under- run error occurred” error message is displayed, refer to “What to do if a “Buffer overrun error occurred” or “Buffer underrun error occurred” error message appears during recording or playback” (☞p.13), and execute the Disk mode
■Listen to the recorded result
7Adjust the “Pan” of the audio track you selected in the “To” field of the dialog box.
If you selected audio track 1 in the “To” field, adjust the audio track 1 “Pan.” If you selected audio track 2, adjust the audio track 2 “Pan.” If you selected audio track 1&2, adjust “Pan” for both audio tracks 1 and 2.
8Turn SOLO OFF for the audio track for the audio track you did not select in the “To” field.
If “To” is set to audio track 1, turn the audio track 2 SOLO OFF. If “To” is set to audio track 2, turn the audio track 1 SOLO OFF. If you selected Audio Track 1 & 2, turn SOLO ON for both audio tracks 1 and 2.
9Press the SEQUENCER [START/STOP] key to play back.
If you are using an insert effect, set “BUS Select” to L/R for the
Use the page menu command “Sel Dir/WAVE (Audio Track)” to specify the
Sequencer
31