3Press the SEQUENCER [START/STOP] key to play back the song, and adjust the output level balance of audio tracks 1 and 2.
Use AUDIO 1 “Level” and AUDIO 2 “Level” to adjust the output level of each audio track.
When you have finished setting your levels, stop play- back.
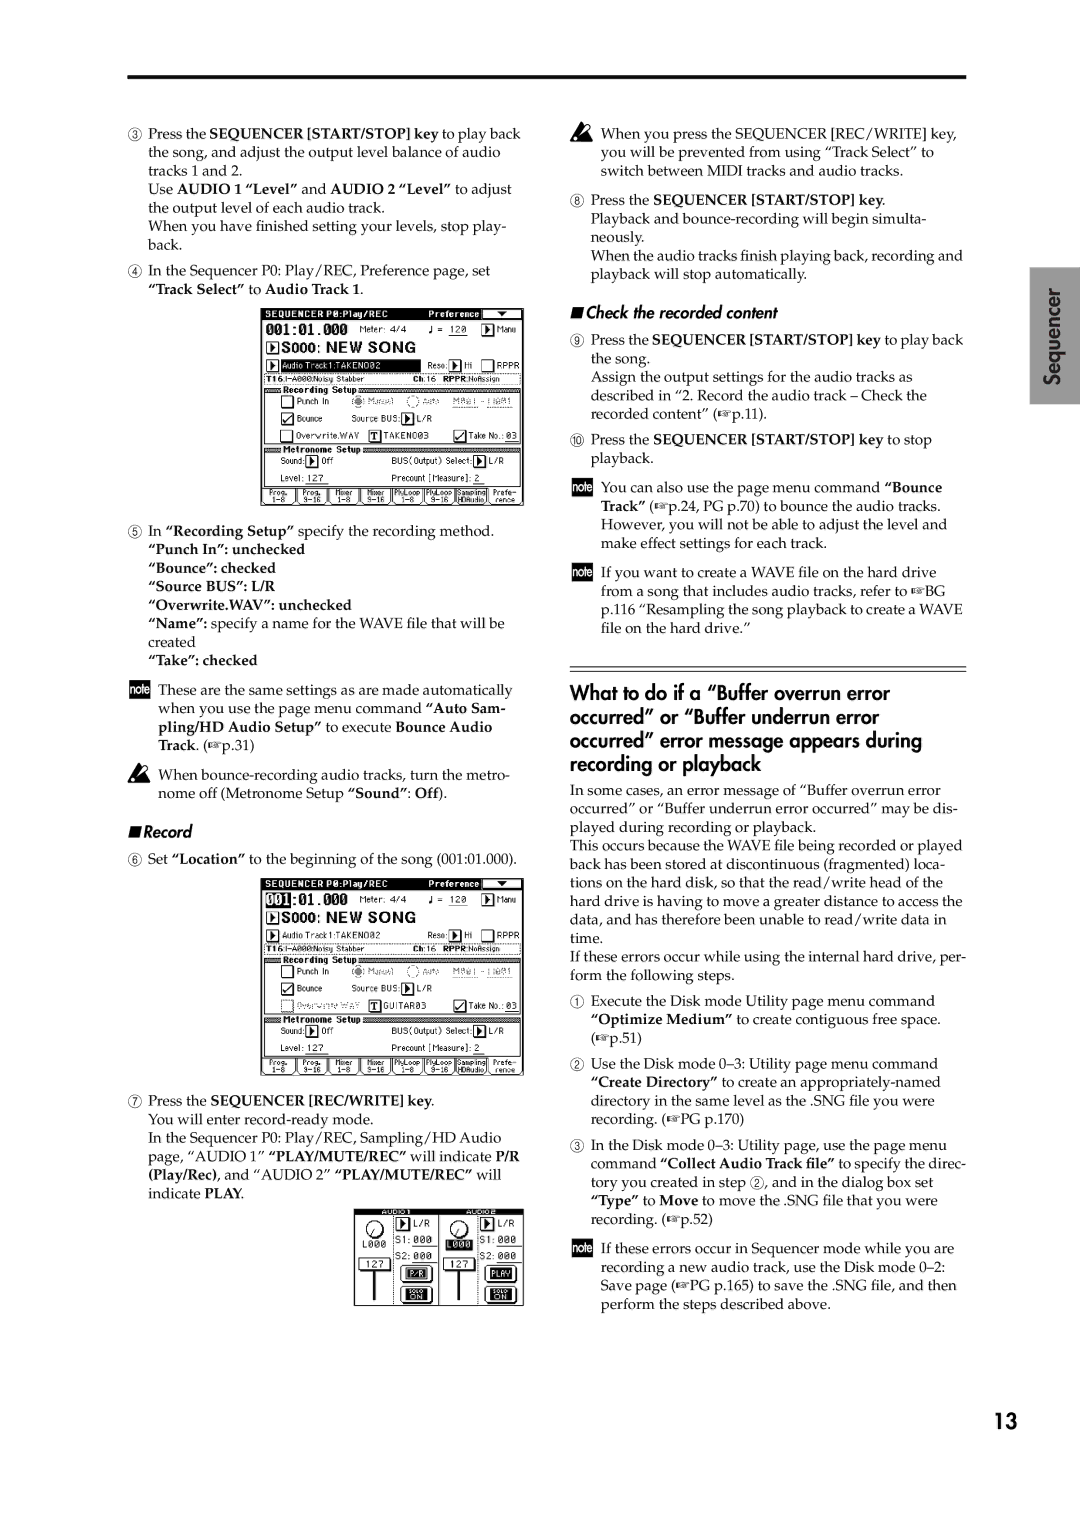
4In the Sequencer P0: Play/REC, Preference page, set “Track Select” to Audio Track 1.
5In “Recording Setup” specify the recording method.
“Punch In”: unchecked
“Bounce”: checked
“Source BUS”: L/R
“Overwrite.WAV”: unchecked
“Name”: specify a name for the WAVE file that will be created
“Take”: checked
These are the same settings as are made automatically when you use the page menu command “Auto Sam- pling/HD Audio Setup” to execute Bounce Audio Track. (☞p.31)
When
■Record
6Set “Location” to the beginning of the song (001:01.000).
7Press the SEQUENCER [REC/WRITE] key. You will enter
In the Sequencer P0: Play/REC, Sampling/HD Audio page, “AUDIO 1” “PLAY/MUTE/REC” will indicate P/R (Play/Rec), and “AUDIO 2” “PLAY/MUTE/REC” will indicate PLAY.
![]() When you press the SEQUENCER [REC/WRITE] key, you will be prevented from using “Track Select” to switch between MIDI tracks and audio tracks.
When you press the SEQUENCER [REC/WRITE] key, you will be prevented from using “Track Select” to switch between MIDI tracks and audio tracks.
8Press the SEQUENCER [START/STOP] key. Playback and
When the audio tracks finish playing back, recording and playback will stop automatically.
■Check the recorded content
9Press the SEQUENCER [START/STOP] key to play back the song.
Assign the output settings for the audio tracks as described in “2. Record the audio track – Check the recorded content” (☞p.11).
0Press the SEQUENCER [START/STOP] key to stop playback.
You can also use the page menu command “Bounce Track” (☞p.24, PG p.70) to bounce the audio tracks. However, you will not be able to adjust the level and make effect settings for each track.
If you want to create a WAVE file on the hard drive from a song that includes audio tracks, refer to ☞BG p.116 “Resampling the song playback to create a WAVE file on the hard drive.”
What to do if a “Buffer overrun error occurred” or “Buffer underrun error occurred” error message appears during recording or playback
In some cases, an error message of “Buffer overrun error occurred” or “Buffer underrun error occurred” may be dis- played during recording or playback.
This occurs because the WAVE file being recorded or played back has been stored at discontinuous (fragmented) loca- tions on the hard disk, so that the read/write head of the hard drive is having to move a greater distance to access the data, and has therefore been unable to read/write data in time.
If these errors occur while using the internal hard drive, per- form the following steps.
1Execute the Disk mode Utility page menu command “Optimize Medium” to create contiguous free space. (☞p.51)
2Use the Disk mode
3In the Disk mode
If these errors occur in Sequencer mode while you are recording a new audio track, use the Disk mode
Sequencer
13