6Be sure that “WAVE File” reads No Assign. If a file name is displayed for “WAVE File,” then a WAVE file is already assigned to the audio track. In this case, press the Clear button so that “WAVE File” reads No Assign.
For the audio track, you can also use a WAVE file ripped from a CD or a WAVE file created by resampling to the hard drive in Program mode, etc. (☞p.16 “Sel Dir/WAVE (Audio Track),” ☞p.20 “Put WAVE”)
7Use the “Drive Select,” Open button, and Up button to select the
“Drive Select”
8Press the Done button to close the dialog box.
The directory that is selected when you press the Done button will be specified as the
2. Record the audio track
As an example, here’s how you can record the performance of a guitar connected to the AUDIO INPUT jack onto audio track 1.
Use INDIV. 1/2 OUT to monitor the audio signal being recorded. Connect the AUDIO OUTPUT MAIN L, R, INDIV1, and 2 jacks to your mixer so that you can mon- itor the output.
When you record or play back a song that includes an audio track, several seconds will elapse from the moment you press the SEQUENCER [REC/WRITE] key or the SEQUENCER [START/STOP] key until recording or playback actually begins. During this interval, a dialog box will appear in the screen, and the SEQUENCER [REC/WRITE] key or SEQUENCER [START/STOP] key LED will blink.
![]() You can record and play back an audio track up to the end of the master track. Also, it is not possible to record longer than 80 minutes.
You can record and play back an audio track up to the end of the master track. Also, it is not possible to record longer than 80 minutes.
![]() If a “Buffer overrun error occurred” or “Buffer under- run error occurred” error message is displayed, refer to “What to do if a “Buffer overrun error occurred” or “Buffer underrun error occurred” error message appears during recording or playback” (☞p.13), and execute the Disk mode
If a “Buffer overrun error occurred” or “Buffer under- run error occurred” error message is displayed, refer to “What to do if a “Buffer overrun error occurred” or “Buffer underrun error occurred” error message appears during recording or playback” (☞p.13), and execute the Disk mode
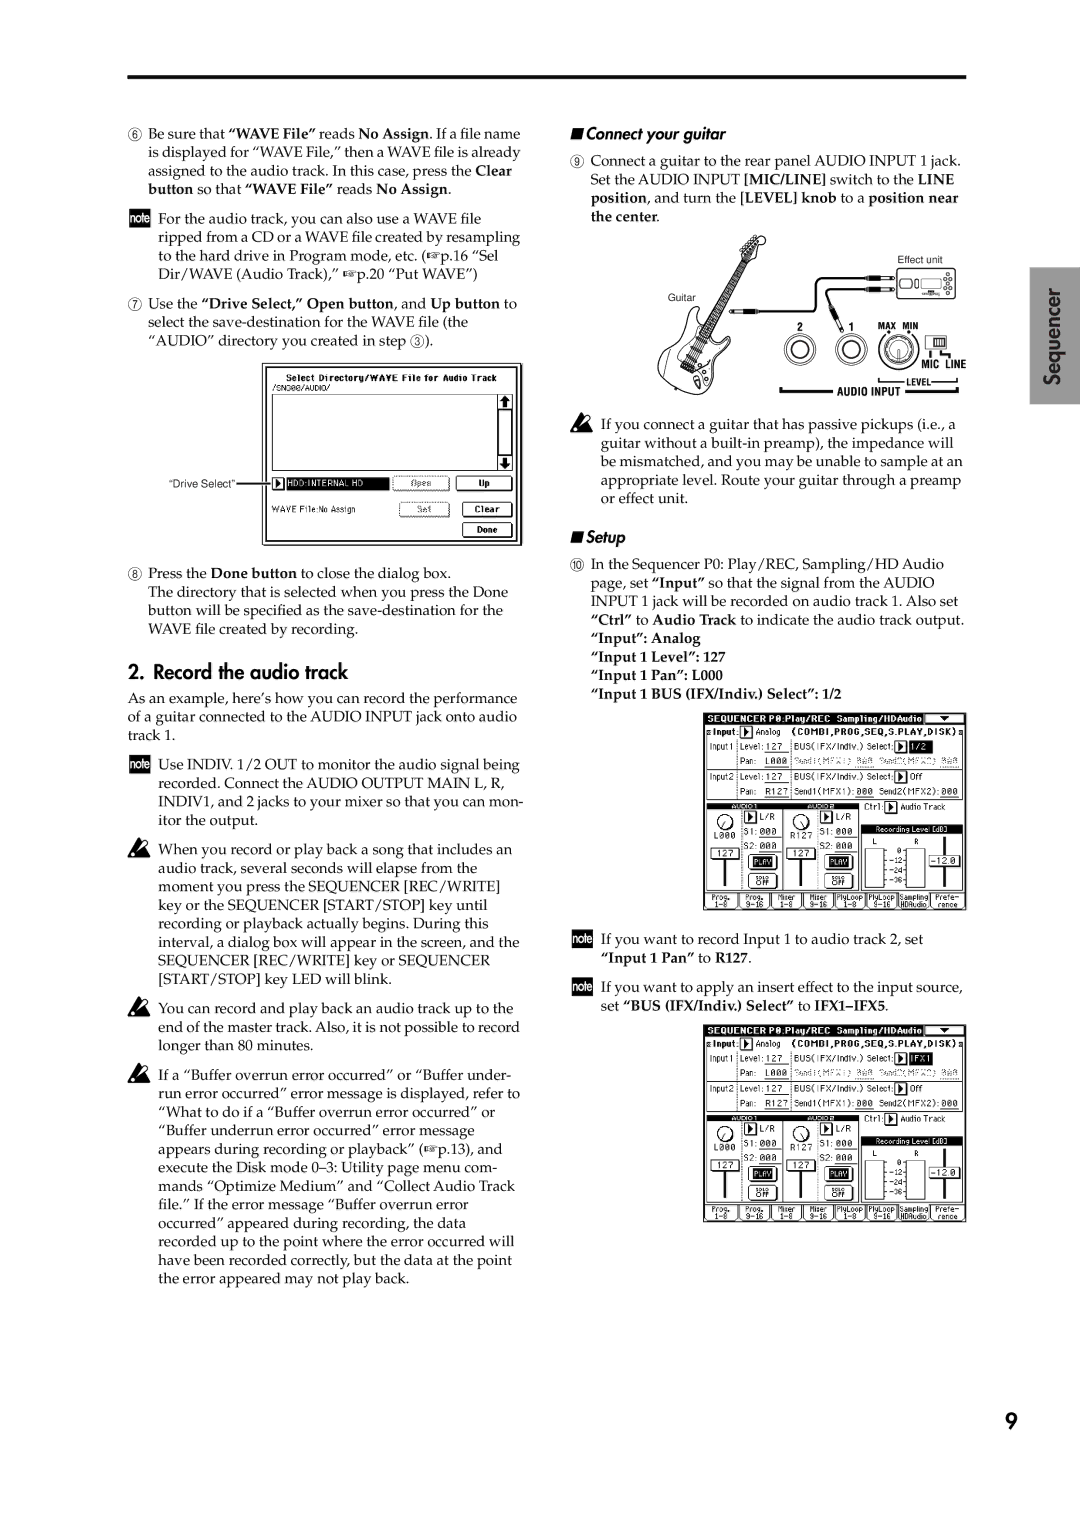
■Connect your guitar
9Connect a guitar to the rear panel AUDIO INPUT 1 jack. Set the AUDIO INPUT [MIC/LINE] switch to the LINE position, and turn the [LEVEL] knob to a position near the center.
Effect unit
Guitar
If you connect a guitar that has passive pickups (i.e., a guitar without a
■Setup
0In the Sequencer P0: Play/REC, Sampling/HD Audio page, set “Input” so that the signal from the AUDIO INPUT 1 jack will be recorded on audio track 1. Also set “Ctrl” to Audio Track to indicate the audio track output.
“Input”: Analog
“Input 1 Level”: 127
“Input 1 Pan”: L000
“Input 1 BUS (IFX/Indiv.) Select”: 1/2
If you want to record Input 1 to audio track 2, set “Input 1 Pan” to R127.
If you want to apply an insert effect to the input source, set “BUS (IFX/Indiv.) Select” to
Sequencer
9