3.1.3Options with a Node Selected
When a node is selected on a feature, the user can select another node common to the feature graphically in the map, view the coordinates or
1.Progress to the First, Last, Previous or Next node.
2.Copy to, Select from, or Paste from a node via the Clipboard.
3.Insert New nodes Before or After the current node selected.
4.Delete the selected nodes.
3.2Selecting a Feature
In order to view or manipulate feature data, a feature must first be selected. Selection can be performed from a table of features via Feature Management, or graphically from a map.
3.2.1Feature Management
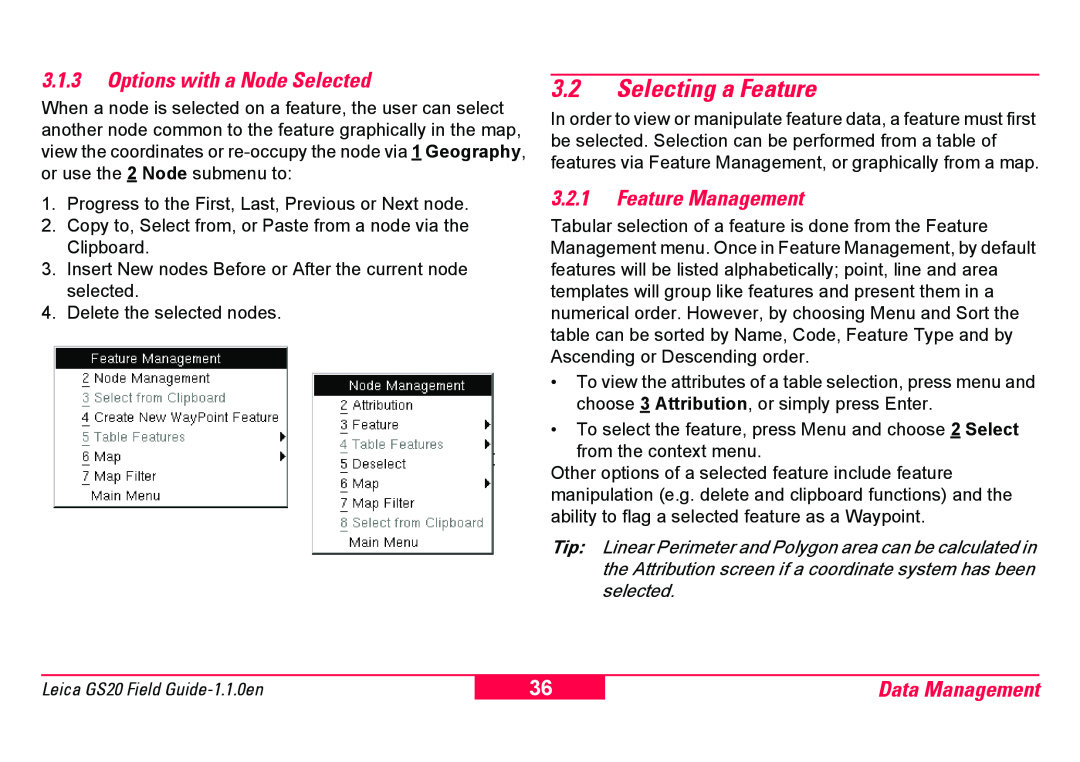
Tabular selection of a feature is done from the Feature Management menu. Once in Feature Management, by default features will be listed alphabetically; point, line and area templates will group like features and present them in a numerical order. However, by choosing Menu and Sort the table can be sorted by Name, Code, Feature Type and by Ascending or Descending order.
•To view the attributes of a table selection, press menu and choose 3 Attribution, or simply press Enter.
•To select the feature, press Menu and choose 2 Select from the context menu.
Other options of a selected feature include feature manipulation (e.g. delete and clipboard functions) and the ability to flag a selected feature as a Waypoint.
Tip: Linear Perimeter and Polygon area can be calculated in the Attribution screen if a coordinate system has been selected.
Leica GS20 Field
36
Data Management
