When collecting a point offset, it is important to input the offset data before occupying the auxiliary point.
•Azimuth Distance: Enter Azimuth, Distance and Delta Height before occupying the point.
•Azimuth Azimuth: Enter Azimuth and Delta Ht for 1st position from Aux Pt. A; then repeat for PT B.
•Distance Distance: Enter Distance and Delta Ht for 1st position from Aux Pt A; repeat for position B and choose the solution method (i.e. Left or Right)
Remember: Because two solutions exist for a double distance intersections, the user must tell the software on what side of point
•Backwards Azimuth and Distance: Useful when locating a point by direct occupation when no GPS exists. The BAD works by providing an azimuth and distance to a previously located point. The calculation then reverses the course and distance.
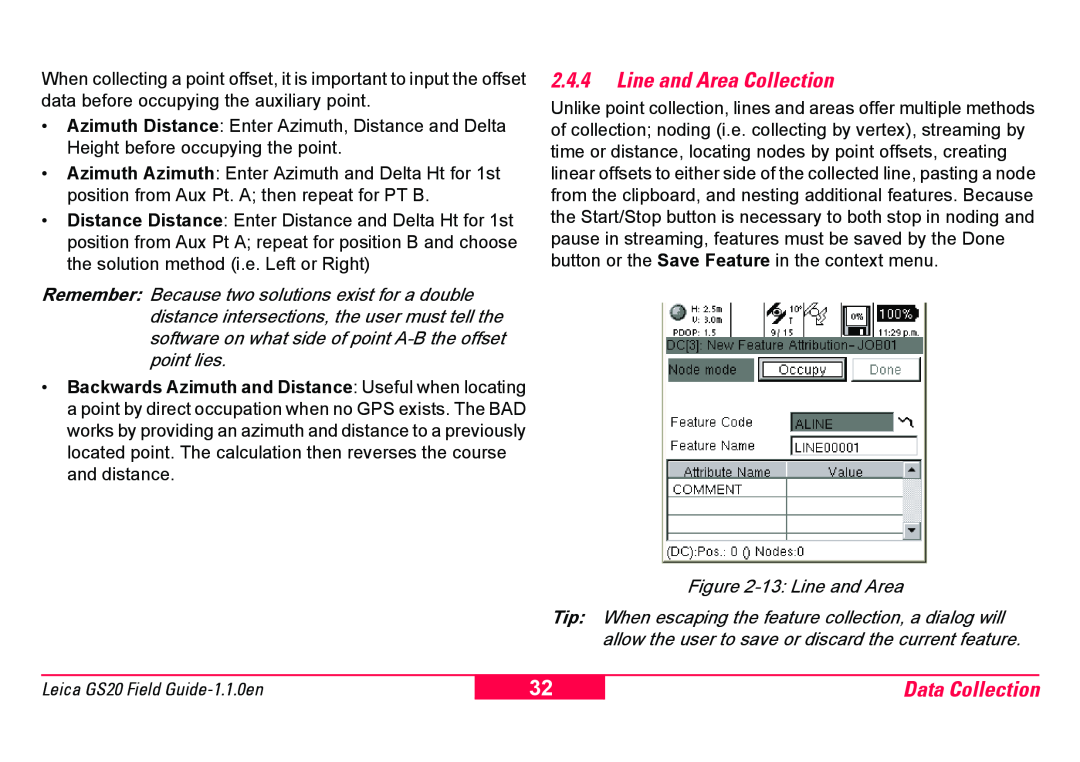
2.4.4Line and Area Collection
Unlike point collection, lines and areas offer multiple methods of collection; noding (i.e. collecting by vertex), streaming by time or distance, locating nodes by point offsets, creating linear offsets to either side of the collected line, pasting a node from the clipboard, and nesting additional features. Because the Start/Stop button is necessary to both stop in noding and pause in streaming, features must be saved by the Done button or the Save Feature in the context menu.
Figure 2-13: Line and Area
Tip: When escaping the feature collection, a dialog will allow the user to save or discard the current feature.
Leica GS20 Field
32
Data Collection