Facts About Attributes:
1.The Z attribute is reserved and cannot be changed.
2.The Z attribute contains elevation data
3.Maximum 256 characters per Choice List
4.Attribute names must begin with a letter
5.Limit the attribute names to 10 characters
2.3.3.4Step 4: Display Attributes: Attaching Map Symbology
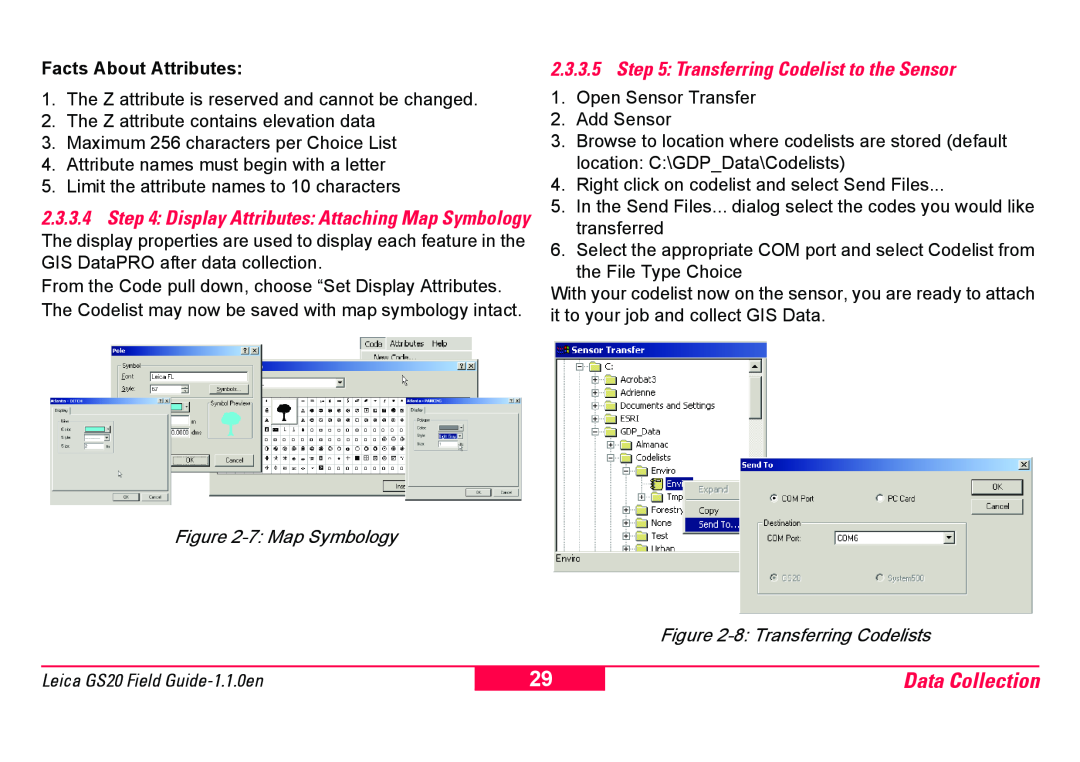
The display properties are used to display each feature in the GIS DataPRO after data collection.
From the Code pull down, choose “Set Display Attributes. The Codelist may now be saved with map symbology intact.
2.3.3.5 Step 5: Transferring Codelist to the Sensor
1.Open Sensor Transfer
2.Add Sensor
3.Browse to location where codelists are stored (default location: C:\GDP_Data\Codelists)
4.Right click on codelist and select Send Files...
5.In the Send Files... dialog select the codes you would like transferred
6.Select the appropriate COM port and select Codelist from
the File Type Choice
With your codelist now on the sensor, you are ready to attach it to your job and collect GIS Data.
Figure 2-7: Map Symbology
Figure 2-8: Transferring Codelists
Leica GS20 Field
29
Data Collection