3.Most likely, you will want to select a User Defined configuration or press Menu and create a New configuration based on your highlighted default.
4.Enter the configuration, and expand the Interface branch. Focus on the Tracking branch and press enter.
5.Set the source to WAAS. That’s it.
9.8.3.1 Understanding the WAAS Corrections
1.The immediate and most notable change will be the WAAS Satellite Icon in the
2.When the icon and lightening bolt fill to black, this is an indication that the WAAS signal is being received.
3.Once the corrections have been calculated, the WAAS Satellite Icon will become Bold, the status bar will indicate Reference Data is Available, and the positional Indicator will become a bulls eye.
4.WAAS corrections are able to extrapolate, or coast for 60 seconds. If the correction is lost, a numeric indicator under the WAAS Satellite Icon will display how many seconds since the last correction.
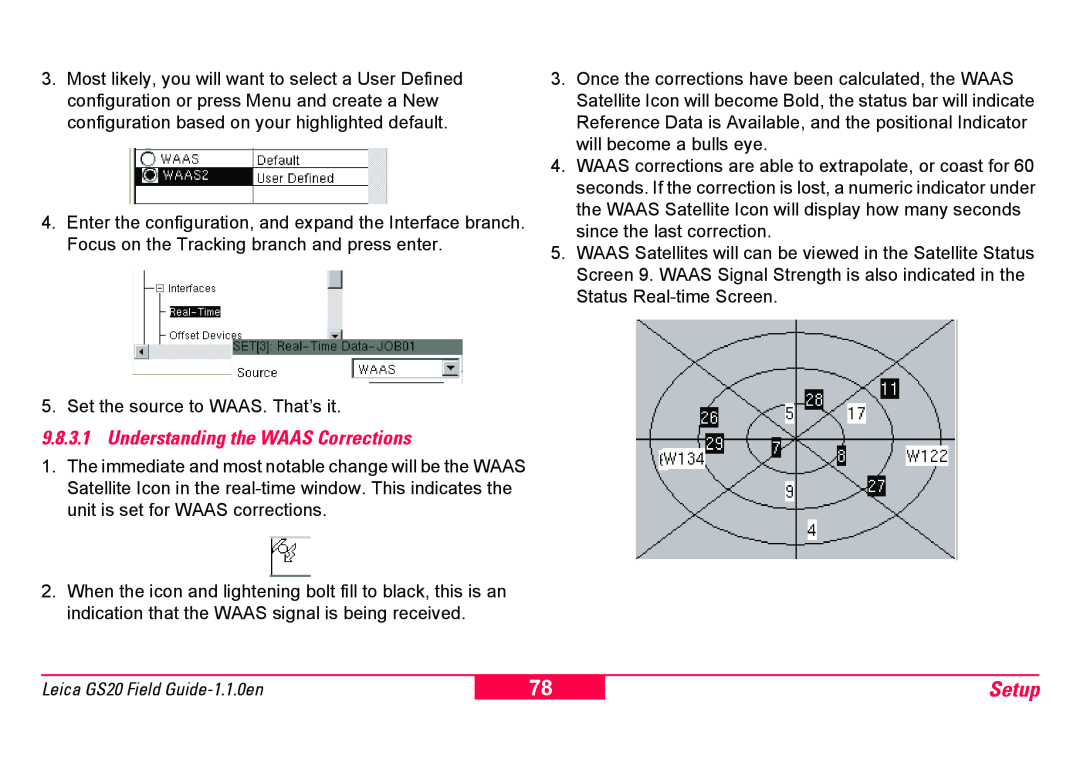
5.WAAS Satellites will can be viewed in the Satellite Status Screen 9. WAAS Signal Strength is also indicated in the Status
Leica GS20 Field
78
Setup
