Printing photos from a PictBridge-enabled digital camera
You can connect a
1Insert one end of the USB cable into the camera.
Note: Use only the USB cable that came with your camera.
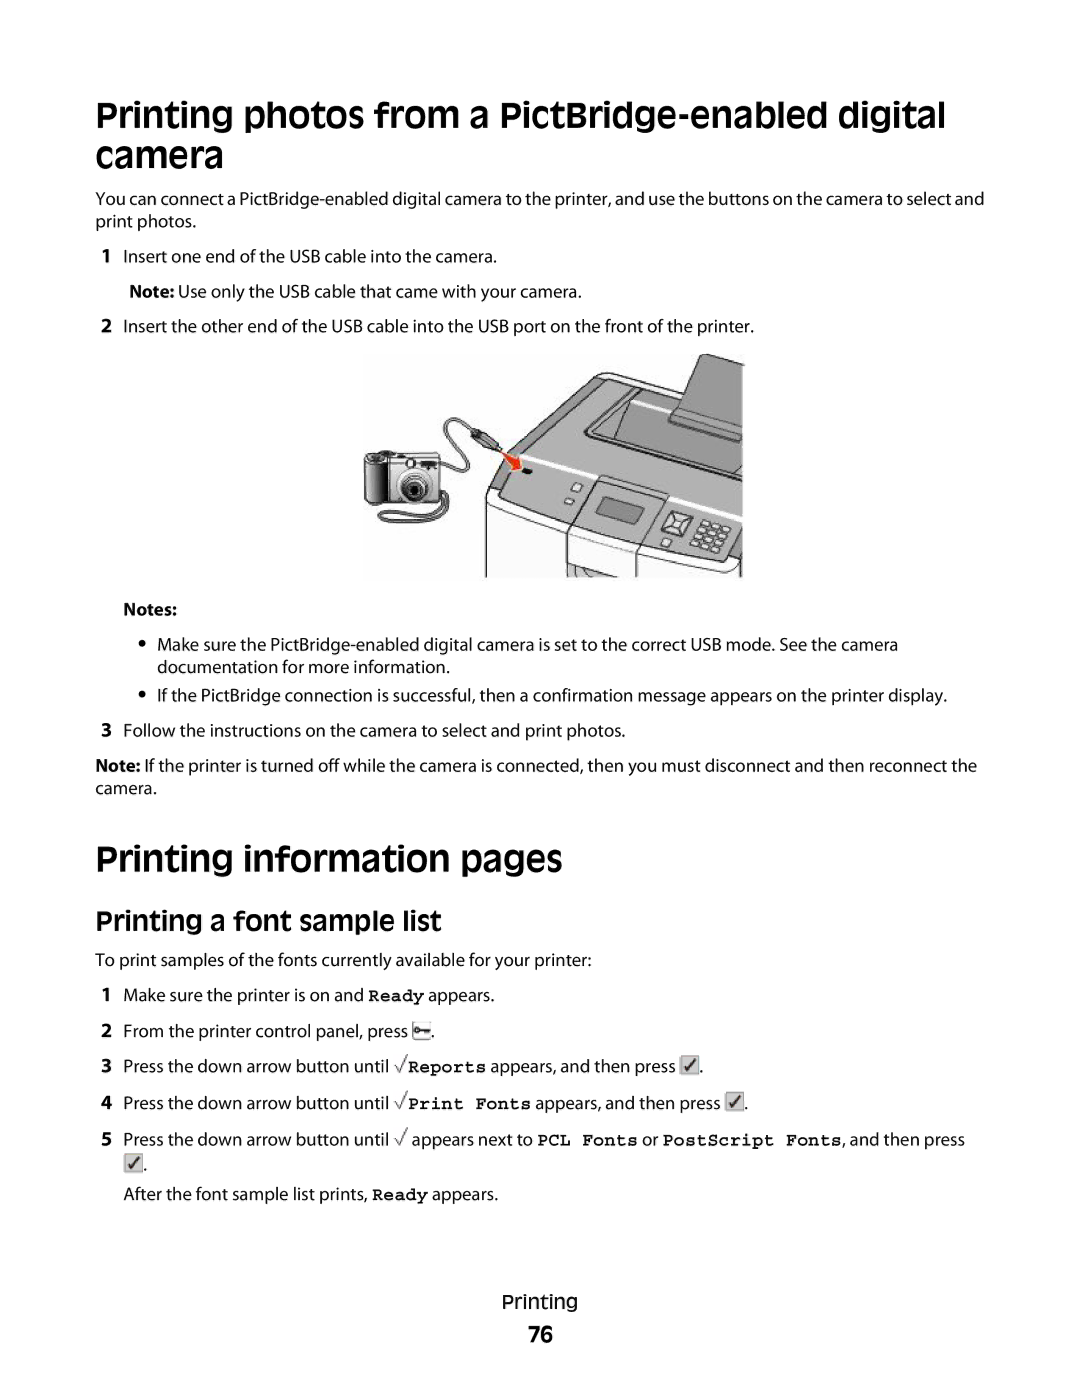
2Insert the other end of the USB cable into the USB port on the front of the printer.
Notes:
•Make sure the
•If the PictBridge connection is successful, then a confirmation message appears on the printer display.
3Follow the instructions on the camera to select and print photos.
Note: If the printer is turned off while the camera is connected, then you must disconnect and then reconnect the camera.
Printing information pages
Printing a font sample list
To print samples of the fonts currently available for your printer:
1Make sure the printer is on and Ready appears.
2From the printer control panel, press ![]() .
.
3Press the down arrow button until ![]() Reports appears, and then press
Reports appears, and then press ![]() .
.
4Press the down arrow button until ![]() Print Fonts appears, and then press
Print Fonts appears, and then press ![]() .
.
5Press the down arrow button until ![]() appears next to PCL Fonts or PostScript Fonts, and then press
appears next to PCL Fonts or PostScript Fonts, and then press ![]() .
.
After the font sample list prints, Ready appears.
Printing
76