–If you do not see either end of the print material, see Between three trays to remove the jam.
3Slide the paper tray back into the support unit.
Between three trays
This type of jam may occur if you are using
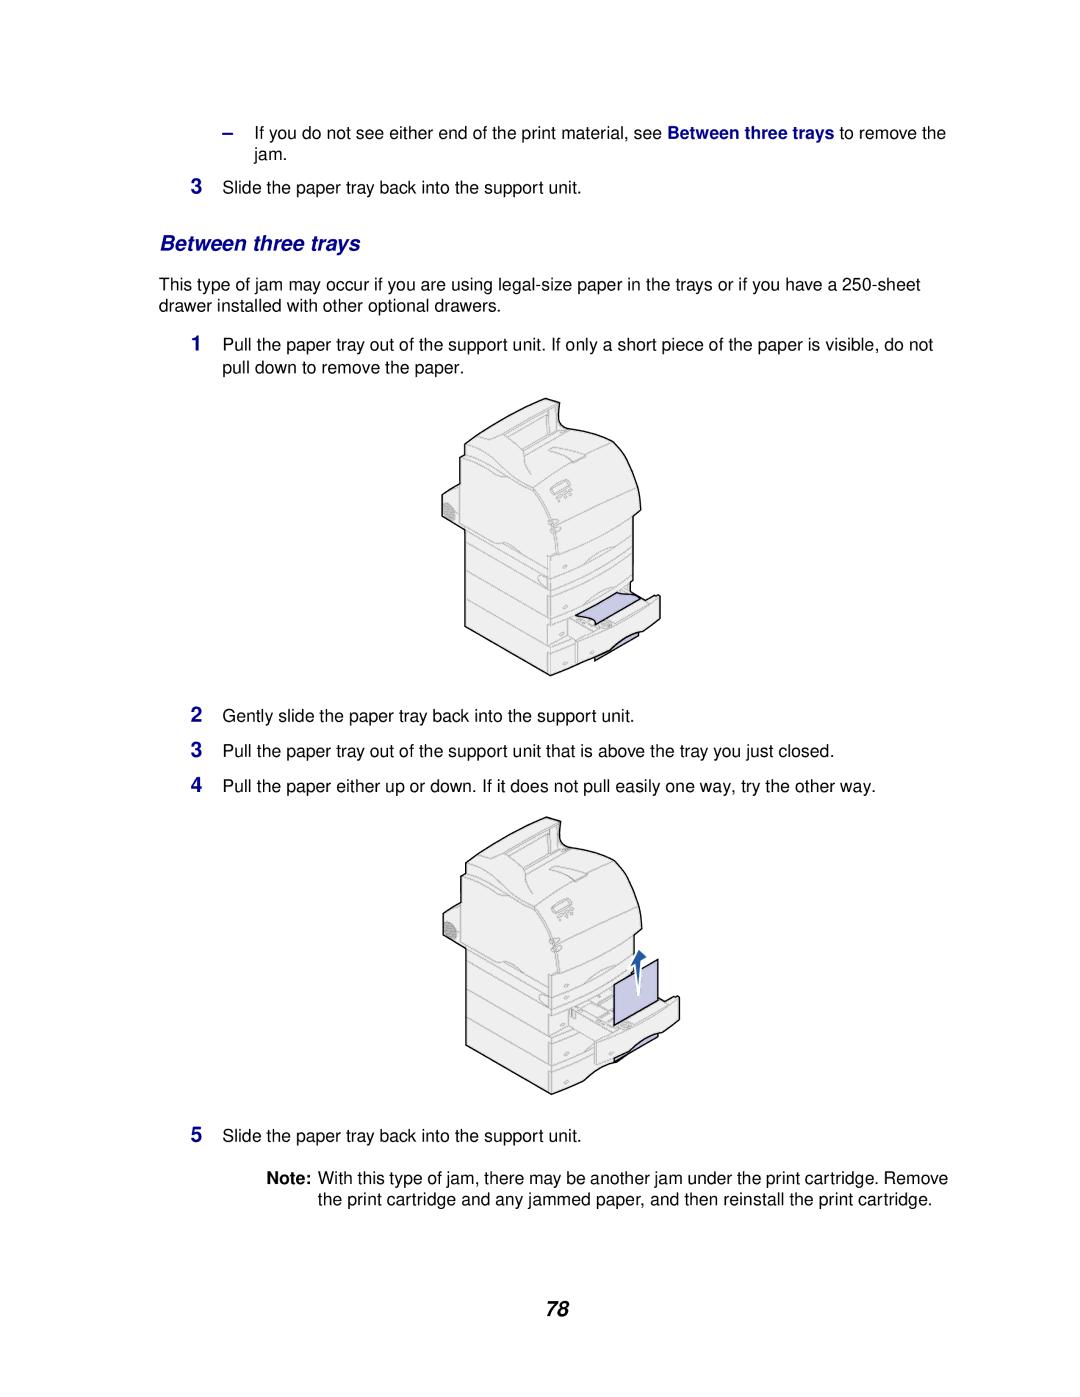
1Pull the paper tray out of the support unit. If only a short piece of the paper is visible, do not pull down to remove the paper.
2Gently slide the paper tray back into the support unit.
3Pull the paper tray out of the support unit that is above the tray you just closed.
4Pull the paper either up or down. If it does not pull easily one way, try the other way.
5Slide the paper tray back into the support unit.
Note: With this type of jam, there may be another jam under the print cartridge. Remove the print cartridge and any jammed paper, and then reinstall the print cartridge.
78