Chapter 2 |
Setting-up
Options
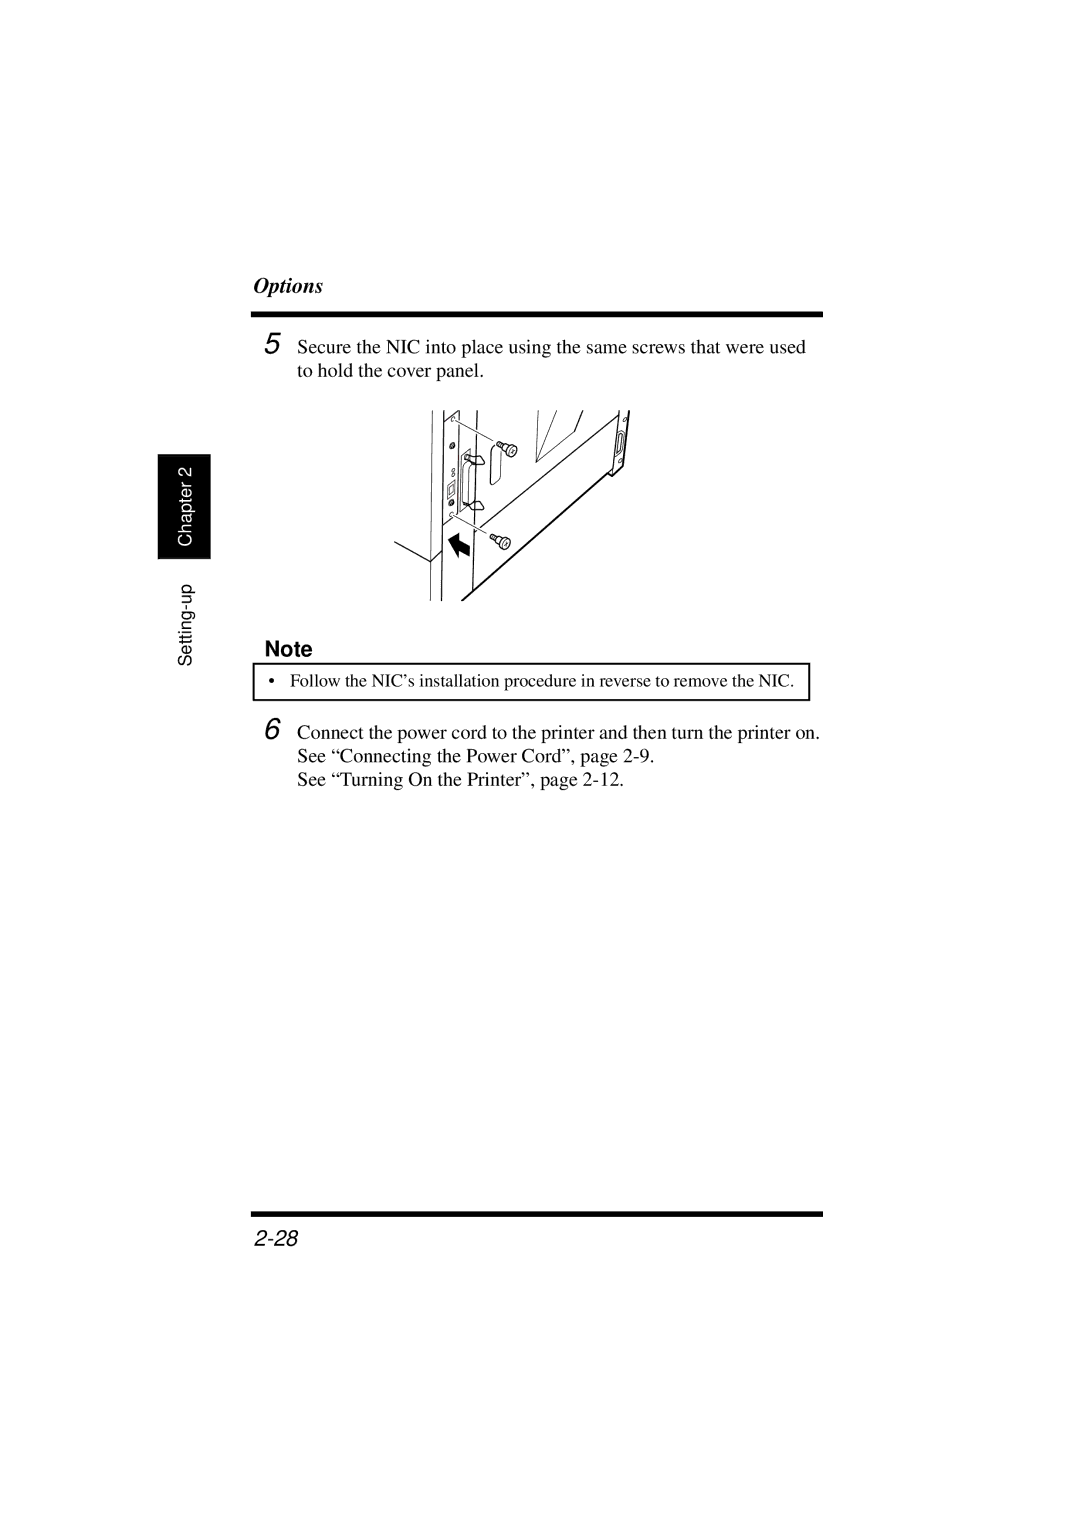
5 Secure the NIC into place using the same screws that were used to hold the cover panel.
Note
• Follow the NIC’s installation procedure in reverse to remove the NIC.
6 Connect the power cord to the printer and then turn the printer on. See “Connecting the Power Cord”, page
See “Turning On the Printer”, page