Options
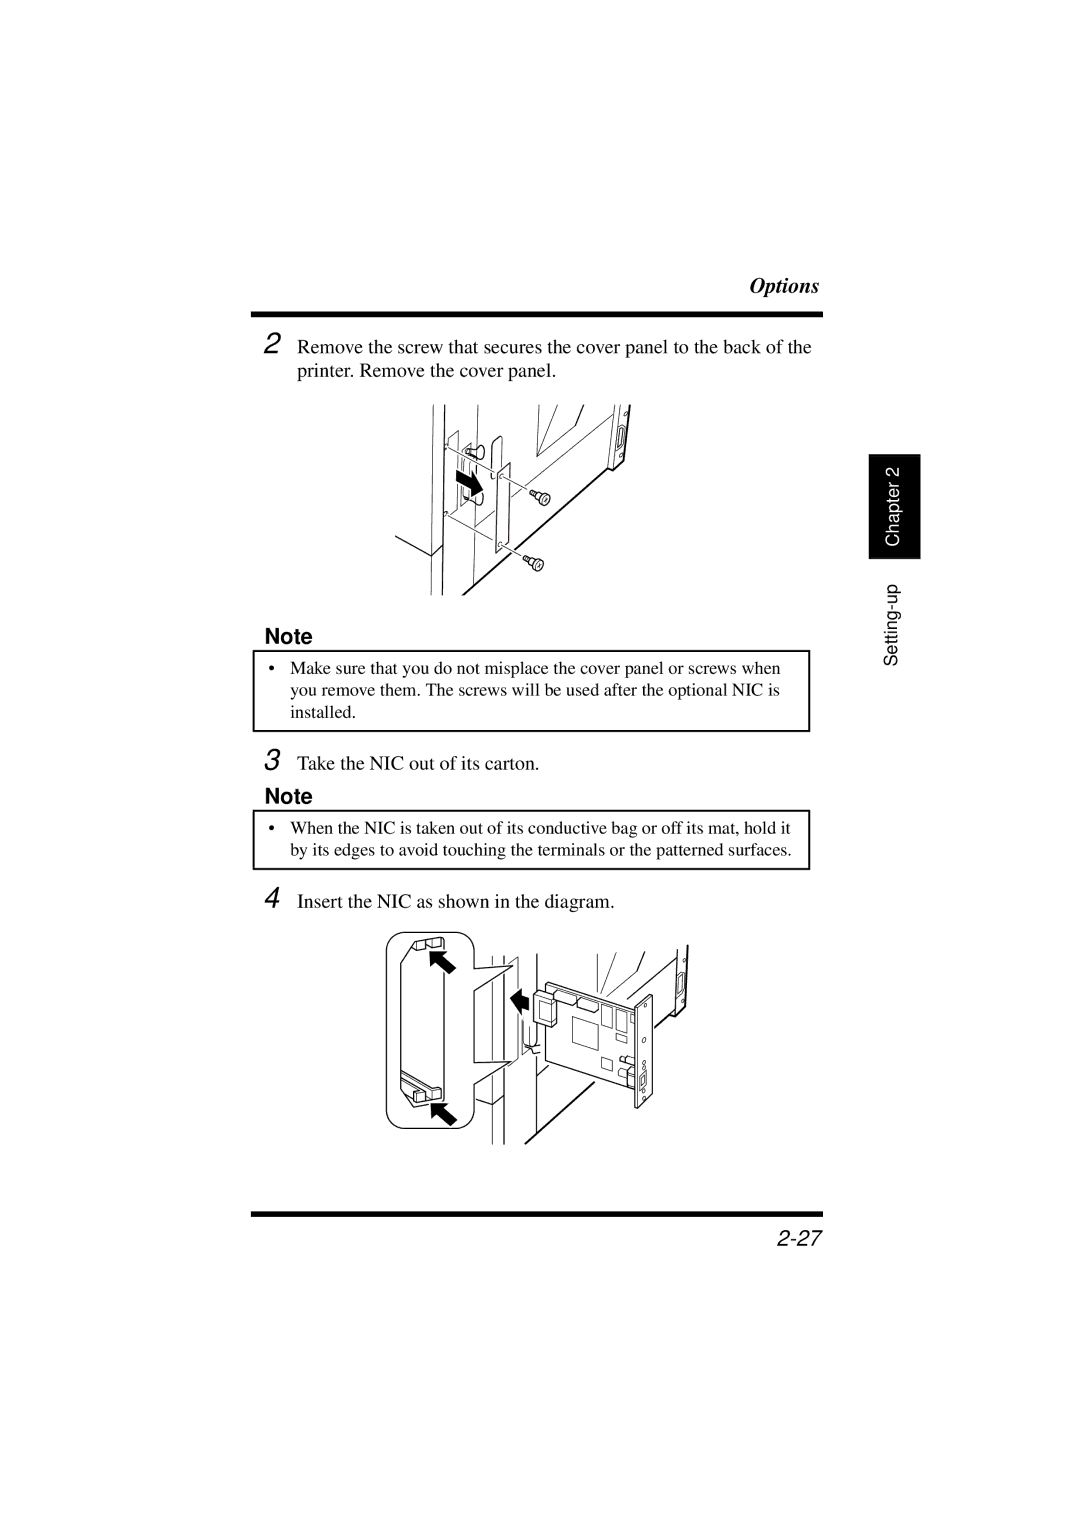
2 Remove the screw that secures the cover panel to the back of the printer. Remove the cover panel.
Note
•Make sure that you do not misplace the cover panel or screws when you remove them. The screws will be used after the optional NIC is installed.
3 Take the NIC out of its carton.
Note
•When the NIC is taken out of its conductive bag or off its mat, hold it by its edges to avoid touching the terminals or the patterned surfaces.
4 Insert the NIC as shown in the diagram.
Chapter 2 |