Using Your PC for Voice Messages
2.In the NuPoint Server field, enter the fully qualified domain name (FQDN) of the server.
3.In the Mailbox field, enter your NuPoint UM mailbox number.
4.In the Passcode field, enter your NuPoint UM mailbox passcode.
5.Program the system to use either Call Me or Meet Me functionality:
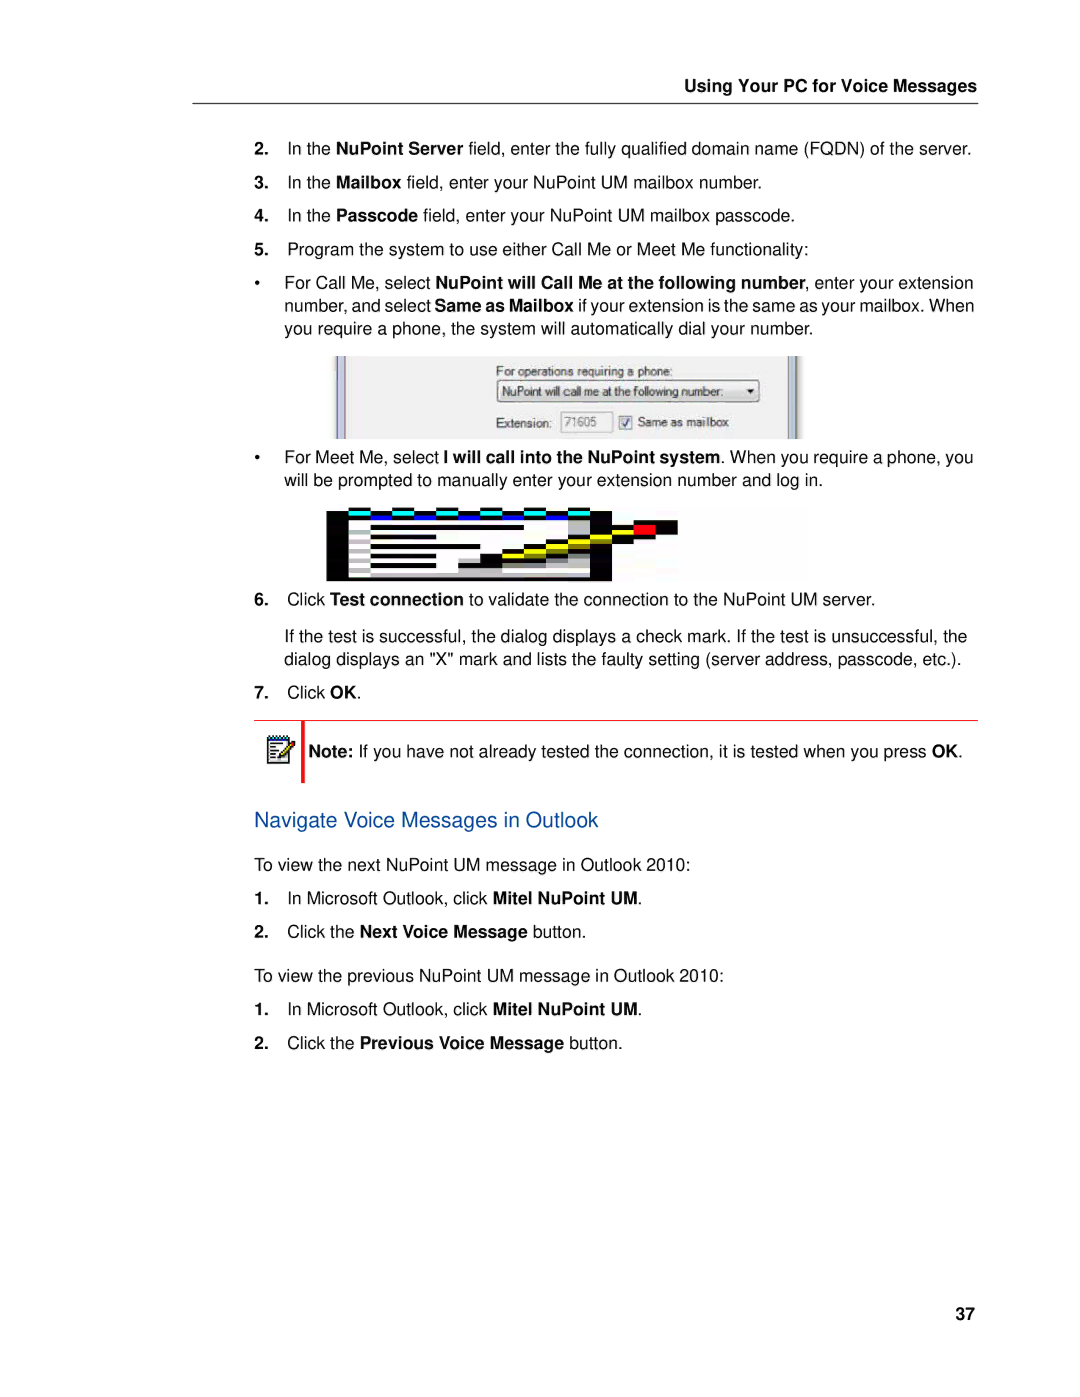
•For Call Me, select NuPoint will Call Me at the following number, enter your extension number, and select Same as Mailbox if your extension is the same as your mailbox. When you require a phone, the system will automatically dial your number.
•For Meet Me, select I will call into the NuPoint system. When you require a phone, you will be prompted to manually enter your extension number and log in.
6.Click Test connection to validate the connection to the NuPoint UM server.
If the test is successful, the dialog displays a check mark. If the test is unsuccessful, the dialog displays an "X" mark and lists the faulty setting (server address, passcode, etc.).
7.Click OK.
![]() Note: If you have not already tested the connection, it is tested when you press OK.
Note: If you have not already tested the connection, it is tested when you press OK.
Navigate Voice Messages in Outlook
To view the next NuPoint UM message in Outlook 2010:
1.In Microsoft Outlook, click Mitel NuPoint UM.
2.Click the Next Voice Message button.
To view the previous NuPoint UM message in Outlook 2010:
1.In Microsoft Outlook, click Mitel NuPoint UM.
2.Click the Previous Voice Message button.
37