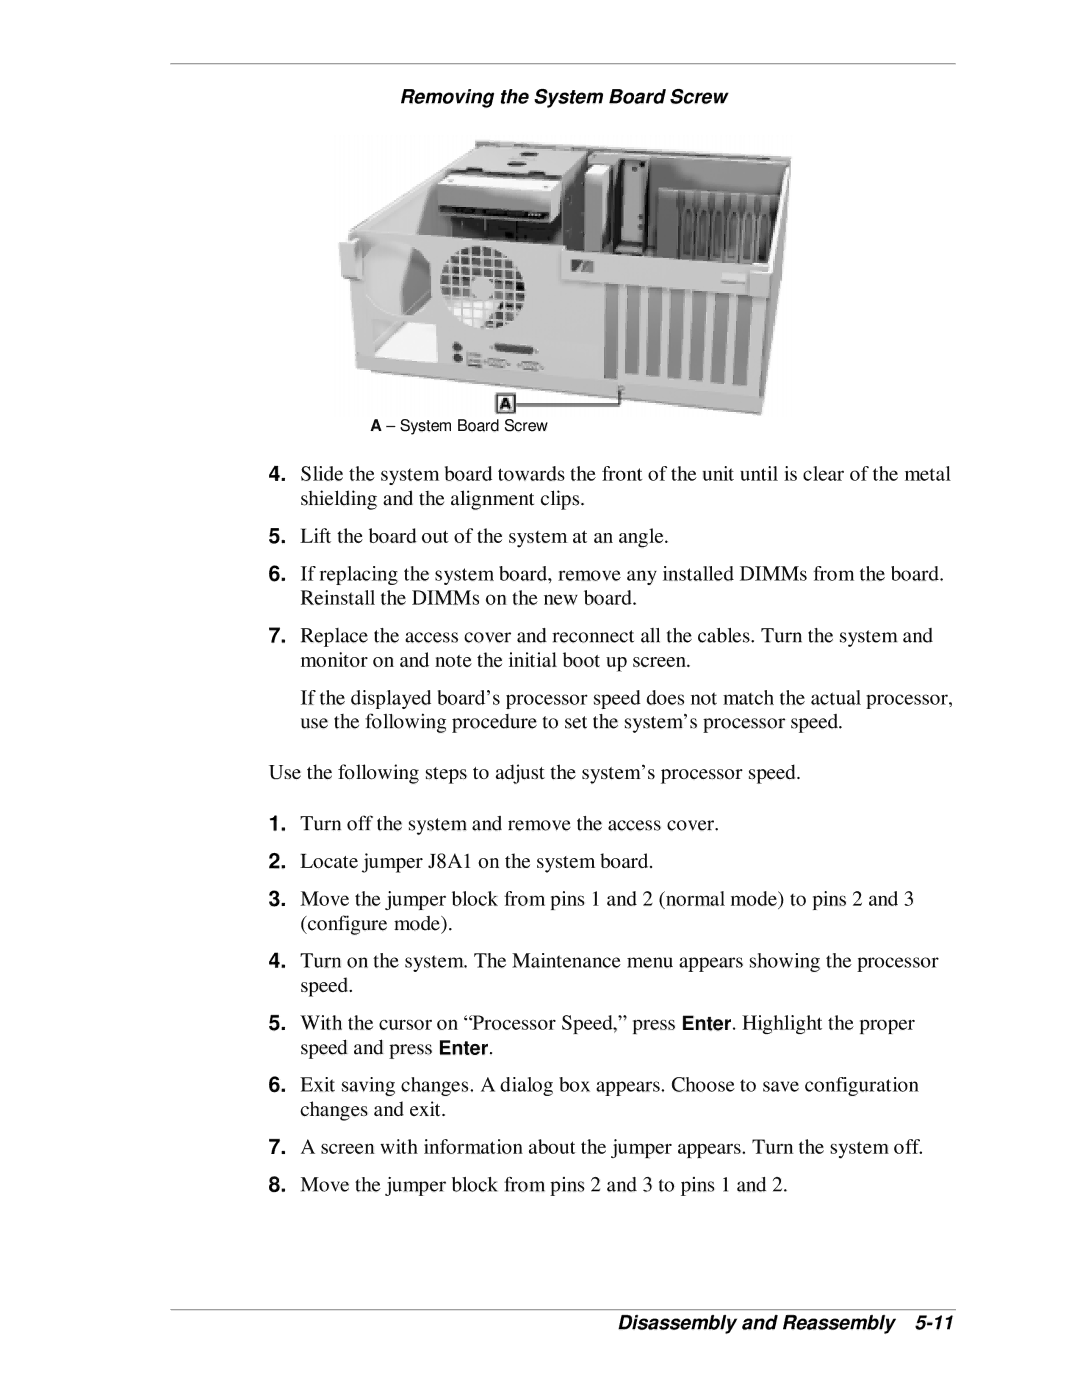
Removing the System Board Screw
A – System Board Screw
4.Slide the system board towards the front of the unit until is clear of the metal shielding and the alignment clips.
5.Lift the board out of the system at an angle.
6.If replacing the system board, remove any installed DIMMs from the board. Reinstall the DIMMs on the new board.
7.Replace the access cover and reconnect all the cables. Turn the system and monitor on and note the initial boot up screen.
If the displayed board’s processor speed does not match the actual processor, use the following procedure to set the system’s processor speed.
Use the following steps to adjust the system’s processor speed.
1.Turn off the system and remove the access cover.
2.Locate jumper J8A1 on the system board.
3.Move the jumper block from pins 1 and 2 (normal mode) to pins 2 and 3 (configure mode).
4.Turn on the system. The Maintenance menu appears showing the processor speed.
5.With the cursor on “Processor Speed,” press Enter. Highlight the proper speed and press Enter.
6.Exit saving changes. A dialog box appears. Choose to save configuration changes and exit.
7.A screen with information about the jumper appears. Turn the system off.
8.Move the jumper block from pins 2 and 3 to pins 1 and 2.