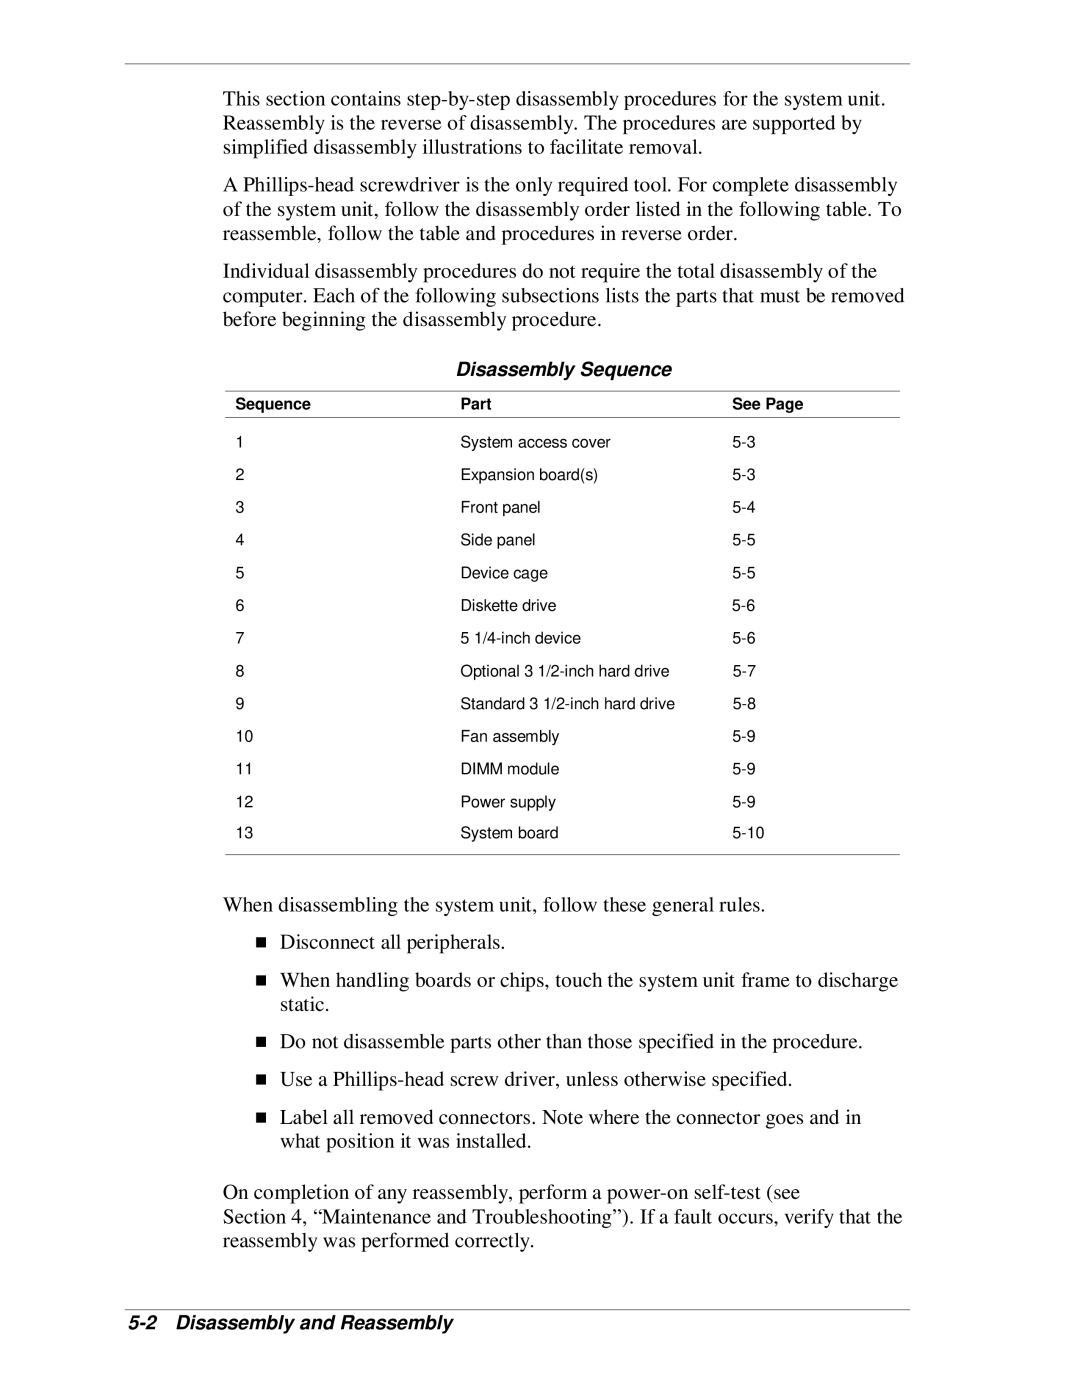
This section contains
A
Individual disassembly procedures do not require the total disassembly of the computer. Each of the following subsections lists the parts that must be removed before beginning the disassembly procedure.
Disassembly Sequence
Sequence | Part | See Page |
1 | System access cover | |
2 | Expansion board(s) | |
3 | Front panel | |
4 | Side panel | |
5 | Device cage | |
6 | Diskette drive | |
7 | 5 | |
8 | Optional 3 | |
9 | Standard 3 | |
10 | Fan assembly | |
11 | DIMM module | |
12 | Power supply | |
13 | System board | |
|
|
|
When disassembling the system unit, follow these general rules.
Disconnect all peripherals.
When handling boards or chips, touch the system unit frame to discharge static.
Do not disassemble parts other than those specified in the procedure.
TUse a
Label all removed connectors. Note where the connector goes and in what position it was installed.
On completion of any reassembly, perform a
Section 4, “Maintenance and Troubleshooting”). If a fault occurs, verify that the reassembly was performed correctly.
