Application (Record)
Using the level gauge
■■Recording mode: 


If you want to make sure that the camera is not slanted or tilted, for example, when you take a picture of a landscape, use the level gauge indication as a reference.
 Press [DISP.] button to switch the display
Press the button to switch the display. Press the button until the level gauge is displayed.
 Correct camera angle
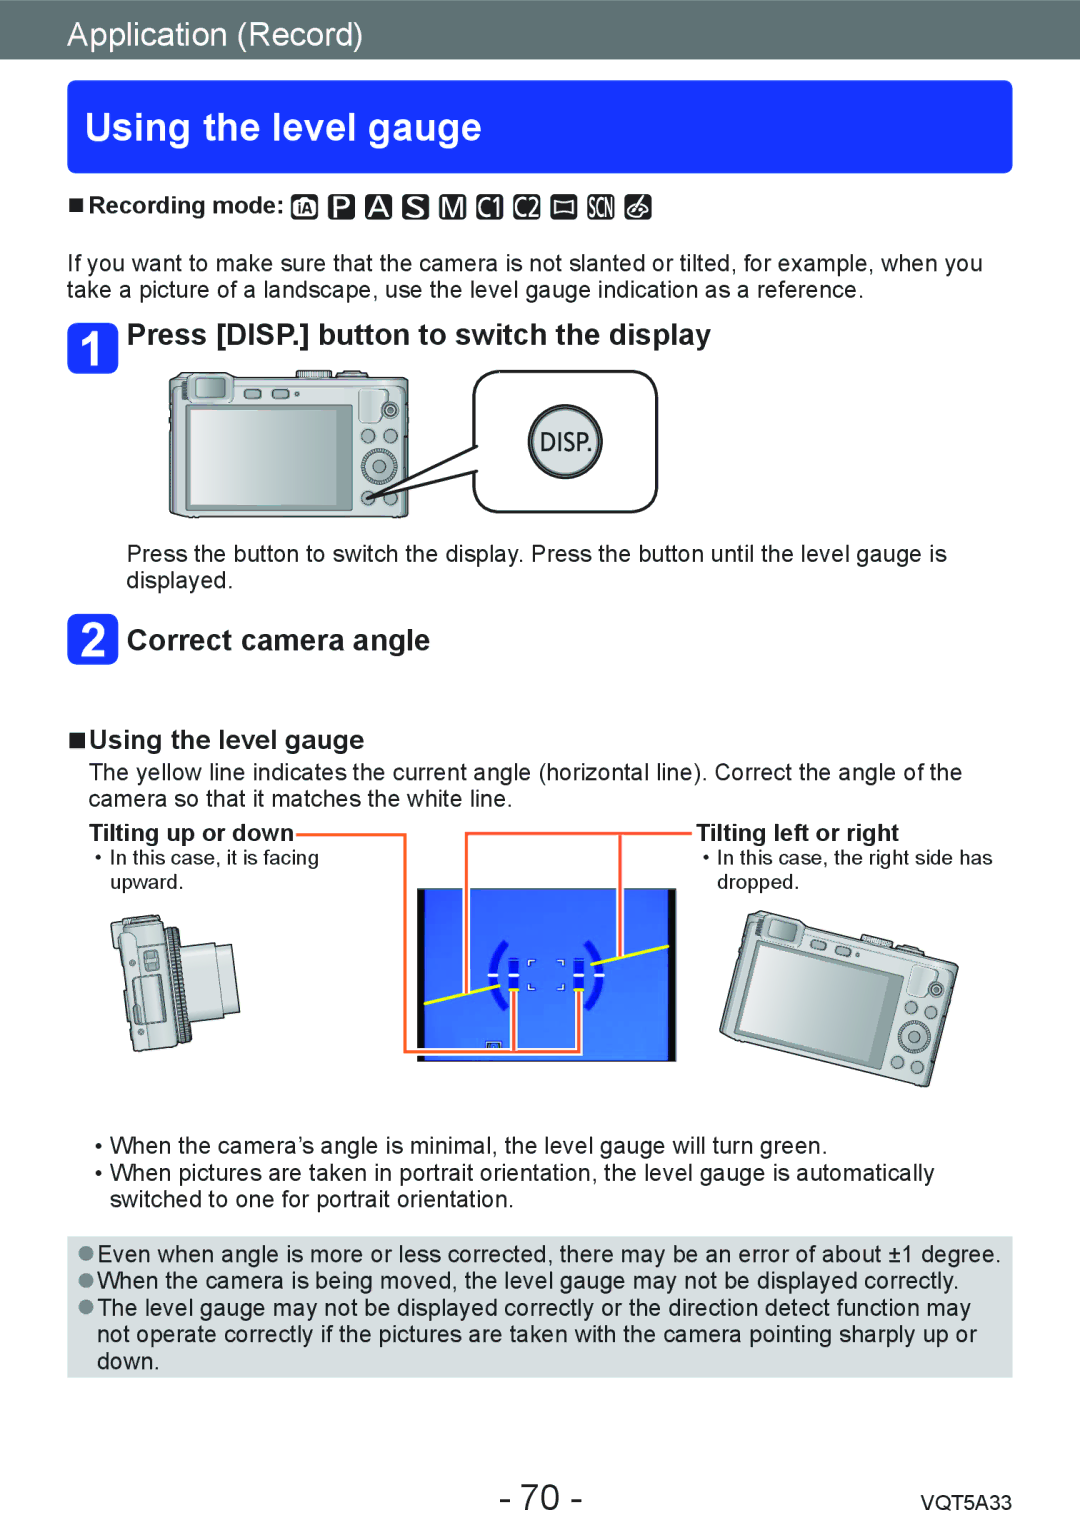
■■Using the level gauge
The yellow line indicates the current angle (horizontal line). Correct the angle of the camera so that it matches the white line.
Tilting up or down![]()
••In this case, it is facing upward.
Tilting left or right
••In this case, the right side has dropped.
••When the camera’s angle is minimal, the level gauge will turn green.
••When pictures are taken in portrait orientation, the level gauge is automatically switched to one for portrait orientation.
●●Even when angle is more or less corrected, there may be an error of about ±1 degree. ●●When the camera is being moved, the level gauge may not be displayed correctly. ●●The level gauge may not be displayed correctly or the direction detect function may
not operate correctly if the pictures are taken with the camera pointing sharply up or down.
- 70 - | VQT5A33 |