1. Specifications

7-21. Preparing for the Test Run

7-21-1. Changing the room temperature sensor

Room temperature sensors are installed inside the indoor unit and the wireless remote controller. Either room temperature sensor can be used.

When “Unit Sensor” is indicated on the wireless remote controller’s LCD, the indoor unit sensor is operating as the room temperature sensor.

To change to the remote control sensor, open the remote control cover and press the SENSOR button once. The “Unit Sensor” display disappears, and the remote control sensor becomes the room temperature sensor.

CAUTION

If the temperature data from the remote controller is not communicated to the indoor unit for a period of 10 minutes when the remote control sensor is selected, the unit automatically switches back to the indoor unit sensor.

Install the remote controller in a location where the signal can reliably be received by the indoor unit.

7-21-2. Using the remote controller

Face the remote controller toward the receiver (indoor unit).

The maximum distance where the remote controller signal can be received is approximately 26 ft., however this distance is only a guide. The actual distance may vary somewhat depending on battery capacity and other conditions.

1 Make sure there are no obstructions which can block the signal between the remote controller and the receiver.

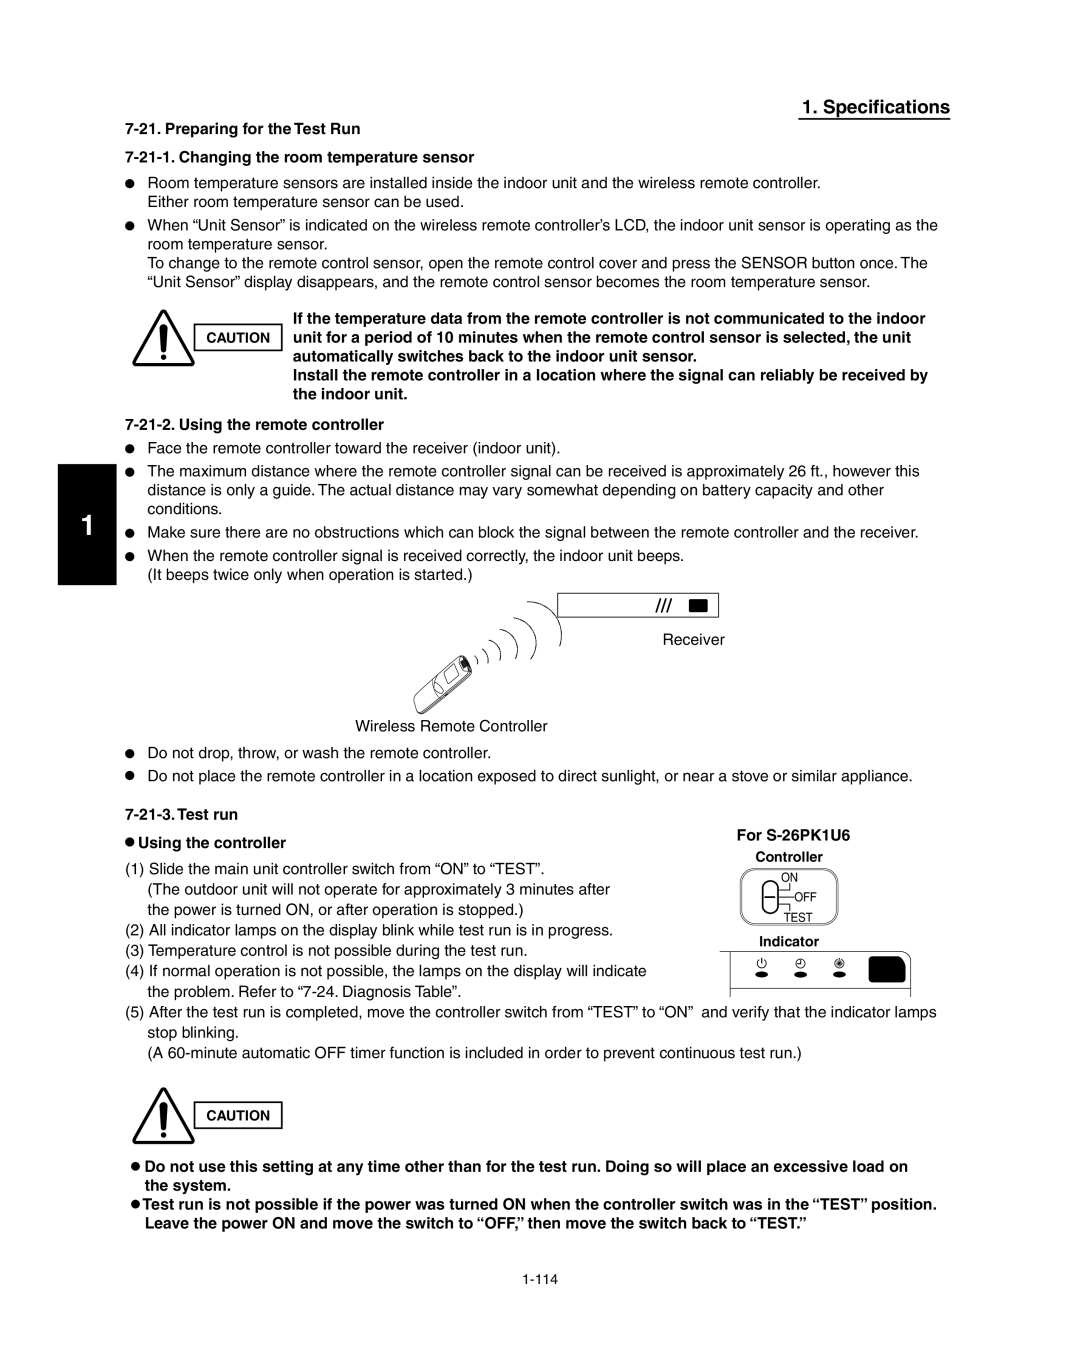
When the remote controller signal is received correctly, the indoor unit beeps. (It beeps twice only when operation is started.)

Receiver

Wireless Remote Controller

Do not drop, throw, or wash the remote controller.

Do not place the remote controller in a location exposed to direct sunlight, or near a stove or similar appliance.

7-21-3. Test run

Using the controller

For S-26PK1U6

Controller

(1)

Slide the main unit controller switch from “ON” to “TEST”.


ON


(The outdoor unit will not operate for approximately 3 minutes after


OFF


the power is turned ON, or after operation is stopped.)


TEST

(2)

All indicator lamps on the display blink while test run is in progress.


Indicator

(3) Temperature control is not possible during the test run.


(4)

If normal operation is not possible, the lamps on the display will indicate


the problem. Refer to “7-24. Diagnosis Table”.


(5)After the test run is completed, move the controller switch from “TEST” to “ON” and verify that the indicator lamps stop blinking.

(A 60-minute automatic OFF timer function is included in order to prevent continuous test run.)

CAUTION

Do not use this setting at any time other than for the test run. Doing so will place an excessive load on the system.

Test run is not possible if the power was turned ON when the controller switch was in the “TEST” position. Leave the power ON and move the switch to “OFF,” then move the switch back to “TEST.”

1-114

Page 120
Image 120
Panasonic R410A service manual Test run Using the controller For S-26PK1U6, Controller, Indicator

R410A specifications

Panasonic R410A is a refrigerant that has gained significant popularity in the air conditioning and refrigeration industry due to its favorable environmental properties and performance characteristics. Specifically designed to replace the harmful R22 refrigerant, which is being phased out due to its ozone-depleting potential, R410A offers a more eco-friendly alternative without compromising on efficiency or power.

One of the main features of R410A is its high energy efficiency. It operates at a higher pressure than R22, resulting in better heat transfer capabilities. This increased efficiency translates to lower energy consumption, making units using R410A more cost-effective in the long run. Additionally, R410A is known for its ability to provide excellent cooling performance even in high-temperature environments, making it suitable for a variety of applications, from residential air conditioning systems to commercial refrigeration units.

In terms of composition, R410A is a blend of two hydrofluorocarbons (HFCs), namely R32 and R125. This combination not only minimizes ozone depletion potential (ODP) but also reduces global warming potential (GWP) compared to older refrigerants. Panasonic has emphasized the importance of innovative technologies in its products, and R410A aligns perfectly with the company's commitment to developing sustainable solutions.

Panasonic also integrates advanced technologies to optimize the performance of R410A systems. For example, variable speed compressors, known as inverter technology, enhance system efficiency by adjusting the compressor's speed according to the cooling demand. This ensures that energy is only consumed when needed, further reducing operational costs.

Furthermore, R410A has a wide range of applications, including air conditioning systems, heat pumps, and chillers. Its versatility makes it a popular choice among manufacturers and consumers alike. The refrigerant is also compatible with existing R22 equipment, although specific retrofit procedures must be followed to ensure peak performance and reliability.

In conclusion, Panasonic R410A stands out as an innovative refrigerant choice in the HVAC industry, offering a combination of energy efficiency, environmentally friendly properties, and advanced technologies. As regulatory frameworks continue to tighten on greenhouse gas emissions, R410A and similar refrigerants are expected to play a crucial role in shaping a more sustainable future for air conditioning and refrigeration. Its high performance and lower environmental impact solidify its position as a leading refrigerant in contemporary cooling solutions.